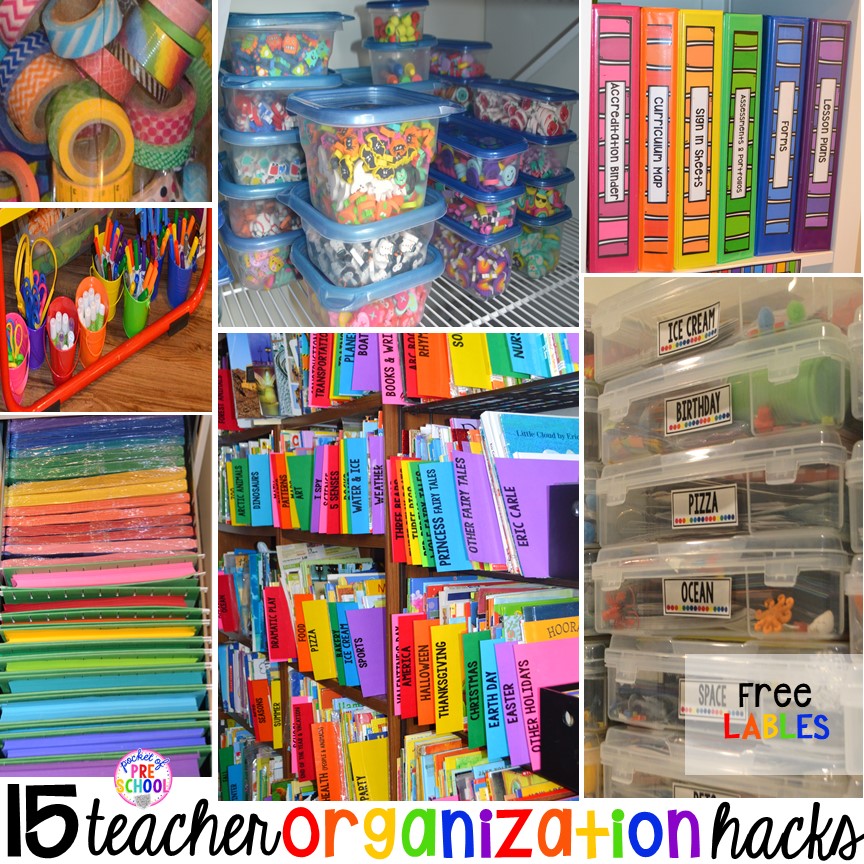
Classroom organization hacks to make teaching easier for YOU! Let’s face it: when you can find things easily, it makes everything easier. You have smoother transitions, no lost instruction time, more plan time (which we don’t get enough of in the first place), and less stress.
These actually work, I promise! I have tried out tons of crazy organization things over the years, and this seems to work the best! Don’t forget to grab the FREE theme box labels later in this post!
Grab the FREEBIE by entering your email in the box at the bottom of this post. This post contains affiliate links, which means I earn a tiny commission when you use my links at no cost to you.
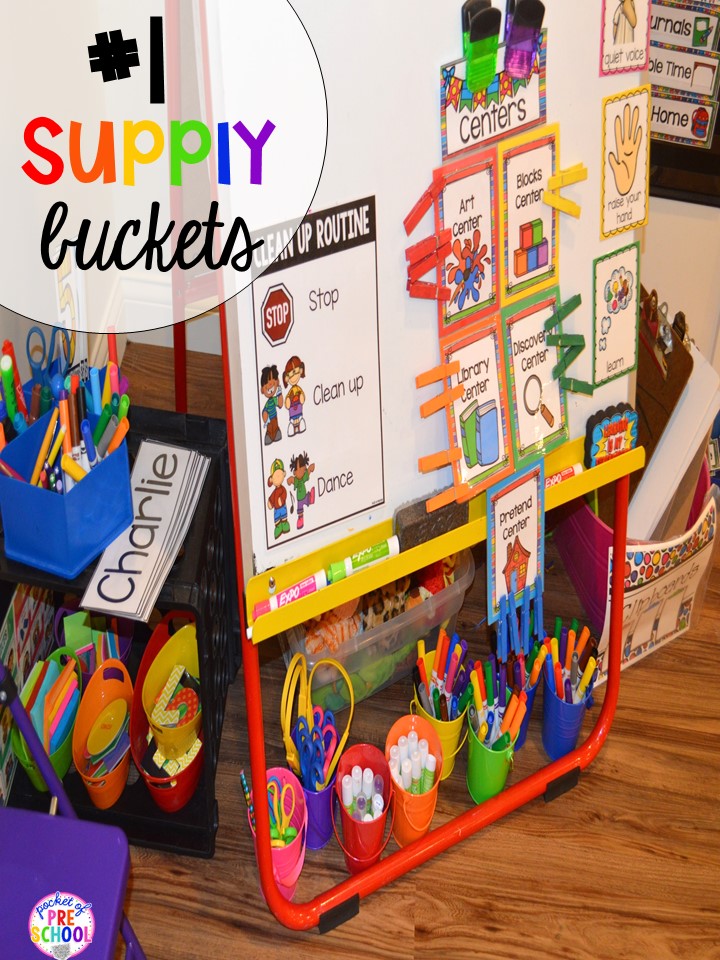
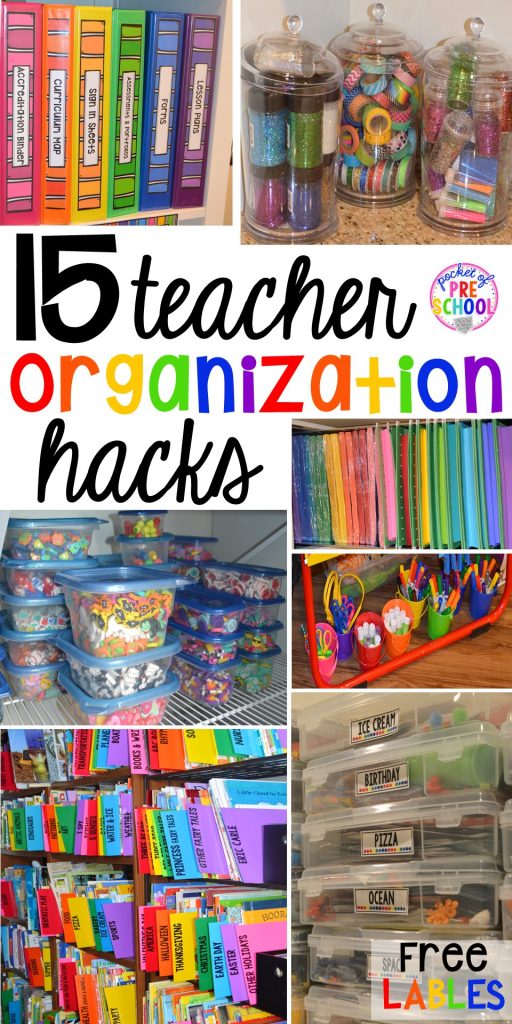
#1 My most favorite hack: supply buckets!
I LOVE metal pails from the Target Dollar Spot or the Dollar Tree and put glue, scissors, and markers in them. Place them under the easel so you (or a student) can grab them quickly for an activity at circle, small group, or table time.
I make multiple buckets of each, and I do NOT mix the supplies. For example, if you are doing a self-portrait for table time, the students will grab the marker buckets to draw. This way, they will not be cutting their self-portrait in half because there are no scissors in the bucket.
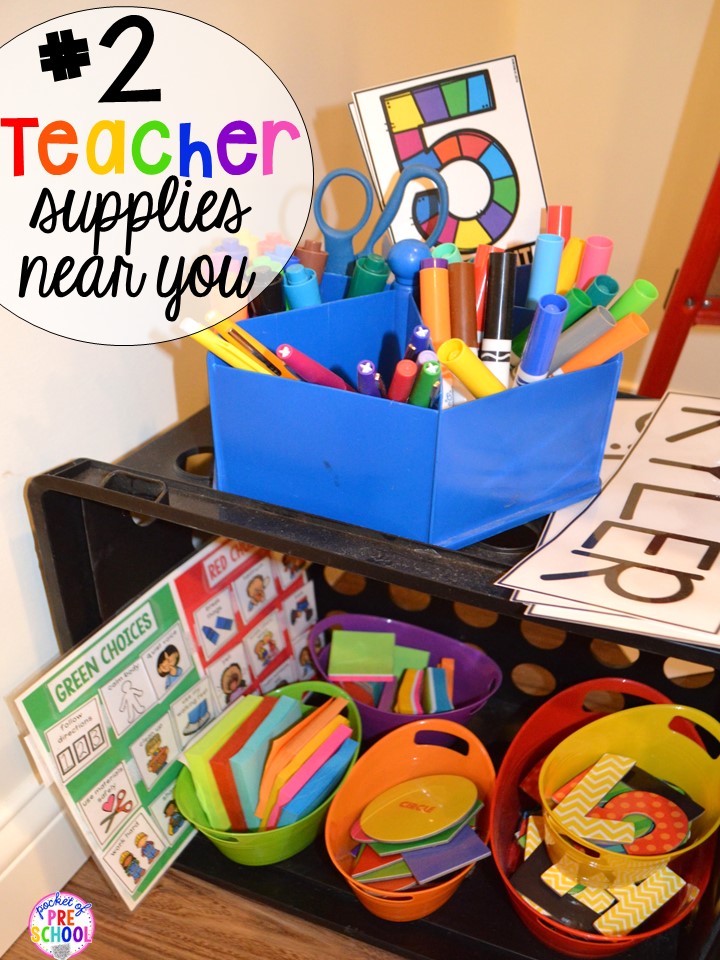
#2 Hidden Teacher Supplies
I keep supplies just for me to use at circle: name cards, flair pens, smelly markers (for making anchor charts), post-its (for making graphs), magnet shapes, magnet letters, and magnet numbers (in case I need them for those random teaching moments). This way, they are right there when I need them. No instruction time is lost because I barely have to move to get them!
I also keep a small Green & Red Choices board here in case I need it during circle or during a transition.
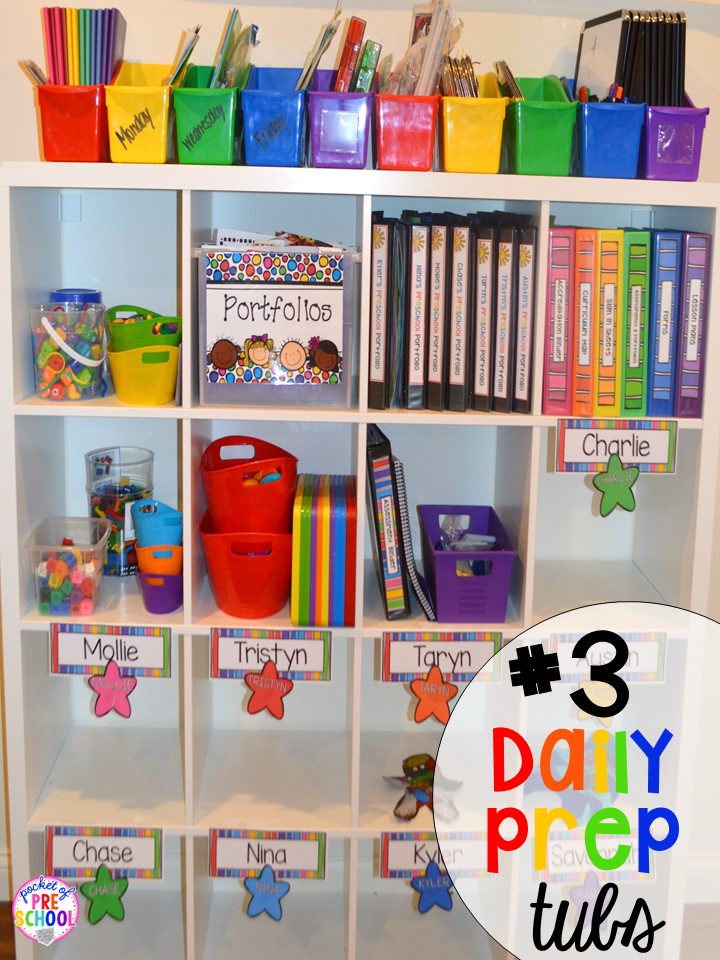
#3 Daily Prep Tubs
At the tops of the cubbies, I have a tub for each day I teach. I toss any books, supplies, stickers, paper, and cut-outs. Anything I know I will need for that day’s lesson plans go in these tubs. There are also three cubbies on the left where I keep manipulatives. I use these often, so they are always right there when I need them.
I keep my Assessment and Portfolio things here, too. Read all about my Assessment and Portfolio Hacks HERE.
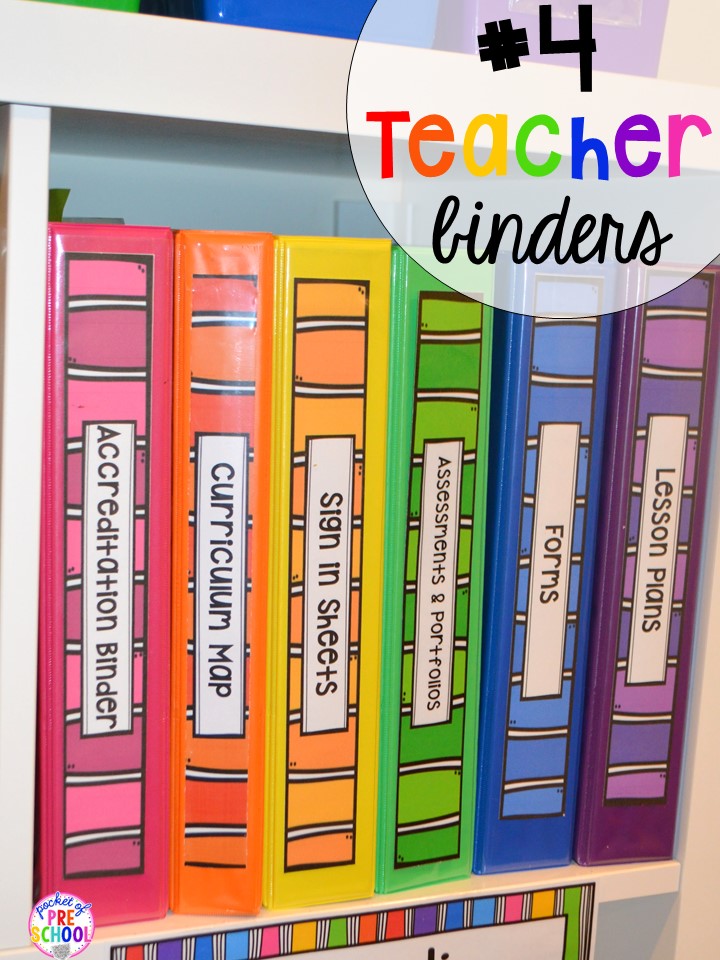
#4 Teacher Binders
It never fails that the state comes by for a visit at the worst possible time, like a transition or circle. When I taught in a public school, my supervisor would pop in at crazy times, too. I always wanted to have my paperwork and lesson plans organized and accessible. I created binders to keep those things all in one place. With these handy binders, I just quickly hand them over and keep on teaching without losing a beat!
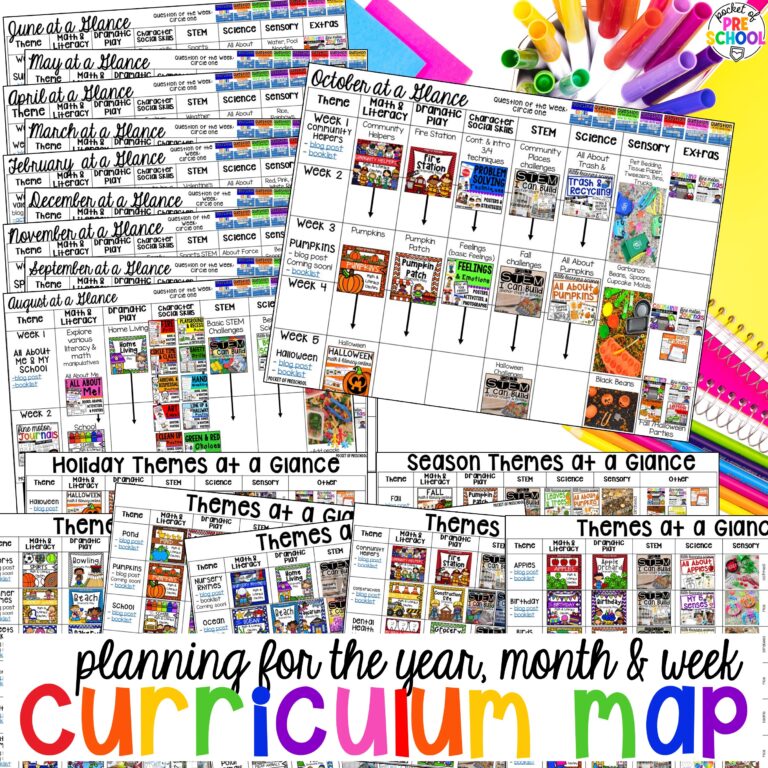
Read all about my Lesson Plan Binder HERE or grab my FREE Curriculum Map HERE.
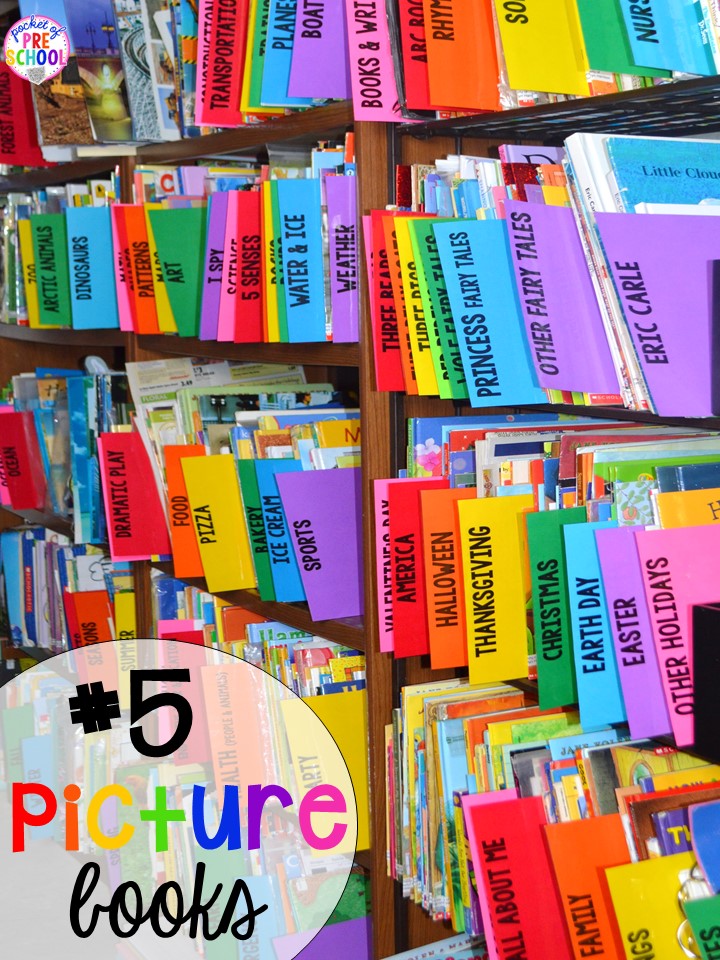
#5 Picture Book Organization
Everyone loves organization! After 11 years of teaching, I finally took the time to organize my bookshelf in a way that works for me! I can actually see where everything is located. No more paper scraps falling out or paint stick dividers getting lost. Take the time and organize your picture books; I wish I would have done it sooner! Now I can find (and put away) picture books in a flash!
>>Grab the FREEBIE by entering your email in the box at the bottom of this blog post!<< (PowerPoint file) (editable as long as you open the file in PowerPoint)
After you download the product, make sure you close out of the internet and open the file in Adobe or Powerpoint. If you don’t, the labels will be all wonky! If you are having trouble with the Adobe file, make sure you have the latest edition of it.
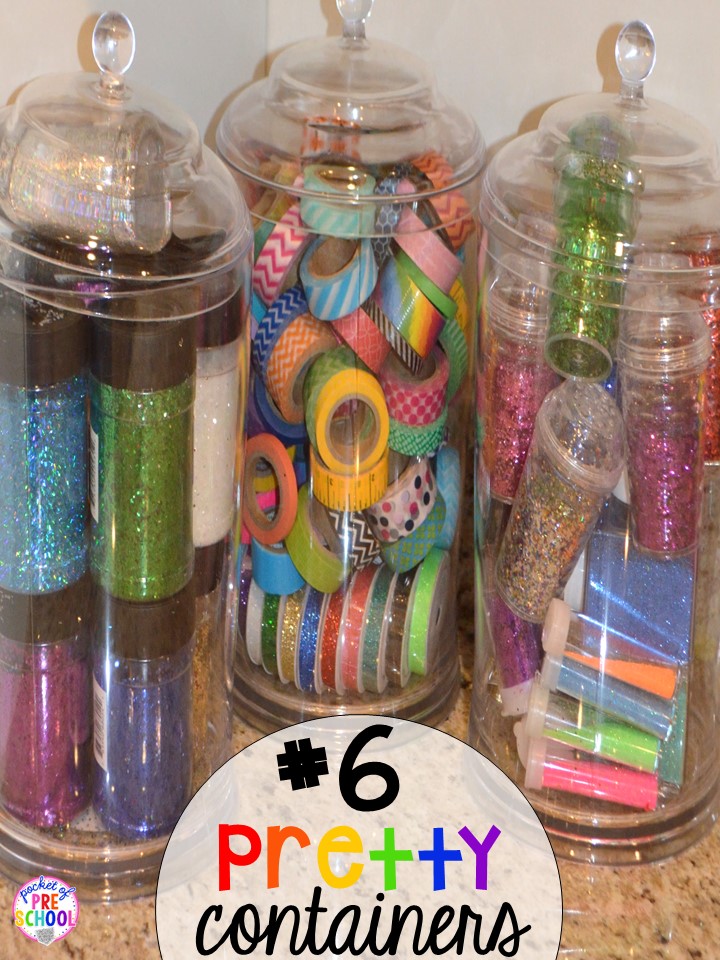
#6 Pretty Supply Containers
I LOVE glitter and washi tape! I use them all the time and need them to be readily available. I found these plastic jars so I can display them in my classroom and also have quick access to them. I found these at Walmart, but these from Amazon are similar.
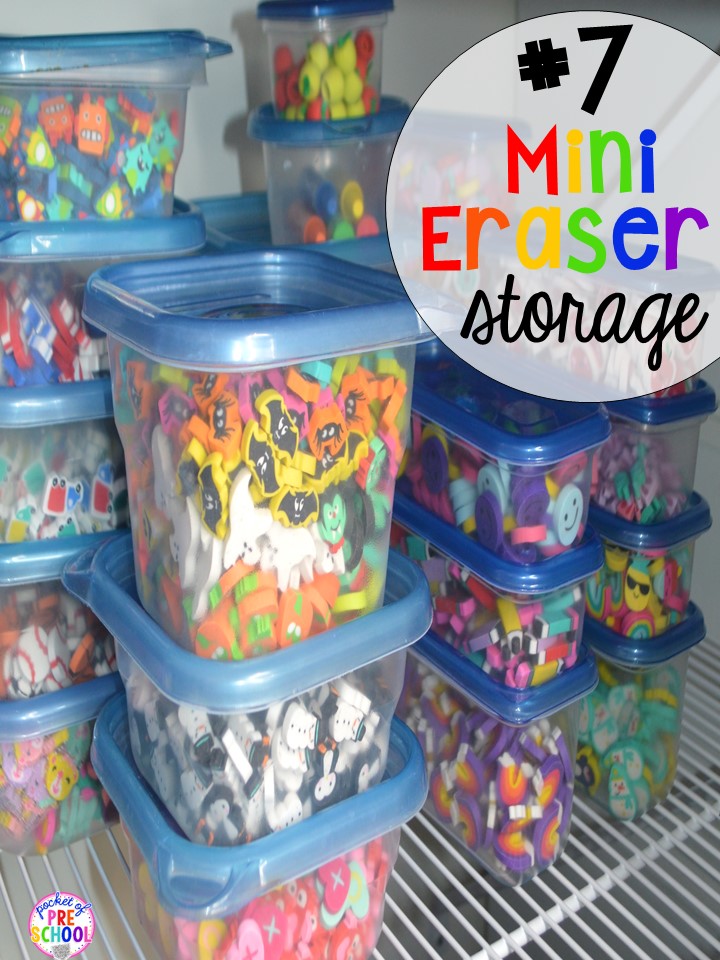
#7 Mini Eraser & Other Manipulative Storage
I *may* have a slight mini-eraser obsession. I love storing them in these clear food containers because I can easily SEE what erasers I have. No more digging through tubs or baggies!
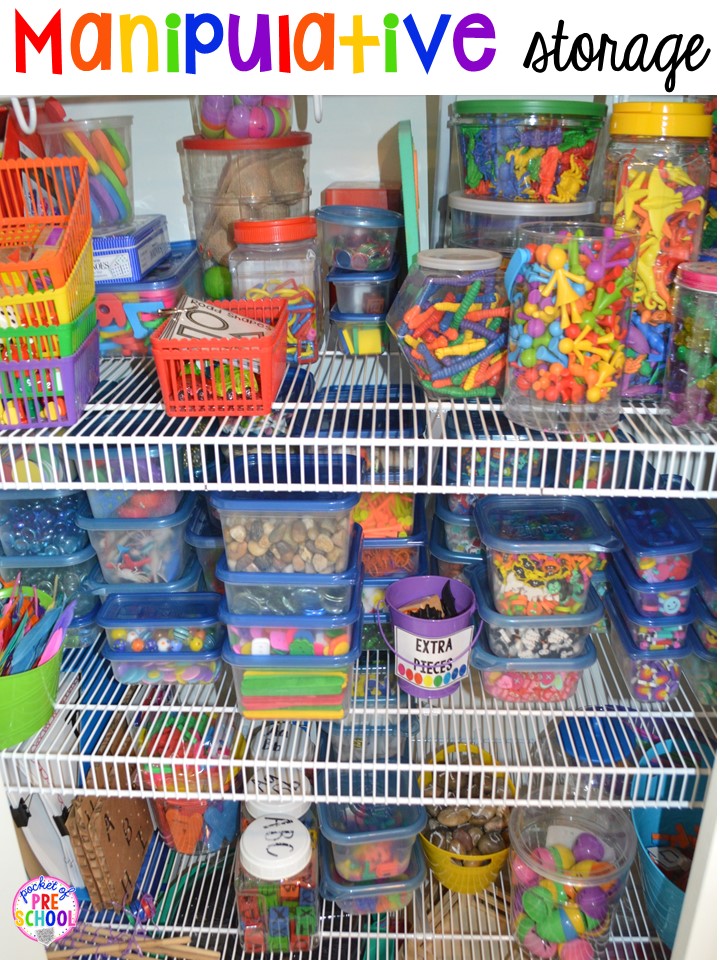
Organized manipulative storage is essential. In the picture below, the top shelf is math manipulatives, the middle is mini erasers and other subjects, and the bottom is literacy manipulatives.
Manipulatives I find useful are things like small rocks, gems, buttons, candles, number candles, marbles, golf tees, popsicle sticks, pom poms, small animals, themed gems for various holidays or seasons, or other fun things I find at the Dollar Store or Target Dollar Spot. I keep them all organized in clear Ziploc containers. I use them for literacy games, math games, making letters, making numbers, counting mats, play dough trays, loose parts activities, STEM challenges, or in the blocks center.
Extra Pieces Bucket is a GAME CHANGER! If you are like me, your students find random manipulatives all the time. When this happens, I add them to the extra pieces bucket and keep going on with my day.
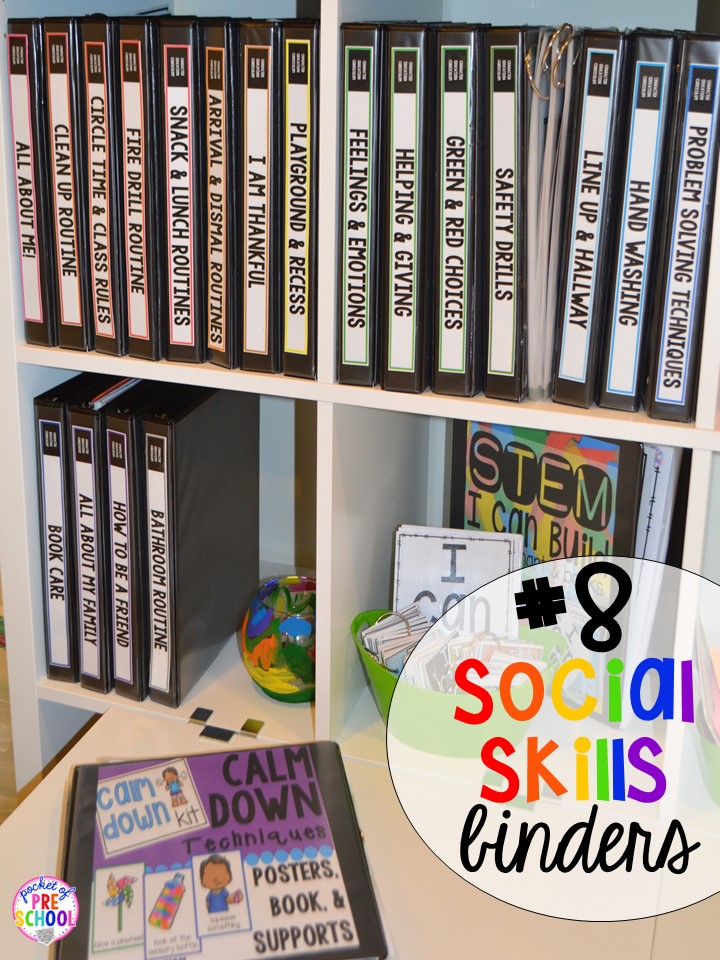
#8 Social Skills (aka Character Ed) Binders
My social skills packs are so useful and versatile. I use pieces of these social skills packs all year long when my students need more support, a visual, or I may just need to reteach a skill. I put each pack (prepped and ready to go) in a binder so I can quickly grab what I need without having to go to the computer, print, and prep the activity. What a huge timesaver! You can find all my Character Ed (aka social skills) packs in my TPT store HERE.
Grab the FREE Character Education Curriculum Binder Spines HERE.
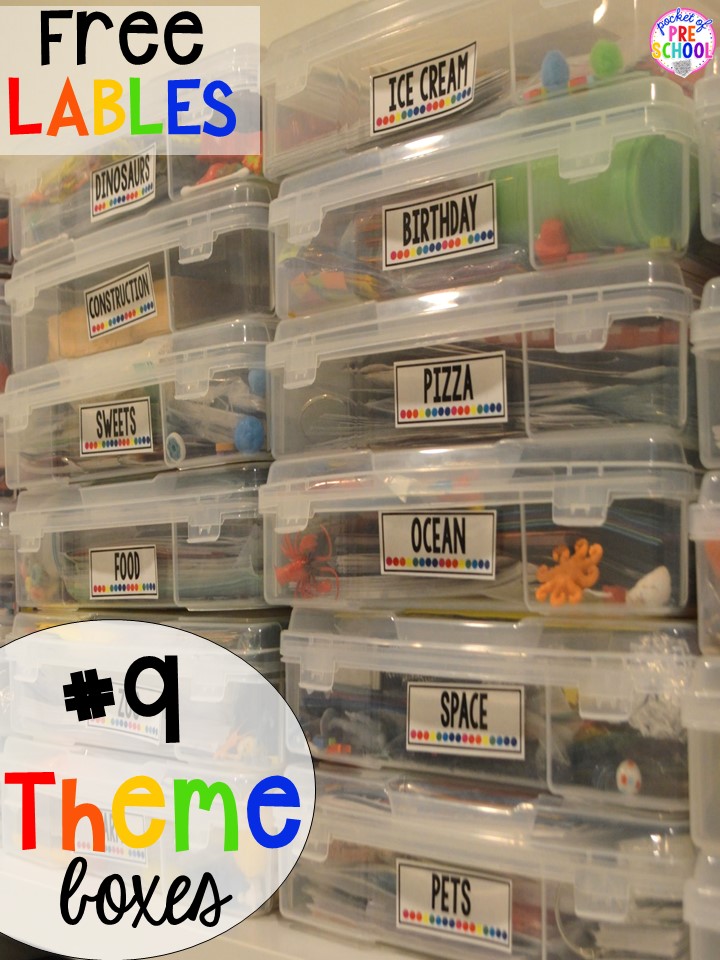
#9 Theme Boxes (My other favorite thing)
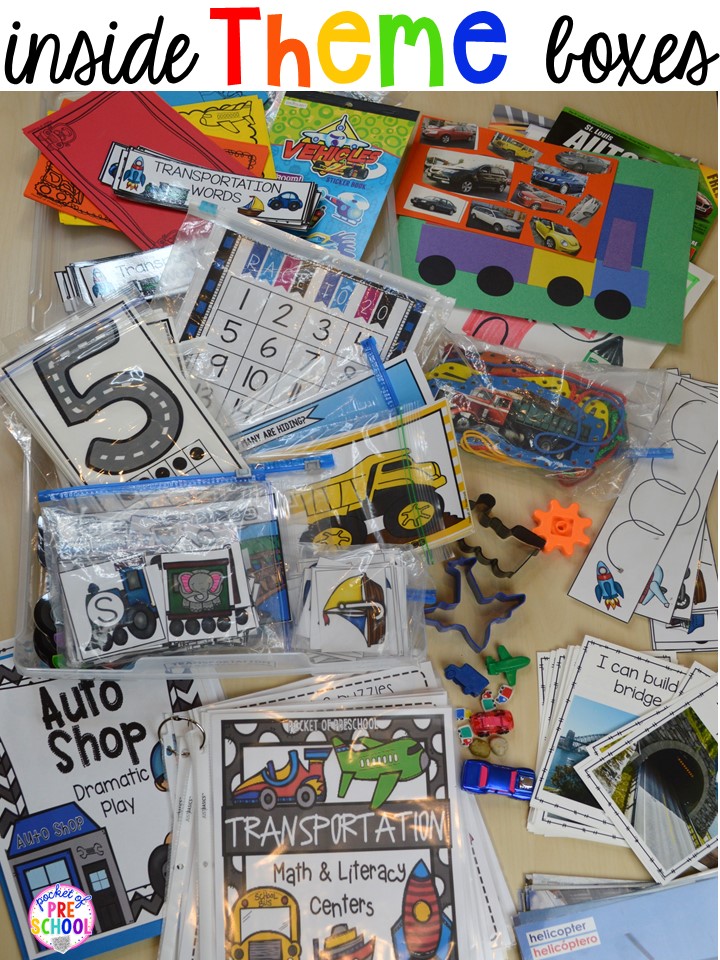
A few years ago, I started using these Iris Scrapbook Cases. I organize each theme, and it has made such a difference in my lesson planning and prep! You can buy the tubs on Amazon or at Michaels. I often felt like I didn’t know (or would forget) what games I had already prepped, what manipulatives I had, what art projects were successful, or what cookie cutters I had. I spent so much time going around collecting materials for each theme, and I would forget about half of the things I already had from years past. These theme tubs solve that problem!
>>Grab the FREEBIE by entering your email in the box at the bottom of this blog post!<<
After you download the product, make sure you close out of the internet and open the file in Adobe or Powerpoint. If you don’t, the labels will be all wonky! If you are having trouble with the Adobe file, make sure you have the lasted edition of it.
For example, in my transportation tub below, the following items are inside:
- My themed center pack on a book ring (cover, direction pages, and worksheets)
- Themed Center games are prepped and organized in bags
- Themed word cards, writing paper
- Dramatic Play pack
- Sample art projects
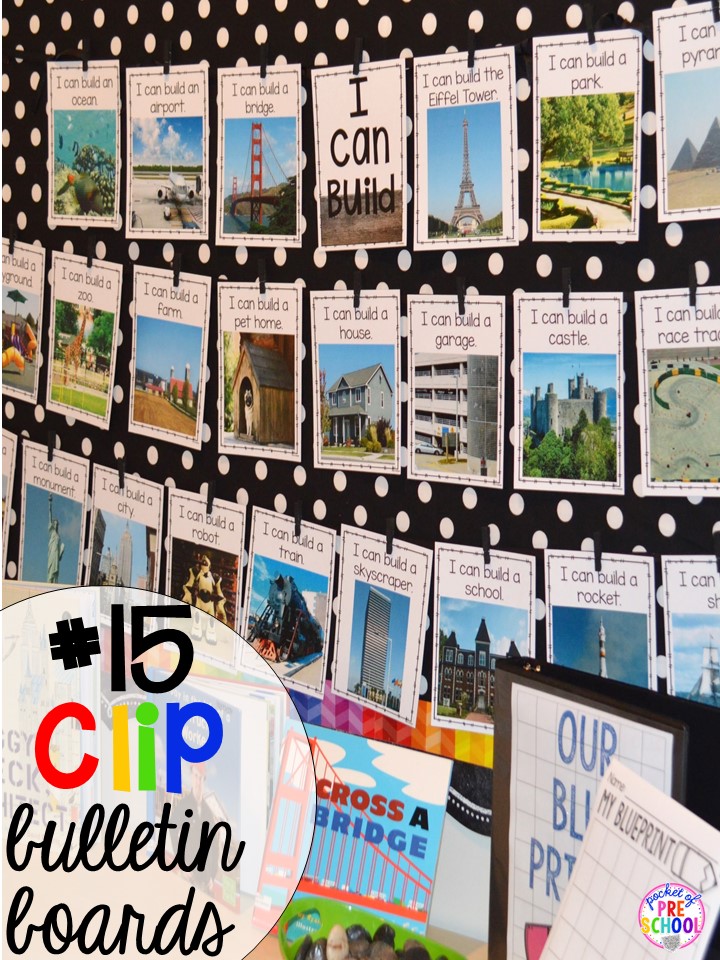
- STEM I Can Build cards
- themed cookie cutters
- themed manipulatives
- lacing cards
- fine motor activities
- Stickers
#10 Pretend Prop Boxes
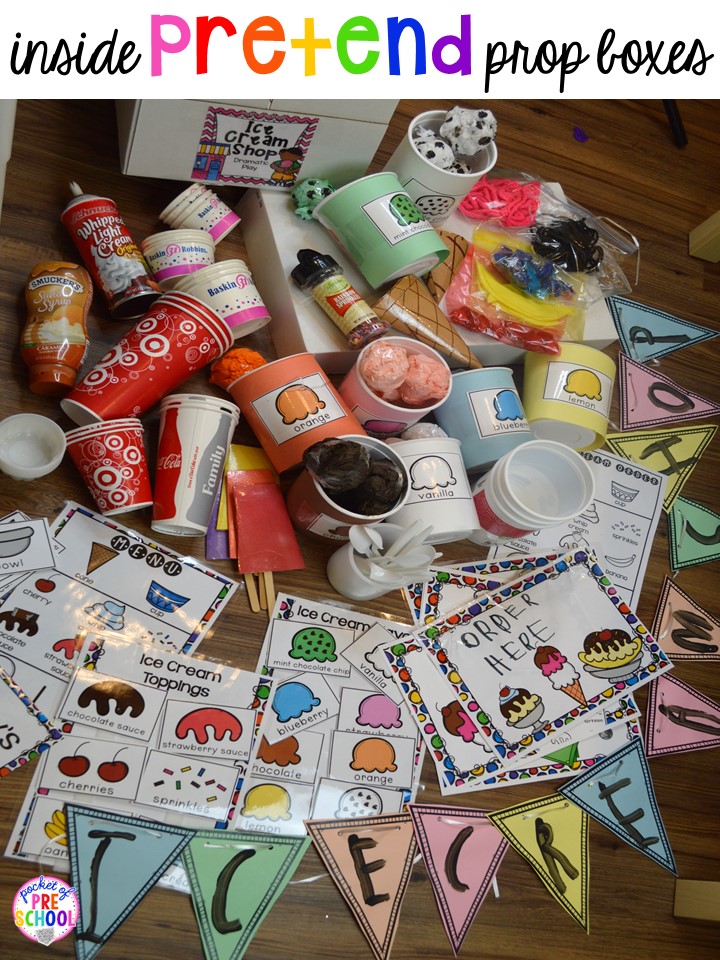
Pretend or dramatic play props can be large, so I have one box for each theme. I used copy boxes because they were free, but you can use plastic tubs as well. I printed the cover of the dramatic play set, laminated it, and taped it to the outside of the box.
I keep everything I possibly can in these boxes: bunting banners, props, signs, cups, and labels. Anything I use for the theme goes in that box. This is my Ice Cream Shop prop box. The first time you do a dramatic play theme, it takes time to prep and collect the props. It is so helpful to have it organized for the next time you want to use them.
Check it out! ALL of this fits in that box!
Check out my dramatic play center in action HERE!
#11 Sensory Table Filler Storage
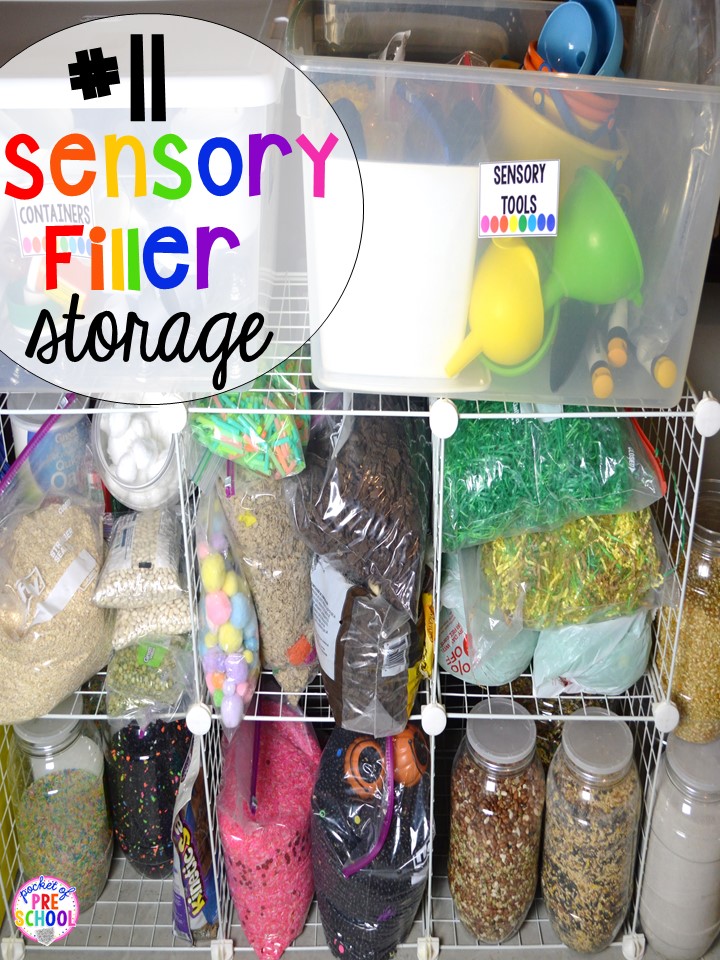
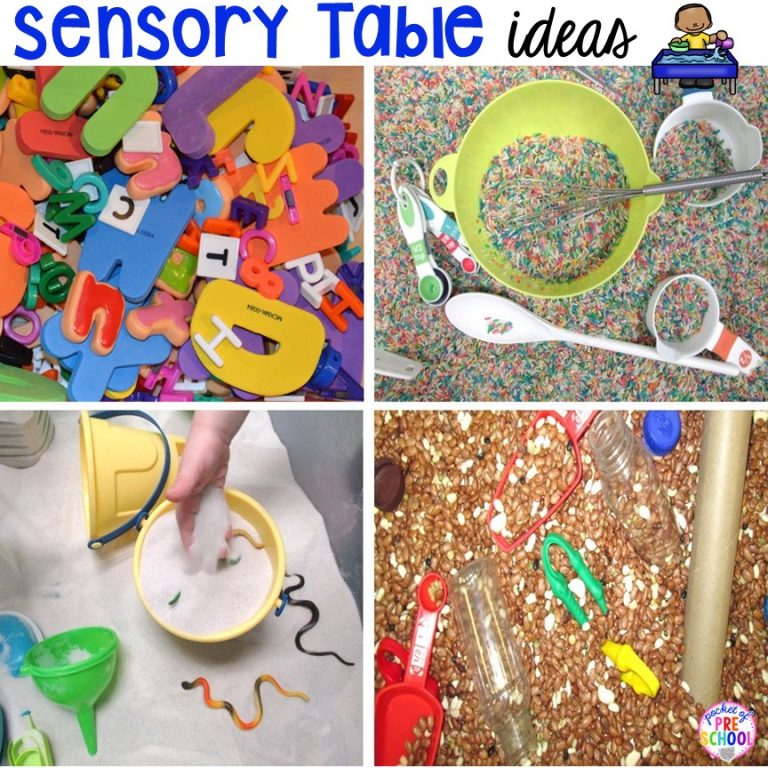
Sensory table fillers can be expensive. I keep mine in giant baggies and plastic tubs, but any large plastic containers will work. The ones in the picture are cheese balls containers my kiddos love to eat. I also keep some of my sensory table tools in the plastic tub on the top so I can quickly grab what I need. Check out my GIANT list of sensory fillers and tools HERE.
#12 Prep Station
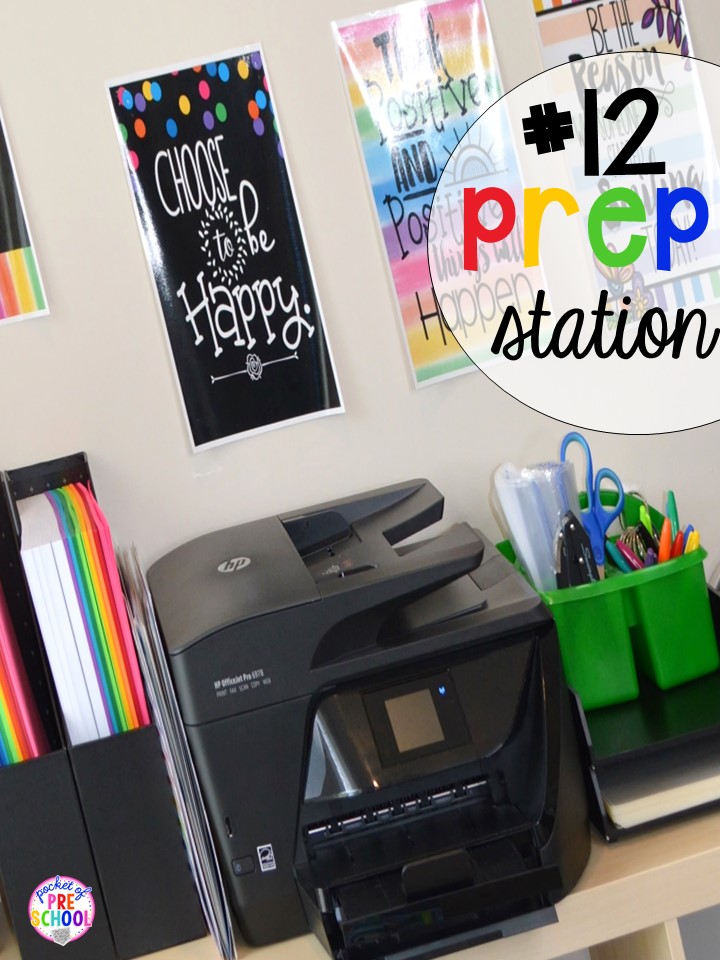
It doesn’t matter if you have a large or a small classroom, find a way to make a prep station. Put paper by the printer so you can grab it along with prep folders, lamination pouches, page protectors, and your laminator.
You can read all my printing and laminating hacks HERE.
#13 Lamination Caddy
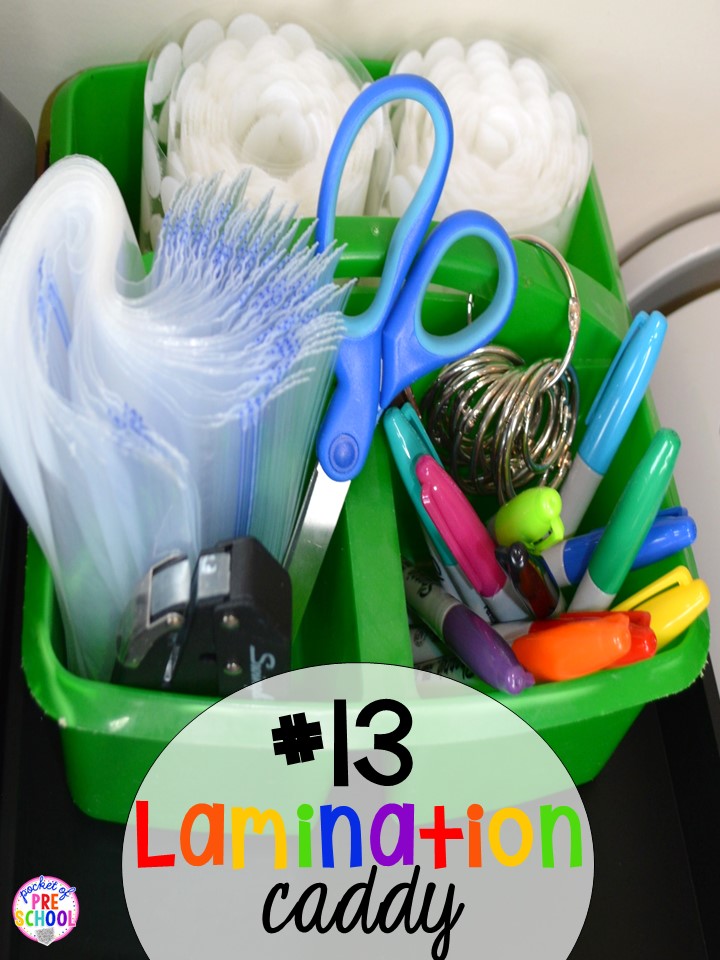
Using a colorful caddy, store Velcro Dots, scissors, book rings, sharpies, magnet tape, a strong hole punch, and baggies. Now, if you have a new TPT pack to prep, just grab the caddy and take it with you to a more comfy spot! Everything you need is in there!
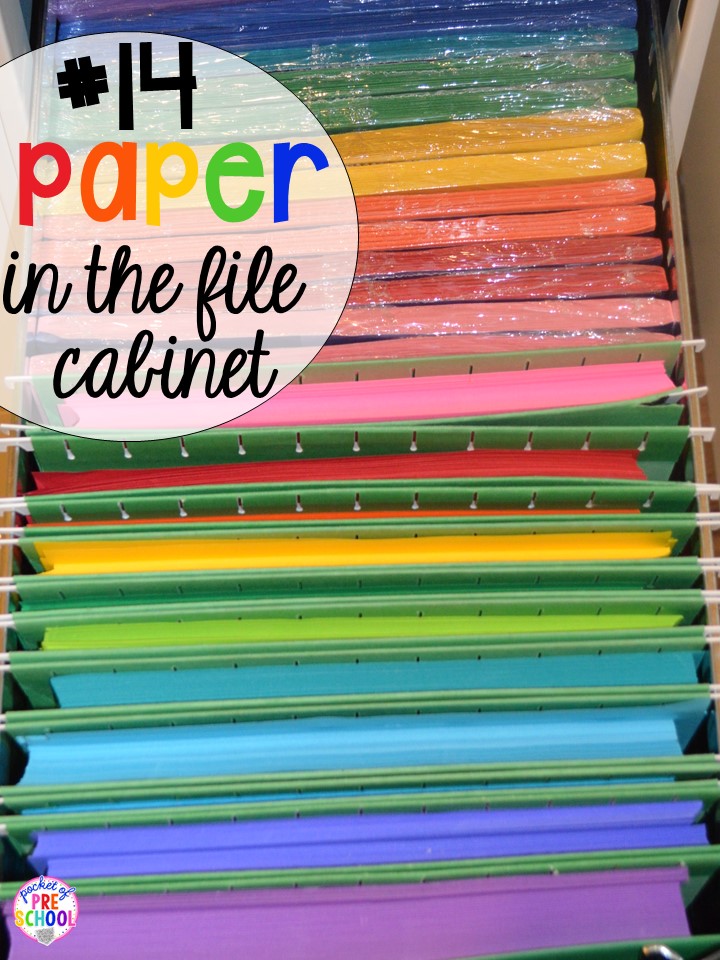
#14 Paper in the File Cabinet
Empty file cabinets are the perfect places to organize your Astrobrights paper, cardstock, and construction paper!
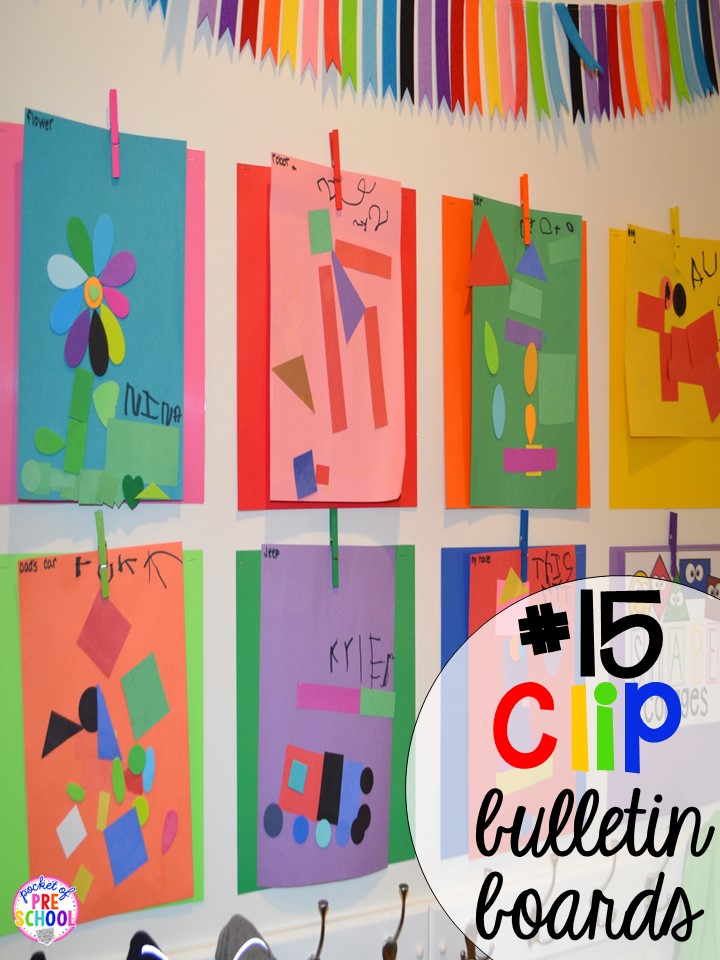
#15 Clothespin Bulletin Boards
I am the first to admit you will never see one of those super cute bulletin boards in my room. I just don’t have the talent (or patience) for it. Mine always turn out like a hot mess. Instead, you will see student work or posters in my classroom hung up with clothespins (either on laminated scrapbook paper or a ribbon.)
It makes switching out bulletin boards quick and painless, too!
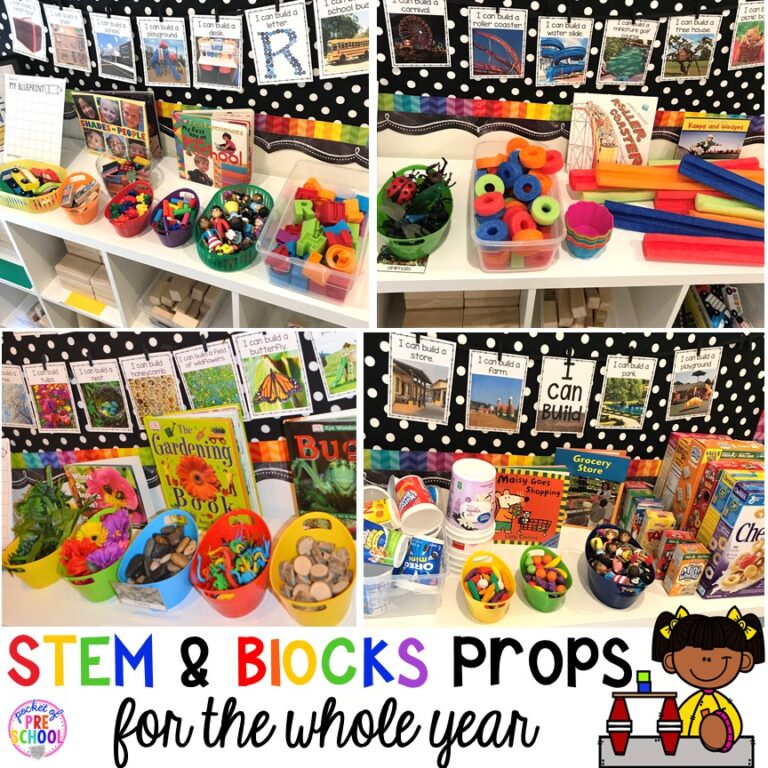
This is the bulletin board in my blocks center. I changed out the STEM I Can Build posters based on our learning theme.
Need more organization hacks? Check out these posts; just click on the picture!
Want to see more organization hacks? Check out this video.
Like these organization hacks? Pin this post now!
hey, i’m jackie!
I’m Jackie, your go-to girl for early childhood inspiration and research-based curriculum.
