Sensory Table Fillers, Tools, Hacks, & Printable Planning Lists
Share This Post:
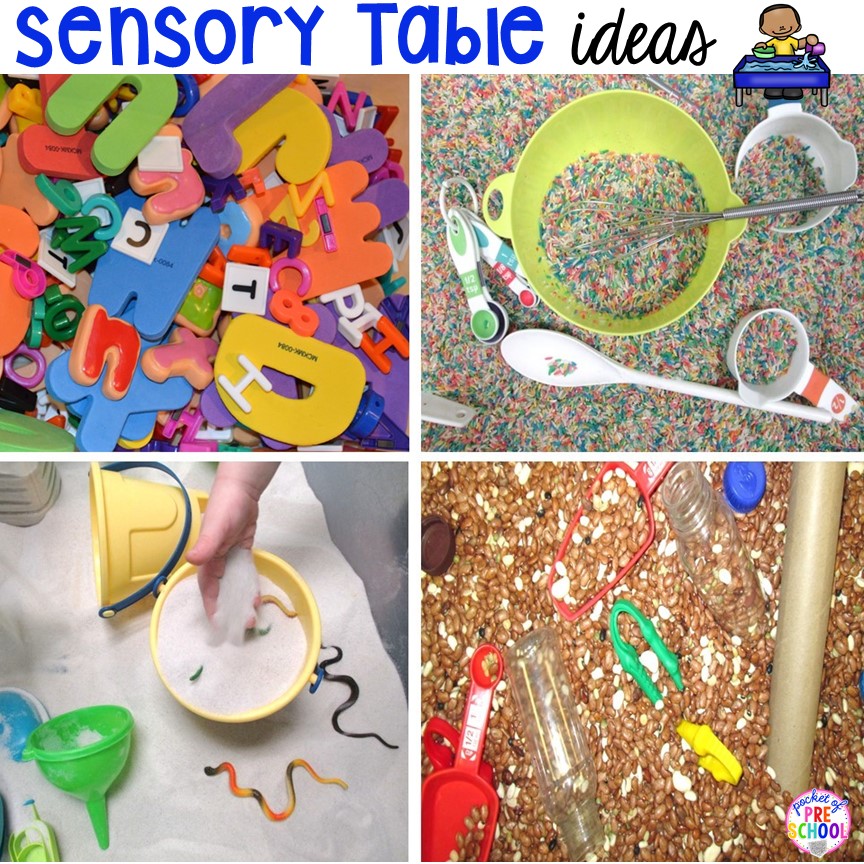
The sensory table is a staple in any Early Childhood classroom (or it should be). Each week, I methodically create a plan for the sensory table. It is a place where students LOVE to play, and just like any other space in my classroom, I need to be intentional about how I set it up. I like it to be inviting, engaging, and a place where learning will occur. Make sure you download the FREE sensory table planning printable later in this post.
Mr. Rogers famously said, “Play is often talked about as if it was a relief from serious learning. But for children, play is serious learning.” I LOVE this quote; it really speaks to me about how important play is. As teachers, it is our job to set up the environment, ask questions, and take students’ play to the next level!
Grab the FREEBIE by entering your email in the box at the bottom of this post. This post contains affiliate links which means I earn a tiny commission when you use my links at no cost to you.
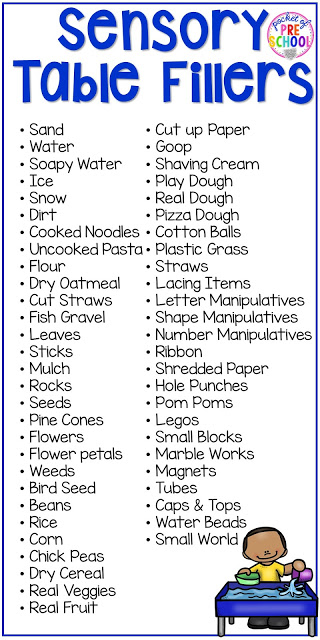
Sensory Table Fillers
Plan and reflect about what materials you want to put in your table. I change out the sensory table filler and tools every two weeks or so when my theme changes. If you want sensory table ideas for each theme (with real classroom photographs), check out my FREE Curriculum Guide HERE. I always connect the material to what we are learning about and what my students are interested in.
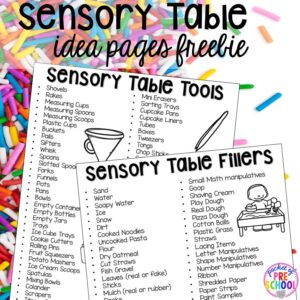
There are ENDLESS materials you can put in a sensory table! Below is a giant list of sensory table fillers you can use to fill the sensory table. And when I say fill, I mean cover the bottom or put enough in the table so students can scoop, dig, fill, and play!
Just a reminder that red kidney beans are poisonous if ingested without being cooked. DO NOT put them in the sensory table!
>>Grab the FREEBIE by entering your email in the box at the bottom of this blog post!<<
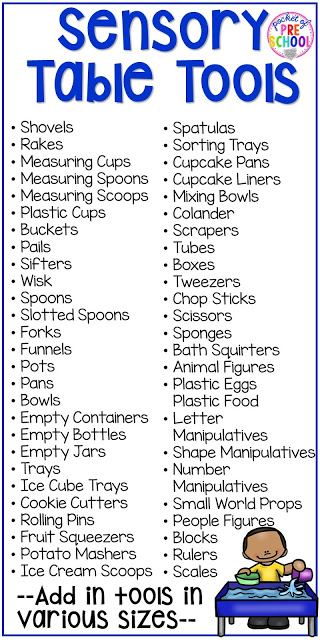
Sensory Table Tools
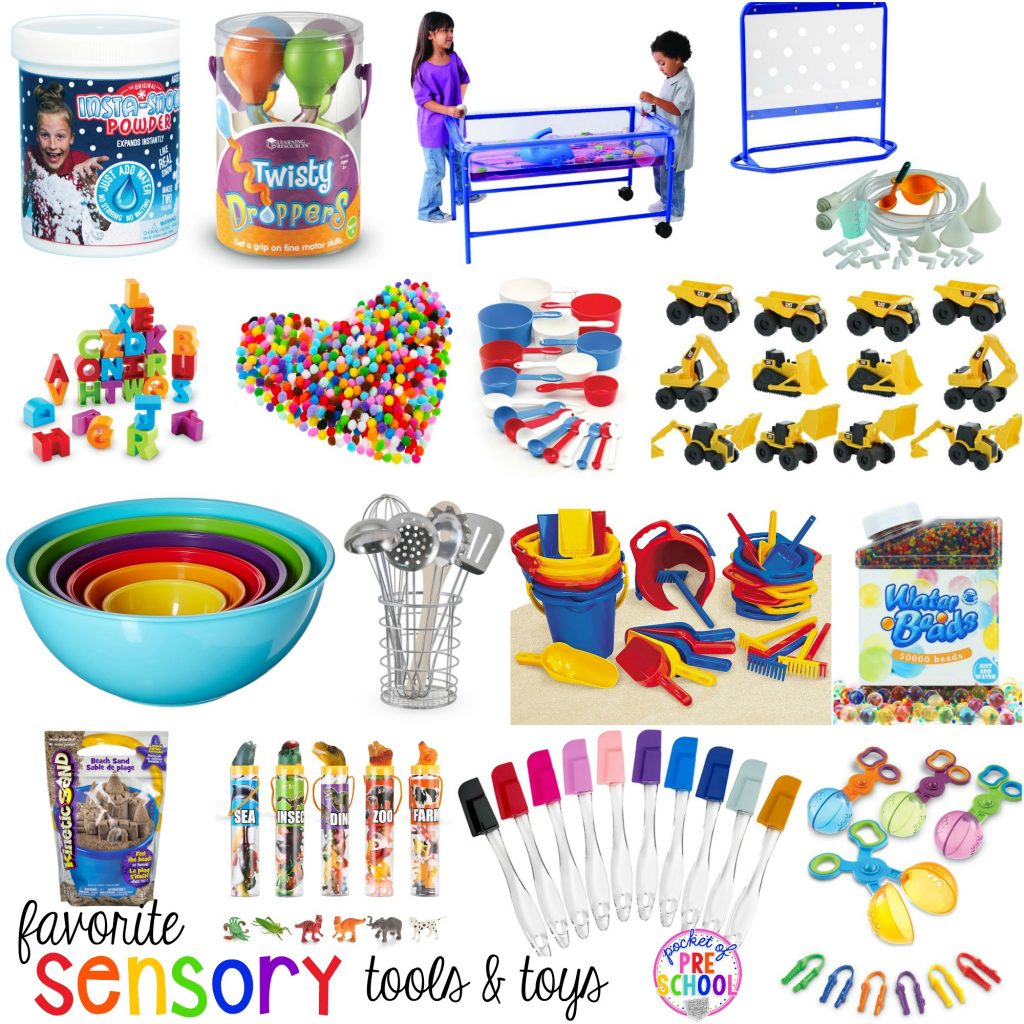
Every week in my lesson plans, I have a learning objective for the sensory table. Adding different tools to the sensory table will support different objectives and learning domains. I get most of my tools from the dollar store, Target Dollar Spot, Walmart, or Amazon. Here is a giant list of some of my favorite Sensory table tools.
It’s easy to put too many tools in the sensory table. This makes it difficult for kiddos to manipulate. Instead, change out the tools once a week to keep it exciting, engaging, and to take their play to the next level. Remember, less is more!
Always add “small treasures,” as I call them. Things like mini erasers, glass gems, pom poms, and small animal figures strengthen their pincer muscles every time they pick them up! Plus, they are great for counting and sorting too.
As teachers, we always need to know why we are doing an activity and be able to justify it.
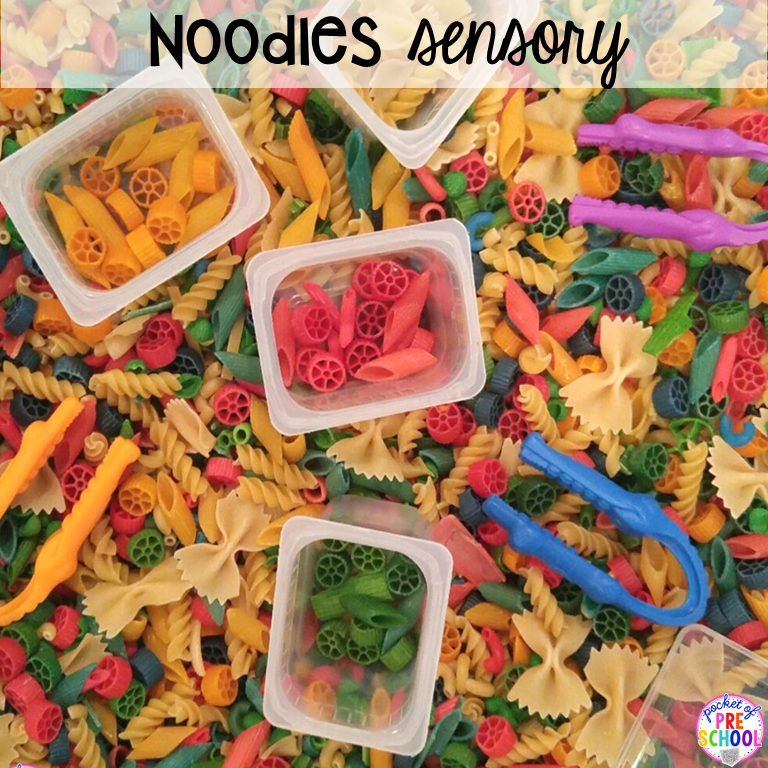
When you put a sensory table filler in with tools, the objective should be clear. What skills will the students strengthen during play? Different tools target different objectives. For example, if you add tweezers and colored noodles, students will be strengthening their fine motor muscles. By adding small baby food containers, students can practice sorting and counting. Students will also be closing and opening the containers, which will also strengthen those fingers and wrists.
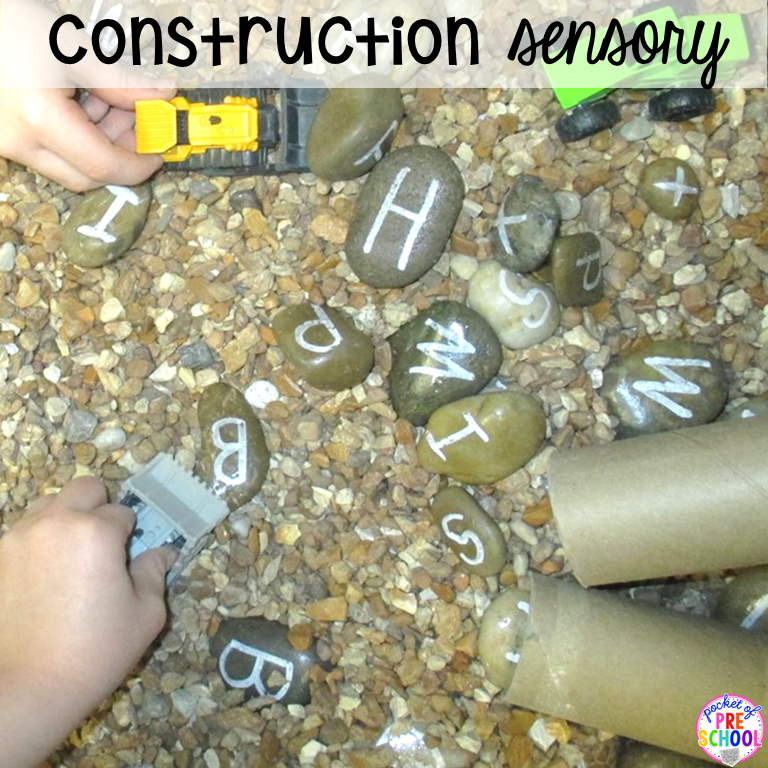
If you put in small rocks, letter rocks, and diggers, students will be exploring letters and sizes because the rocks are different sizes. I made the letter rocks myself with rocks from the craft section at the dollar store by writing letters on them with paint markers. The small rocks are from the landscaping section at Lowe’s. Students may also be pretending and acting out pretend scenarios using the trucks. Imaginative play with peers leads to lots of oral language and social skills development.
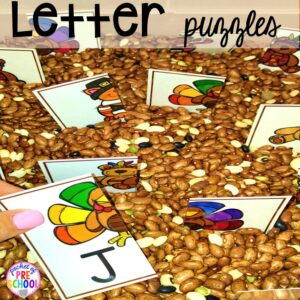
Place literacy or math game pieces in the sensory table. Sometimes for a small group, I take out the sensory tools and put pieces to a matching puzzle in the sensory table. Students have to find the pieces and then complete the puzzle. It’s just a fun way to make printables more hands-on!
Add New Tools Each Week to Practice Different Skills & Focus on Different Learning Domains
Instead of changing out the sensory table filler each week, change the tools or add a new tool each week to work on different skills and learning domains. It is less work for you, and it keeps students learning! Let me show you what I mean:
Week 1: Check out my birthday-themed sensory table to practice counting and identifying numbers! It has colored rice, plastic cupcake cups, candles, and number candles. If your students need to practice identifying letters, put in small letter beads and student name cards so students can place their friends’ names on the cupcakes.
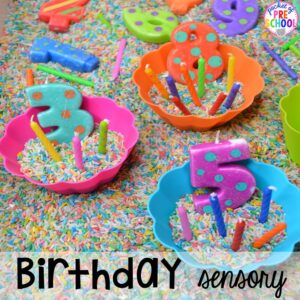
Week 2: The next week, we continued the birthday theme, and I just changed out the props. To explore measurement and capacity, I added measuring spoons, measuring cups, large bowls, and whisks.
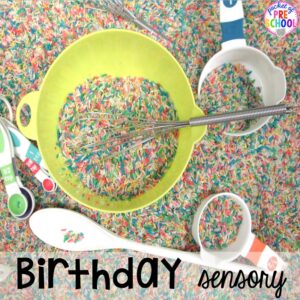
By purposely adding something new or changing the activity each week, students have something new to explore or expand upon. This makes their play fun, exciting, and intentional!
Incorporate math, science, dramatic play, fine motor, and literacy intentionally by adding various tools and/or props. Plan activities and materials that infuse other areas, so students are always learning.
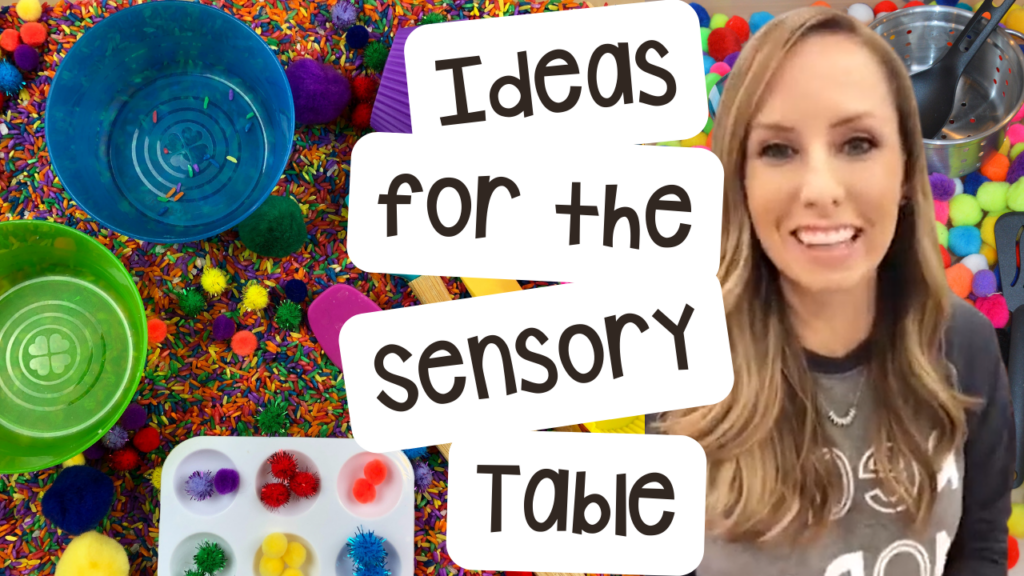
See it in action….. watch the video below!
Check out my Favorite Sensory Table Components
Letter Manipulatives!
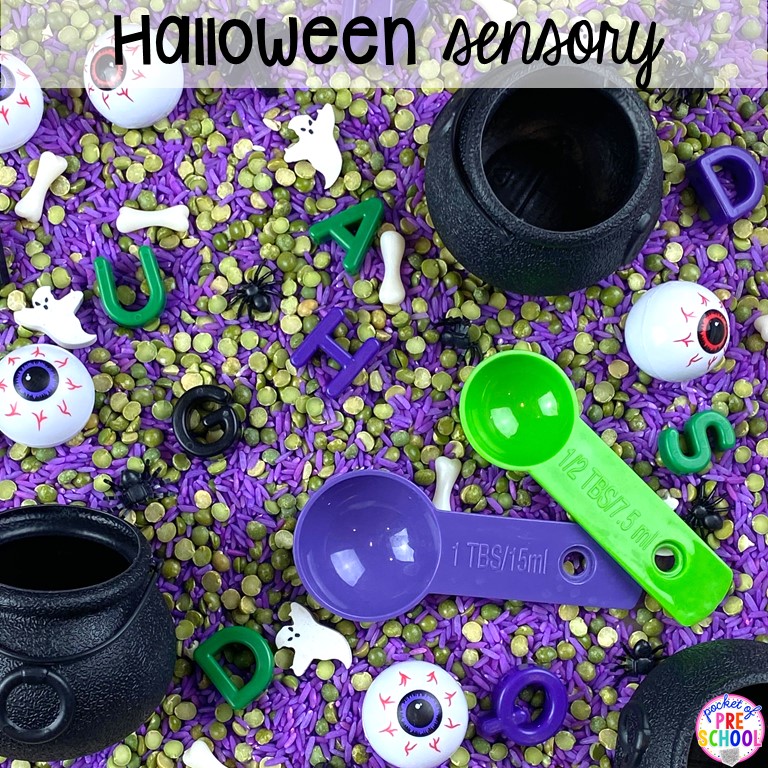
Add letter manipulatives to any sensory table to sneak in more literacy! These lowercase and uppercase letter beads are my favorite because they are very easy to clean. Just add the color beads that match the sensory theme. Students may sort the letters by color, say the letter names, or talk about the letters that are in/not in their names with their friends as they play. Will some completely ignore the letters? Yes, but that’s ok too!
Beans!
Beans are a great filler because you can color or dye them various colors for various themes. These navy beans were colored pastel colors for an Easter theme. Then small bunny erasers were added for students to count and place in the tray and sort by color. Place stickers with numbers or letters in trays to sneak in more math and literacy into their play. As they pick up any tiny object, they are developing their pincer muscle, which is needed for writing and strengthening their pencil grasp.

Rice!
Rice might be my favorite sensory table filler! You can dye rice any color you wish to match the theme of the sensory table. Rice is calming and soothing for many students as well. If you see a student is running around the room, ask them to play with you in the rice and watch how it gives them the sensory input they need, helping them to calm their body down.
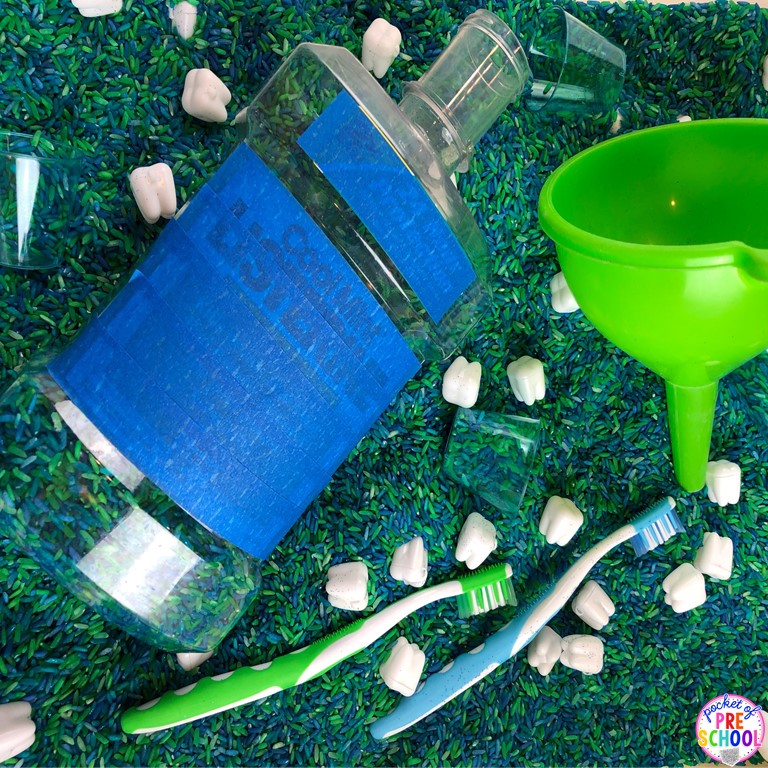
Add funnels and bottles (this is a mouthwash bottle) for students to fill and dump, allowing them to problem solve and explore capacity. When they pick up, open, and fill the tiny teeth and scoop with the plastic shot glasses, they are strengthening their fine motor muscles (fingers, hands, and wrists).
Little Legos!
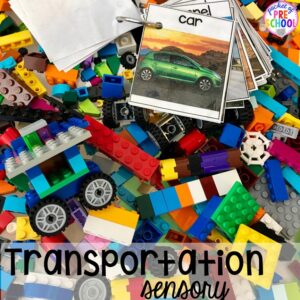
Legos are always a hit and amazing fine motor work. The first week we had these in the sensory table, students were just building to strengthen their fine motor muscles. Then I added STEM I Can Build cards to give students visual support and to encourage them to engineer, build, and problem-solve with a plan and purpose.
Ice!
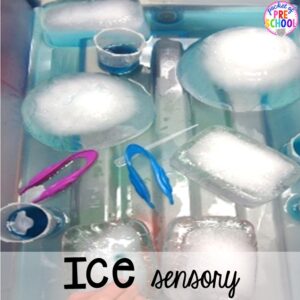
Ice experiments and investigations were a ton of fun during our winter theme! Students used pipettes, tweezers, and water to investigate their own ideas and conduct their own experiments. One student experimented with how to make holes in the ice. See his little hole with the blue water in it!
The next week we learned about animals that lived in the Arctic. I froze plastic arctic animals in ice. As the students were trying to free the animals, they were talking about the animals and building their vocabulary!
Cutting Wrapping Paper & Ribbon
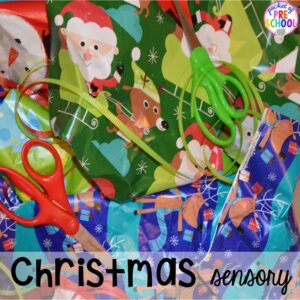
For Christmas, I put wrapping paper scraps and ribbons in the sensory table for students to cut to help develop scissor skills. In the second week, I added tape and small boxes for students to wrap to continue to strengthen those fine motor muscles. What kiddo doesn’t LOVE to cut things up into tiny pieces?! If you are not allowed to do a Christmas theme at your school, you can translate this idea into a birthday theme or just plain wrapping paper to support a color theme!
Sand or Colored Salt!
Sand is just so calming in the sensory table! To start, I only put in buckets, funnels, and shovels. Students had funnel races, and they explored the relationship between the size of the funnel and the amount of sand it holds (volume)! The next week, I added two empty juice bottles so students could practice sharing and taking turns. Social skill objectives are important too! If you can’t find sand in your area, color salt with liquid watercolor for the sensory table.
Rubber Mulch!
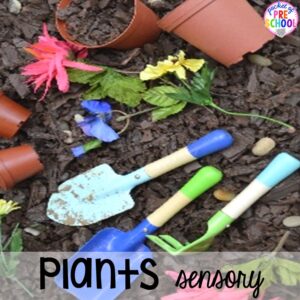
If you are learning about planting, create a sensory table so students can pretend to plant seeds and act out the life cycle of a plant! We pretended the rocks were seeds, and I put in various size pots and fake flowers so students could compare and sort by size. Be careful with real dirt; most bags of dirt you buy have chemicals in them.
Sensory Table Clean-Up HACK
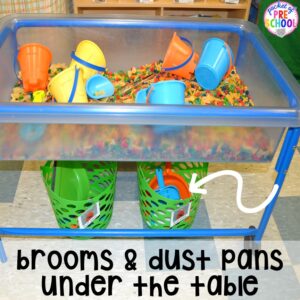
In my classroom, whatever is in the sensory table tends to end up on the ground. Add baskets with dustpans and brooms so students can clean up what flies out! Make a square on the floor with tape (we used our square tiles) to give a visual support to show students where to sweep the mess too. At the beginning of the year, students need help using the dustpans. However, as the year went on, they were able to do it independently.

 Sensory Tables
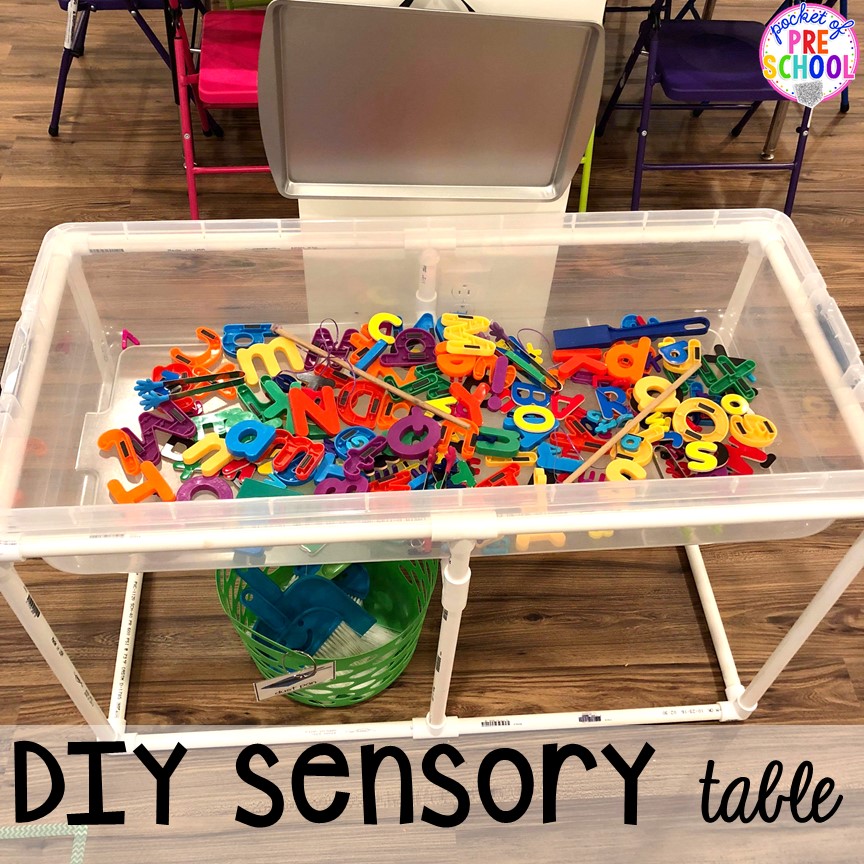
We all LOVE sensory tables, but they can be expensive. The one pictured above was from my full-day classroom, and it was amazing. When I started my in-home preschool, I just didn’t have it in the budget to get a fancy sensory table, so my hubby made one for my classroom…And do you know what? It is just as amazing as the fancy one above! You can find the tutorial HERE.
Fishing for letters! This one is made with towel rods, tweezers, magnet wands, and magnet letters (small, wooden, and jumbo size). I hot glued a ribbon to the back of a cookie pan and hung it on a command hook. Students posted the letters they found, matched letters, and made their names. Plus, there were tons of conversations about letters and letter sounds.
>>Grab the FREEBIE by entering your email in the box at the bottom of this blog post!<<
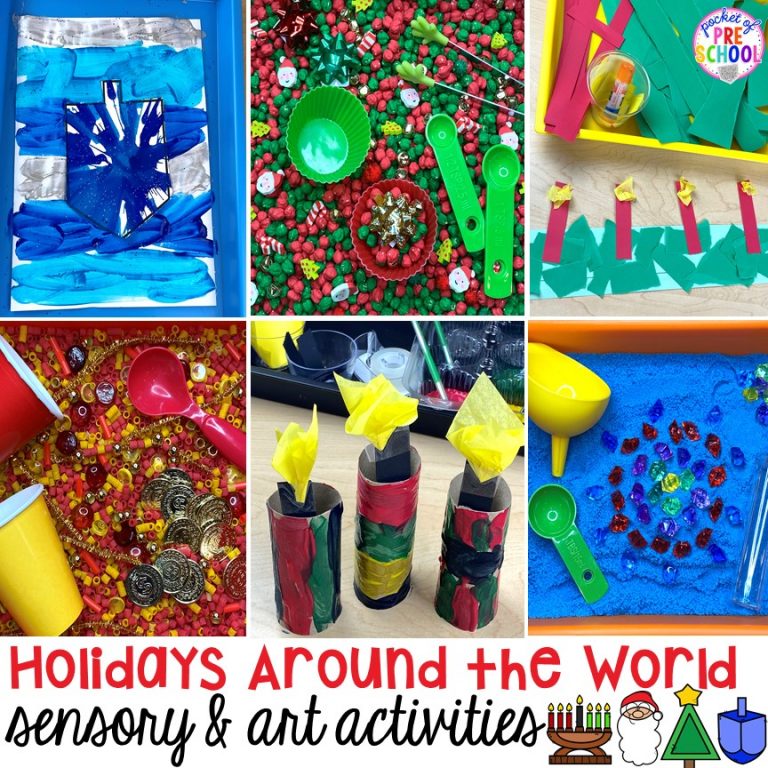
If you need sensory ideas for more themes, check out this post packed with 40 sensory tables. If you need sensory tables for holidays, check out this post with over 24 holiday-themed sensory tables!
Now that you are excited about sensory tables, you might need to know how to color the fillers. I have made a few tutorials to help you. Check out: How to Dye Chick Peas HERE, How to Color Beans HERE, How to Dye Rice HERE, and How to Dye Noodles HERE.

Get more ideas on how to set up the sensory table here.
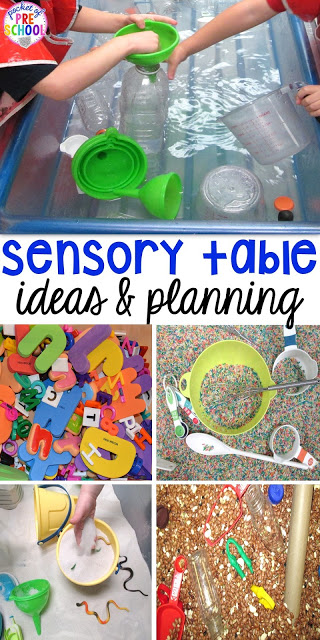
Like it? Pin it!
Want to know my absolute favorite sensory table tools? Check out this post by clicking the photo below!
Check out my Pinterest board for more sensory table inspiration!
hey, i’m jackie!
I’m Jackie, your go-to girl for early childhood inspiration and research-based curriculum.




 Sensory Tables


