
- freebie
- |
- Art
- |
- Summer
- |
- Popular Right Now
Open-Ended Summer Art Activities for Preschool, Pre-k, and Kindergarten
Share This Post:

Summer art activities that are perfect to keep little learners busy and those creative vibes pumping through the hot summer months! There are ideas for airplanes/summer traveling, citrus, safari, zoo, ice cream, chalk, and more! These are open-ended art ideas, so each person will make their own masterpiece to display.
So, what’s the difference between process art and product art? Process art is open-ended. The focus of the activity is to use various mediums and create a piece of art for the purpose of expression. Product art is a craft that has a set of instructions and requires the final product to replicate a given design. Both kinds of art are important in the classroom for kids of all ages, I believe.
Want over 180 process art ideas for the whole year? Grab the Art Guide to make planning easy!
Grab the FREE safari printable template at the bottom of the post to kickstart your summer process art activities!
This post contains affiliate links, which means I earn a tiny commission when you use my links at no cost to you.
Summer Art Activities with Chalk
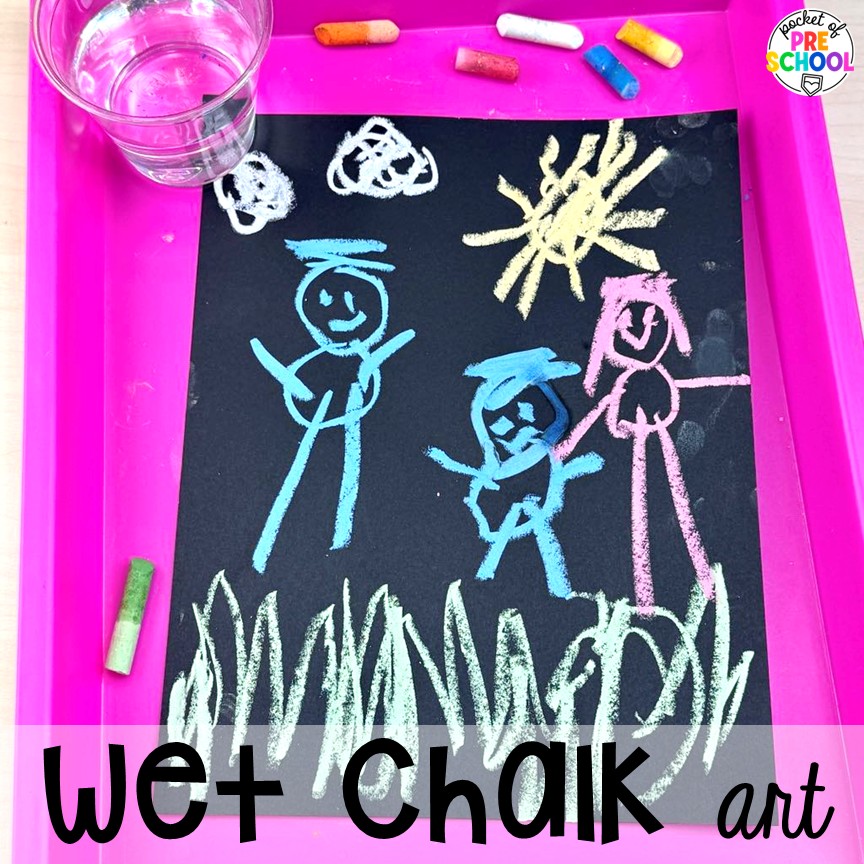
Wet Chalk! A science-type art project since you get to watch the chalk dry before your eyes and see the color change! I prefer to use black paper, as it really brings out the bright colors of the chalk! Students will dip the piece of chalk in a cup of water and then draw. That simple, but it is so fun to watch the chalk change as it dries. You can spray the finished product with hairspray to help make the chalk stay on the paper.
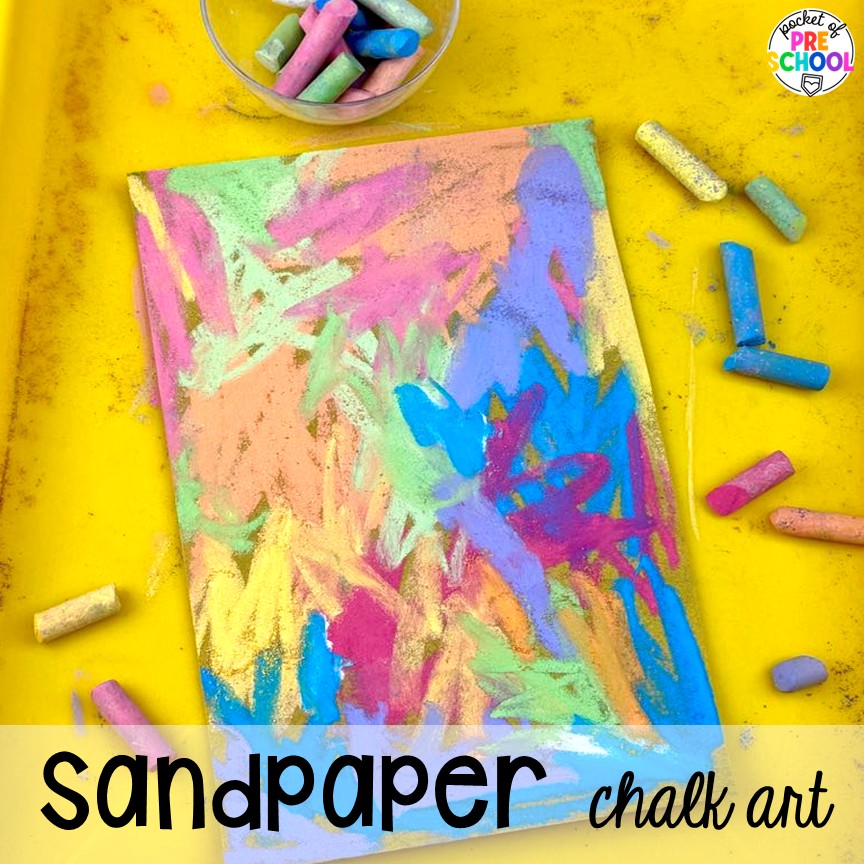
Sandpaper Chalk Art! Grab some sheets of sandpaper and cut them in half or into quarters. Then, students use chalk to cover the whole paper to create a colorful masterpiece! This does use your chalk quickly since the sandpaper is rough. It is also messy so a great project to take outside! Once done, spray the picture with hairspray to keep the chalk in place.
Icy Summer Art Activities

Frozen Paint Art! Put paint into popsicle molds or paper cups with popsicle sticks and freeze overnight or longer. Take the paint pops out of the freezer a few minutes before students are going to use them. Give students a piece of paper and let them create with the frozen paint!
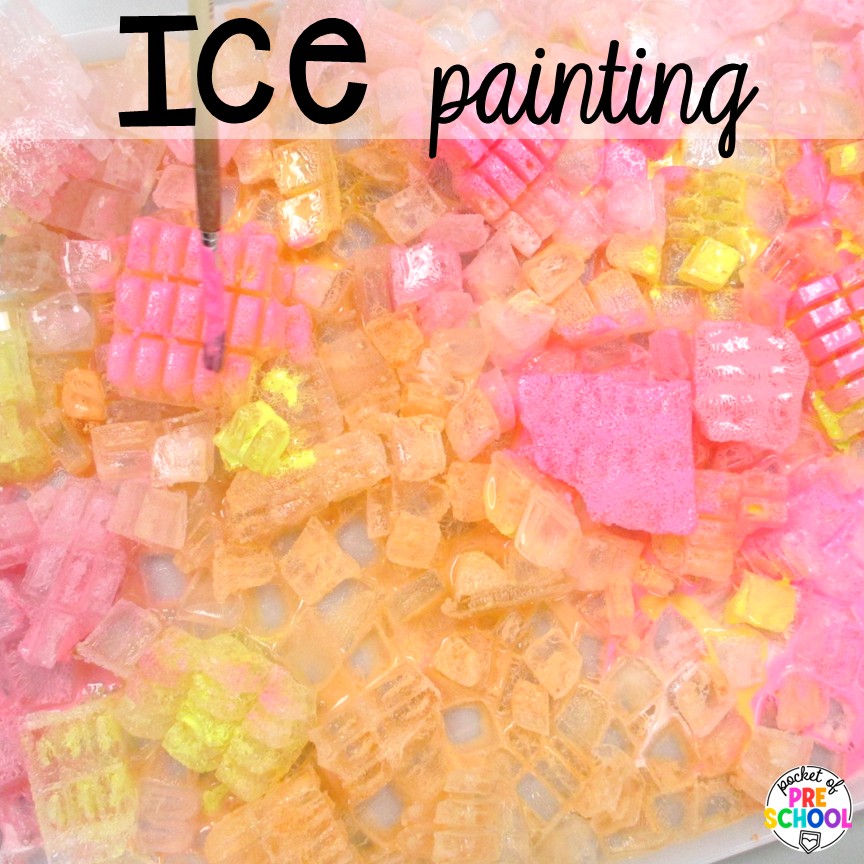
Ice Painting! Create a new kind of art by painting on ice! I put the ice in a tub and then mixed warm paints for students to paint with. Luckily, we have a big ice maker, so I didn’t have to make all this ice by hand. By painting the ice, they could easily see the ice melting, dripping, and mixing.
Watercolor Summer Art Activities

Glue Resist Art! I just love the way this art piece dries, and every one is different! Start with watercolor paper and liquid watercolors. Students paint their whole paper with different colors. Then, they take clear liquid glue and squeeze it all over their picture. As you can see, the colors lighten where the glue is, and it makes a beautiful picture.
My tip for using liquid watercolors is to have labeled cups or cups that match the colors of the watercolors, as they can all appear dark and be challenging to distinguish. I also label the brushes with tape to match as well.

Watercolor Texture Art! You will need some liquid watercolors, watercolor paper, and rubbing alcohol to make this gorgeous collage! Students start by covering their paper with liquid watercolors. Then, they use droppers to drop rubbing alcohol onto the wet watercolors. As the rubbing alcohol hits the paper, you see the colors change, and your students are going to love it! If you are worried about your students mixing and creating brown, simply provide warm colors or cool colors.
Printed summer Art Activities

Airplane Printing Art! Many students may travel in the summer, making an airplane or traveling theme a fun classroom activity. This printing art is just what you need to plan; it is easy to do and requires little prep for the teacher! To start, students paint their paper with a couple of shades of blue. Then, they used a cookie cutter in black paint to stamp their paper. Some students may do one airplane, while others may cover the sky. While the paint is still wet, give students cotton balls to tear apart and stick on their sky for clouds. I did unroll the cotton balls beforehand to encourage students to tear them apart instead of sticking them on whole.
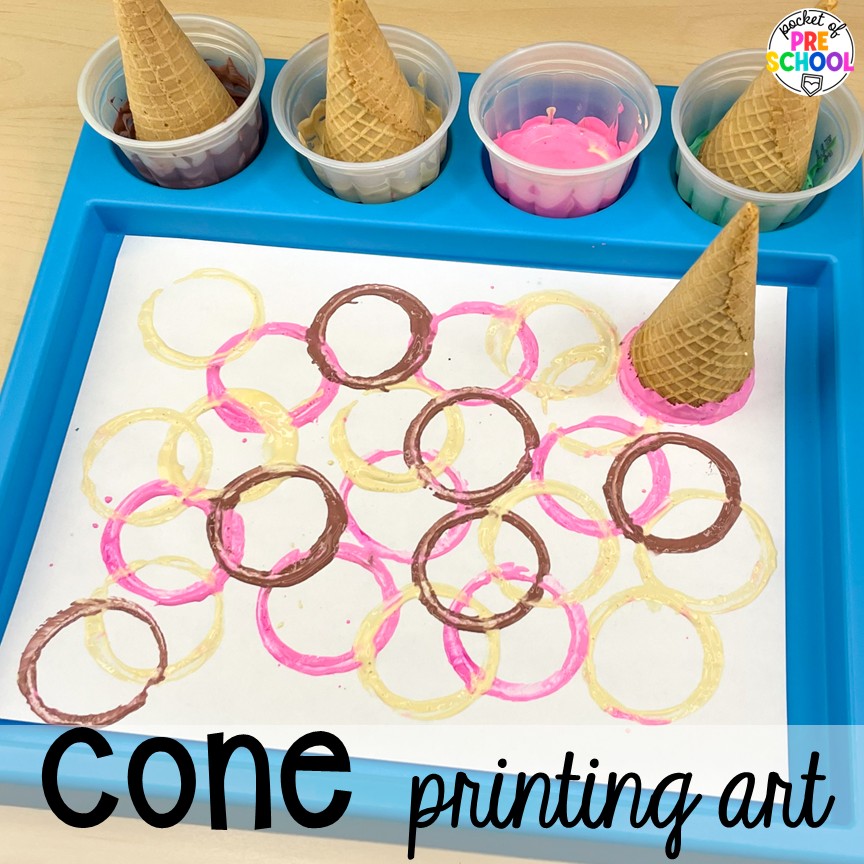
Cone Printing Art! This open-ended art project is perfect for all ages! I put my paint into leftover ice cream containers from a birthday party. I also used different colors that were like ice cream (pink, brown, pastel green, and cream). Students used cones to create a print masterpiece. You can use real cones or plastic ones.
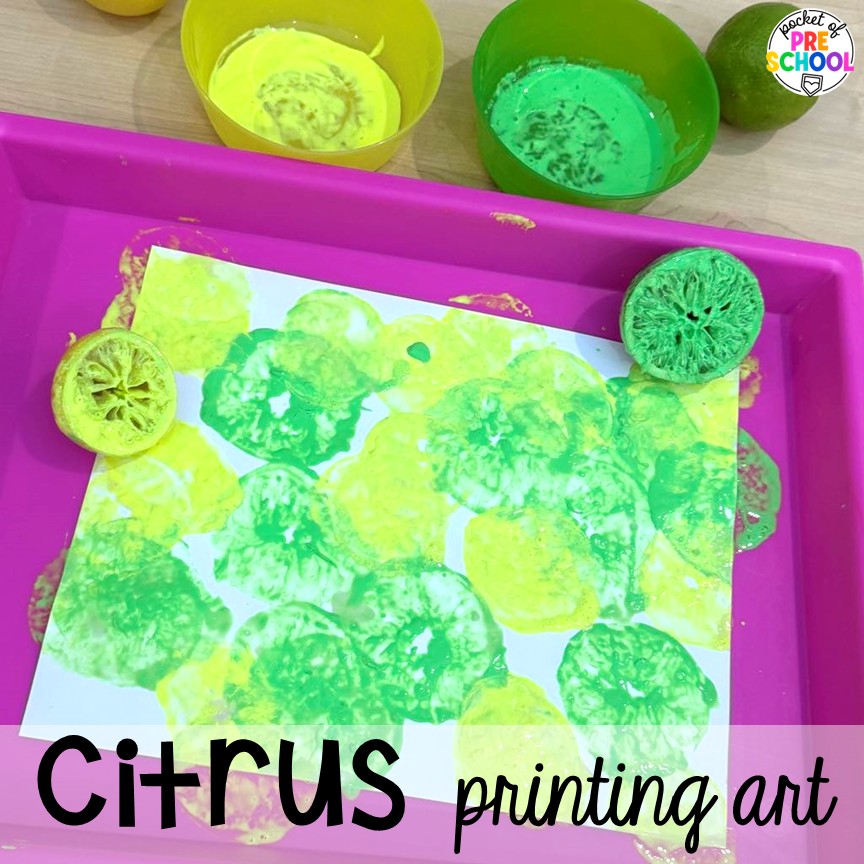
Citrus Printing Art! The first and most important step for this art activity is to squeeze out as much of the juice from the lemons and limes as possible. Then, leave them out overnight to dry out. The next day, I put neon paint into containers, and students used the lemon and lime halves to print their papers. I love how you can see the inside of the fruits in the prints. If you don’t squeeze out enough juice, the paint gets runny, and the prints just look like circles.
3D Summer Art Activities

Bubble Printing Art! Beforehand, mix liquid watercolor with your liquid soap and a small amount of water in cups. Give each student a tray and a straw. Put some of the colored bubble solution onto the trays, and students use their straws to blow bubble mountains. Then, they take a piece of paper and put it on top of the bubbles. As they pop, they print the paper.
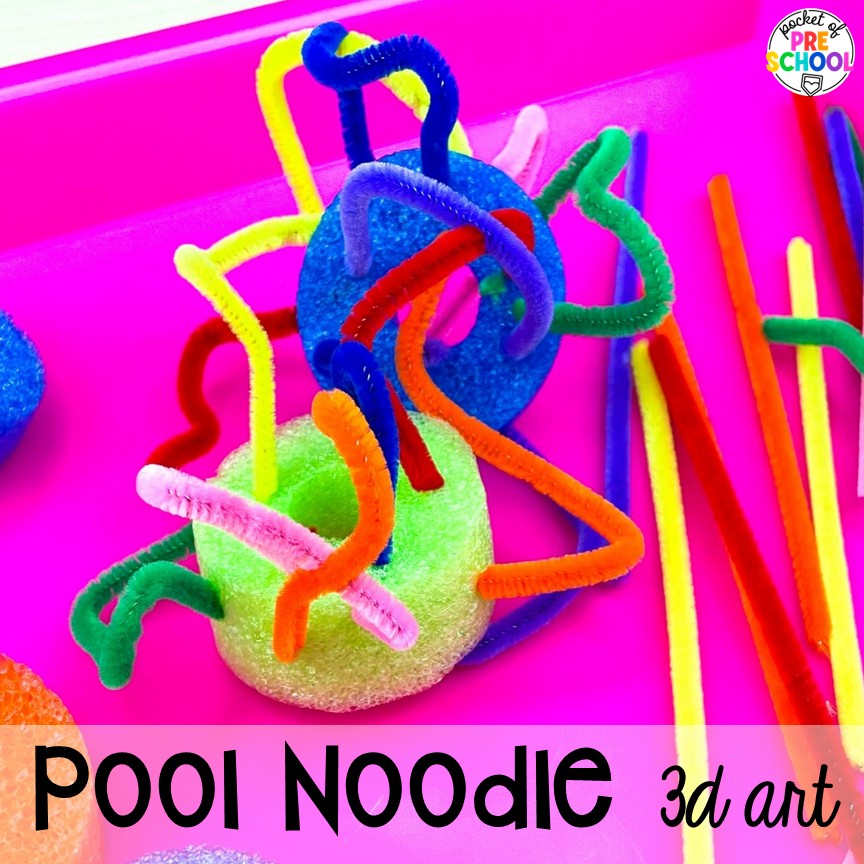
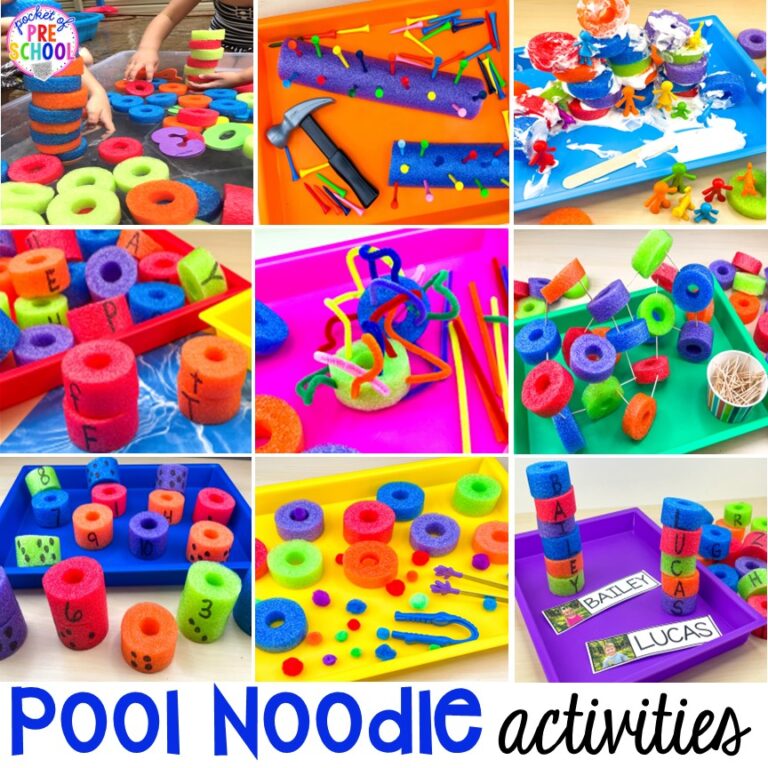
Pool Noodle 3D Art! Grab a few pool noodles from the dollar store and cut them into pieces. For more pool noodle ideas, check out this blog post! Students can use pipe cleaners to create the sculpture part of the art project. They are easy to poke into the pool noodles, and students can twist and bend them however they want!
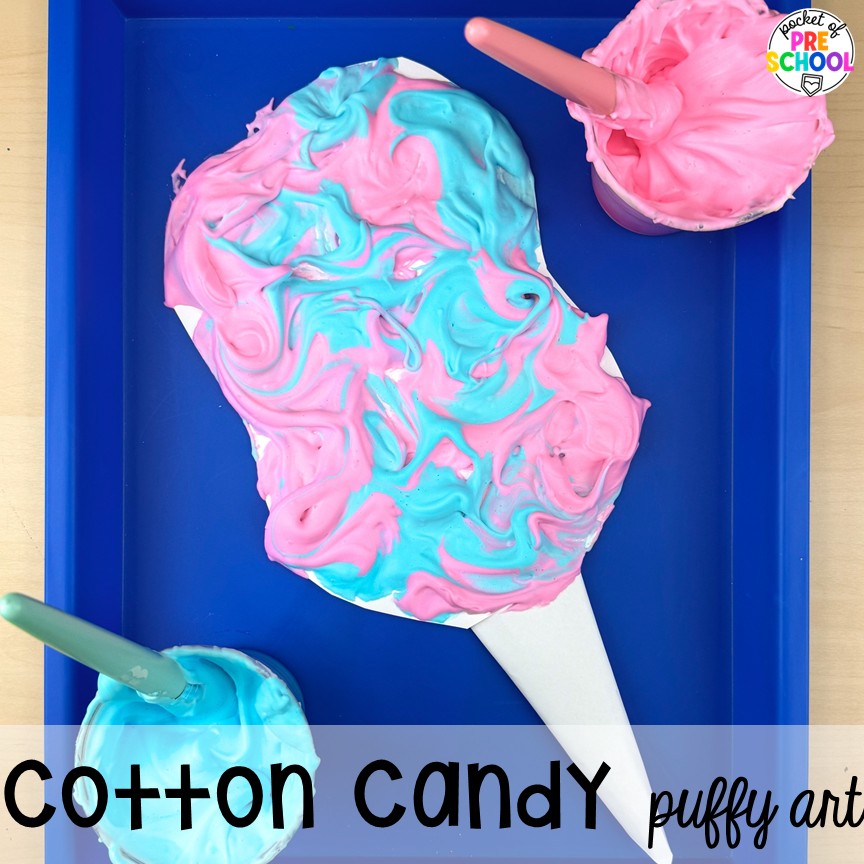
Cotton Candy Puffy Art! Make puffy paint by combining equal parts liquid glue and shaving cream. If you want to make your puffy paint a color, add the food coloring or liquid watercolor to the glue before mixing it with the shaving cream. Puffy paint only stays puffy for 30-60 minutes, and then it deflates, so this is not something you can make ahead. The teacher or student could cut out a cotton candy shape from paper and then paint it. Once dry, tape a paper cone shape to the back for the handle. The puffy paint stays slightly puffy and springy once dry for a fun textured art activity!
Summer Art Activities with Paint
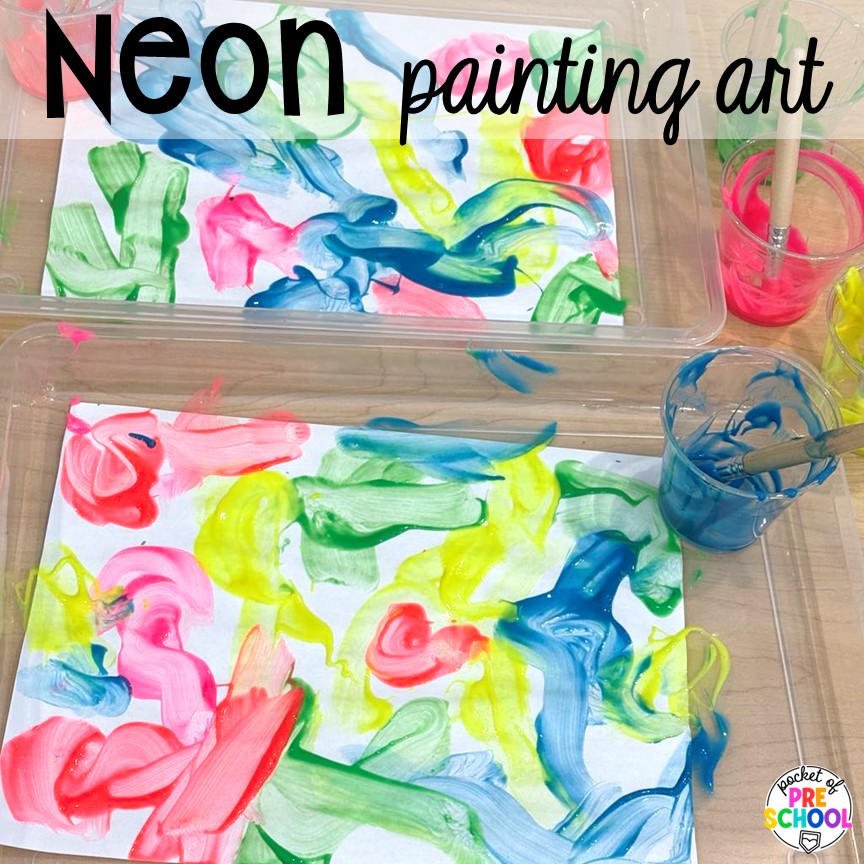
Neon Painting! Grab some neon paints and let your students create whatever their hearts desire! This is special for my students because I don’t pull out the neon paints very much, so they are always excited for a new medium.
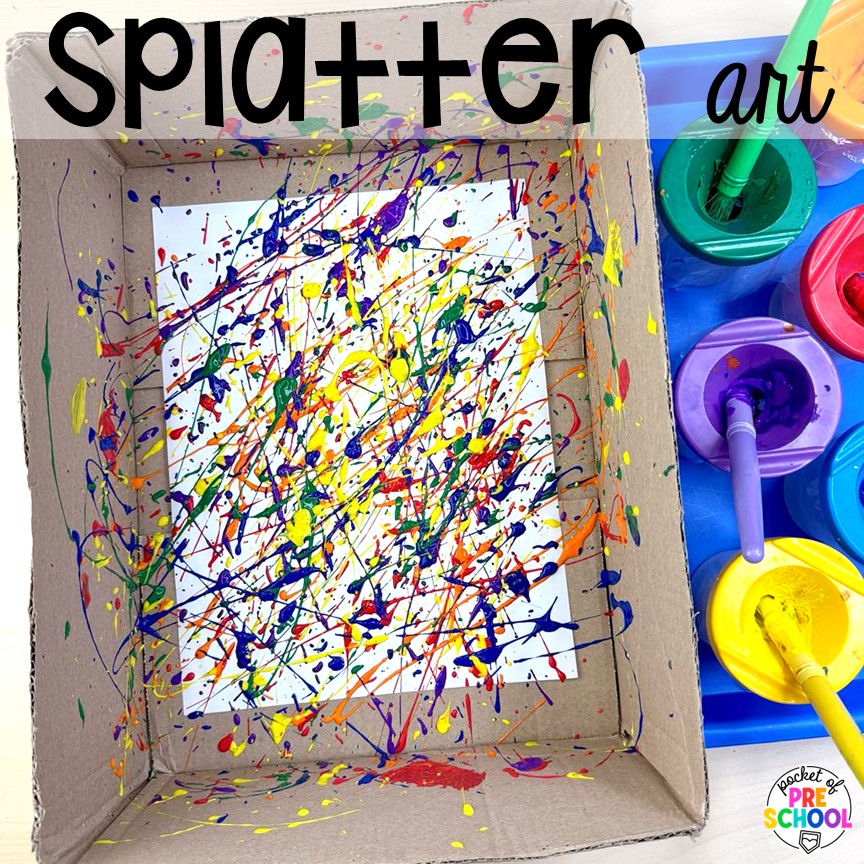
Splatter Art! This is another project that is best done outside! Put a piece of paper inside a box, and students use tempera paint to splatter their paper.
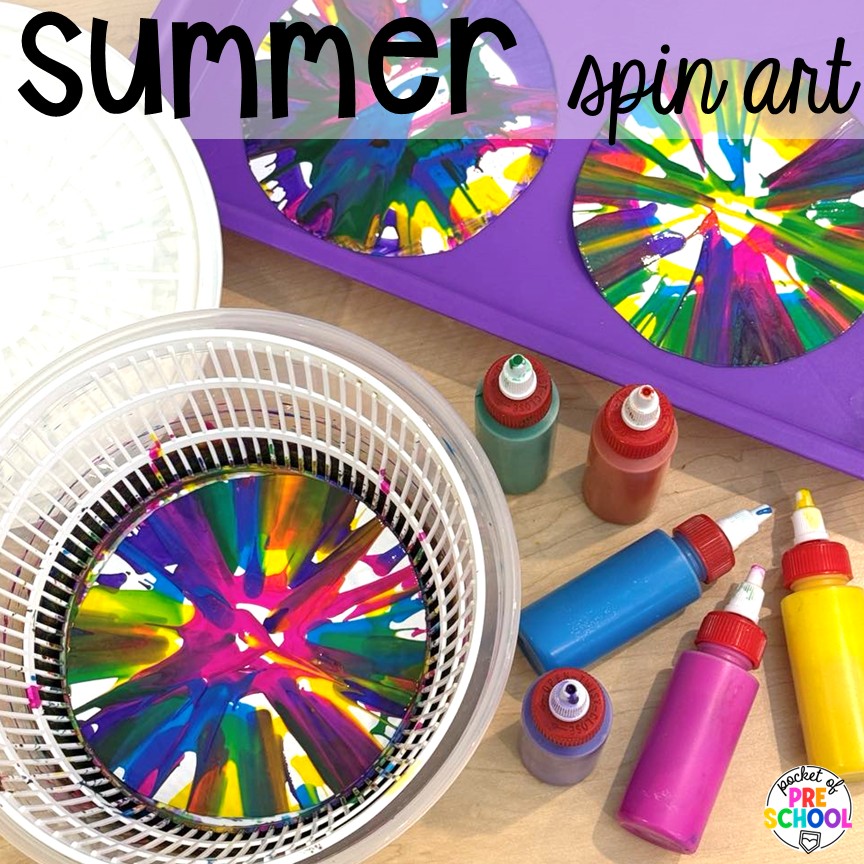
Summer Spin Art! Cut whatever shape of paper you want and place one inside a salad spinner. Add a few drops of paint to the paper and put the lid on. Spin the spinner, watch the paint move, and design the paper. I use a cheap salad spinner from Target. This is so much fun for kids of all ages!
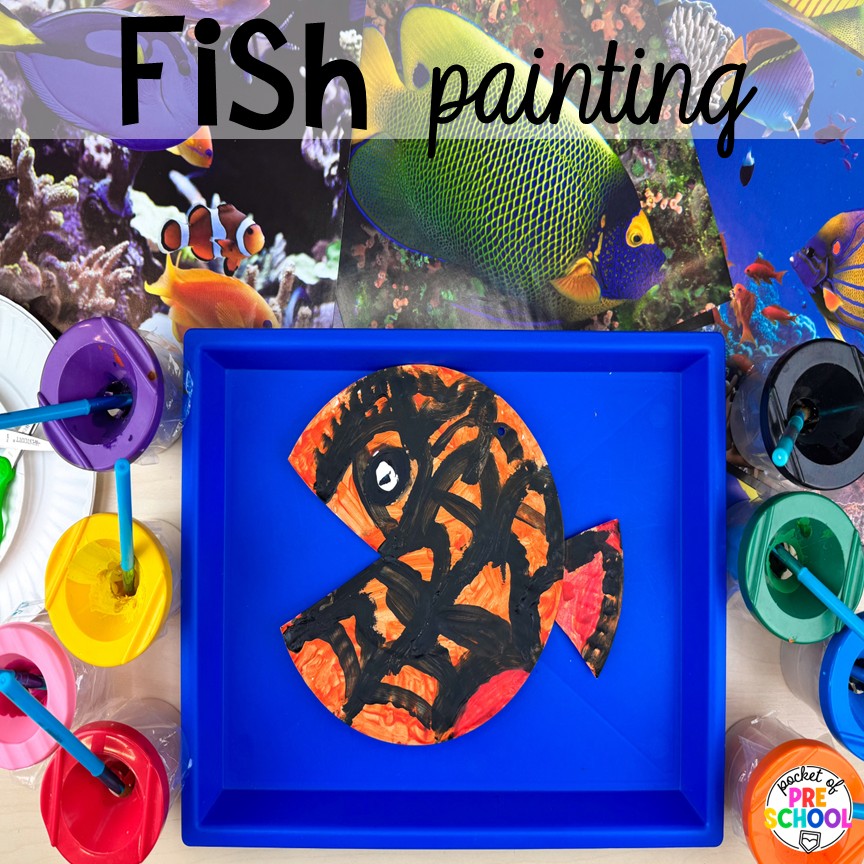
Fish Painting! Grab some images of different kinds of fish so students can look and create. I laminated the pages from a calendar for my fish images. Cut a triangle out of a paper plate and tape it to the other side for the tail. Then, I let students paint whatever kind of fish they want.
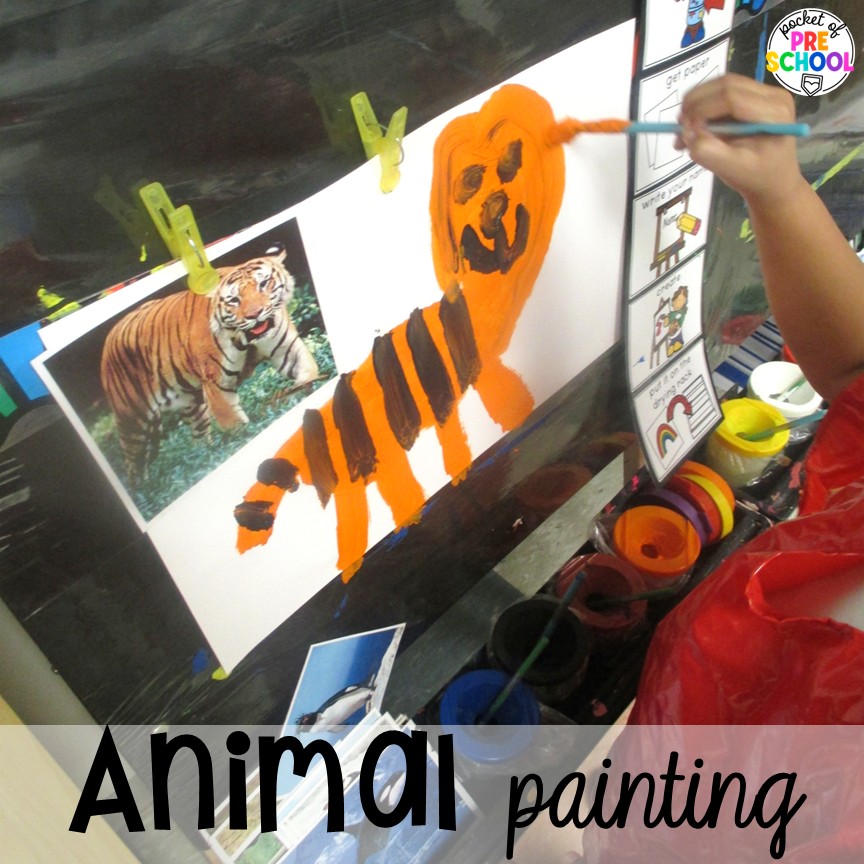
Animal Painting! Similar to the fish painting above, I put out pictures of the animals we are studying and allow students to paint what they see.
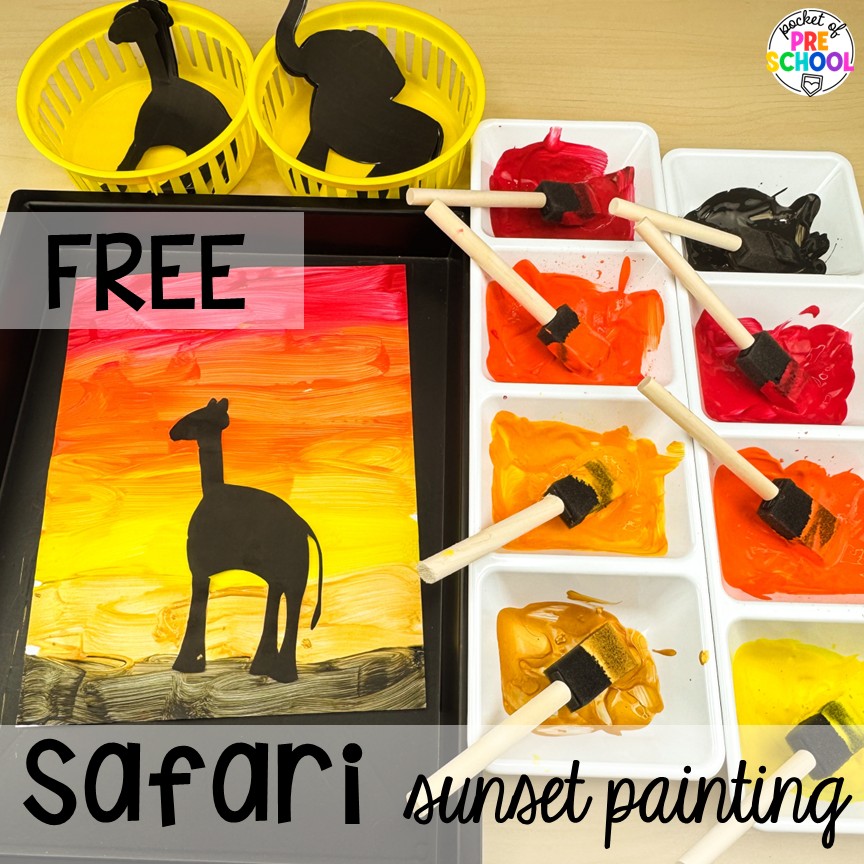
Safari Sunset Painting! Start by making various shades of yellows, oranges, and reds so students can create a sunset. I also set out black so they could make the ground if they wanted. I don’t expect my students to make a perfect sunset with the colors in order, and some may not even make the stripes, but this is their artwork. Then, I cut out the giraffe and elephant silhouettes. Once the paper is painted, students put a FREE silhouette safari animal to complete the project.
>>Grab the FREEBIE below by filling in your email in the box at the bottom of the post. <<

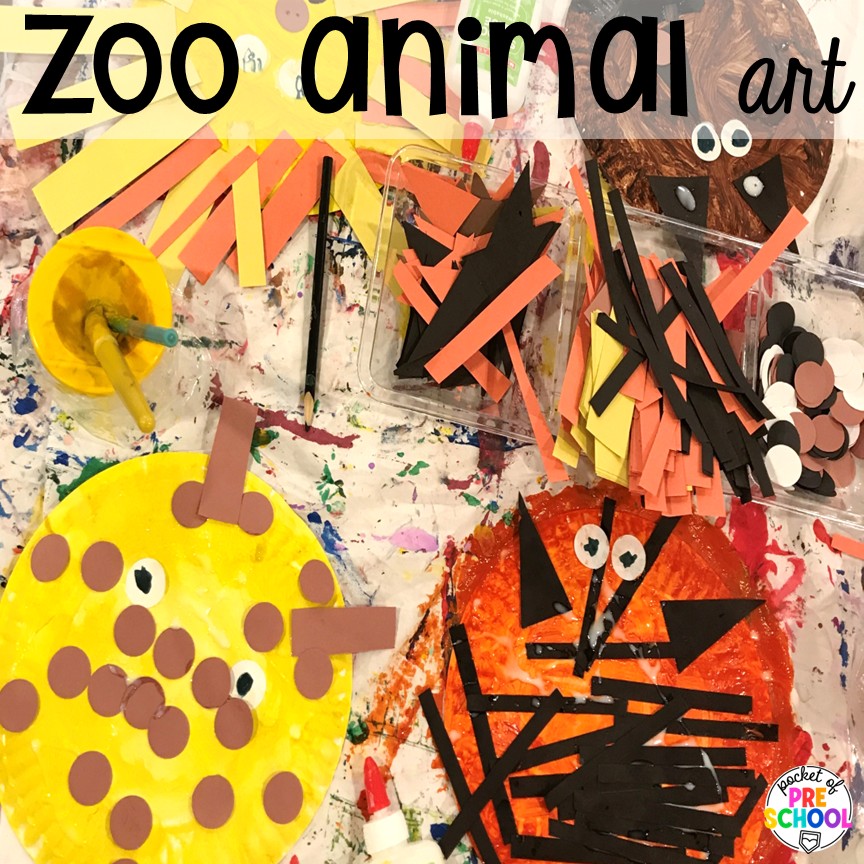
Zoo Animal Collages! My students love to create these zoo animal collages with random art supplies. I precut strips and circles of paper in a variety of colors. Each student gets a paper plate (I had small and large to pick from.), and they paint the base color. Then, they add the details to their animal. I love how each one is different and unique, just like the students. See my setup below.
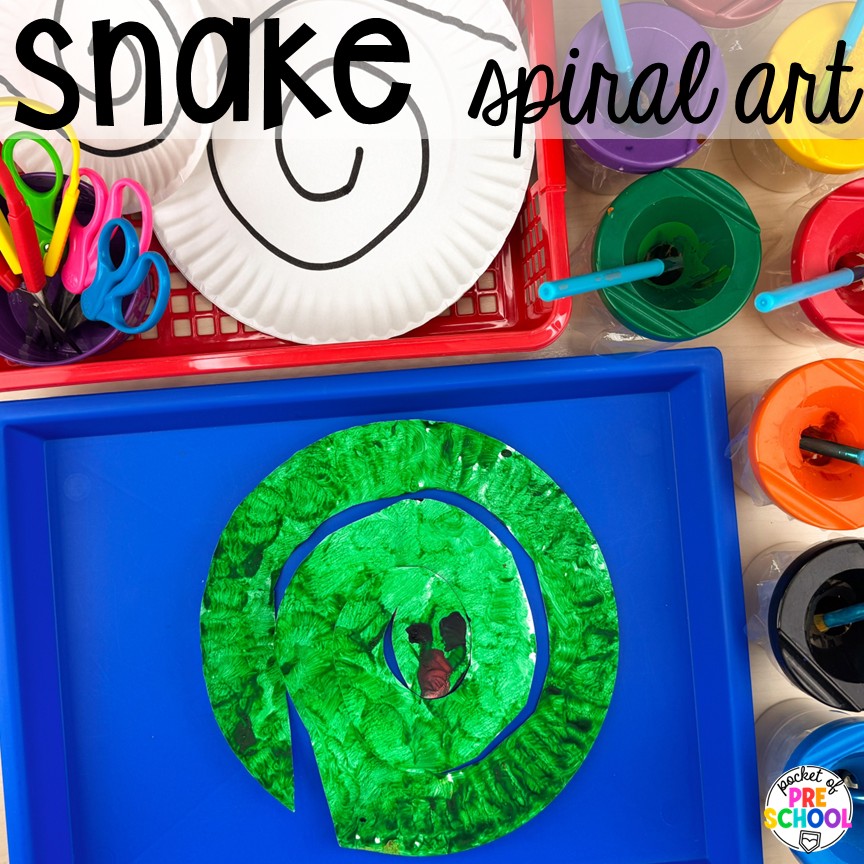
Snake Spiral Art! Use a paper plate to create a snake! I draw the spiral shape before they add the paint. We also look at pictures of different kinds of snakes beforehand so we don’t have all brown and green snakes. After the students paint the plate and it dries, they can cut along the spiral line to make the snake uncurl.
Open-ended art activities don’t have to be overwhelming or time-consuming to prep, that’s why I love them in my classroom. I also love to see my students’ personalities and creativity shine throughout each of these art projects. So grab your lesson plan book and pick out your favorites!
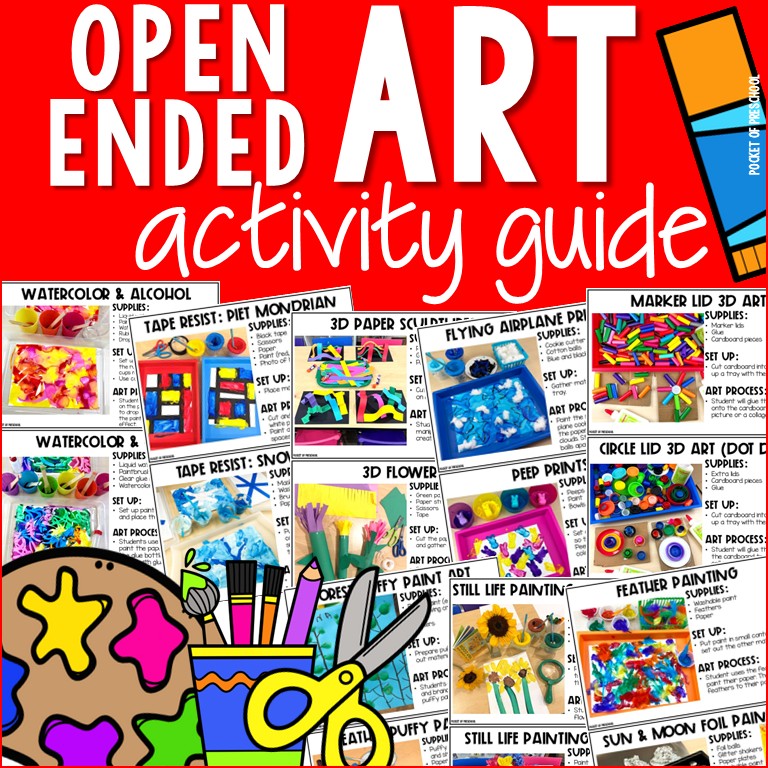
Do you struggle with coming up with art activities for the whole year? I just created an art guide that has over 180 open-ended art ideas for preschool, pre-k, and kindergarten students. Check it out by clicking on the image!
Head over to these blog posts for more ideas!
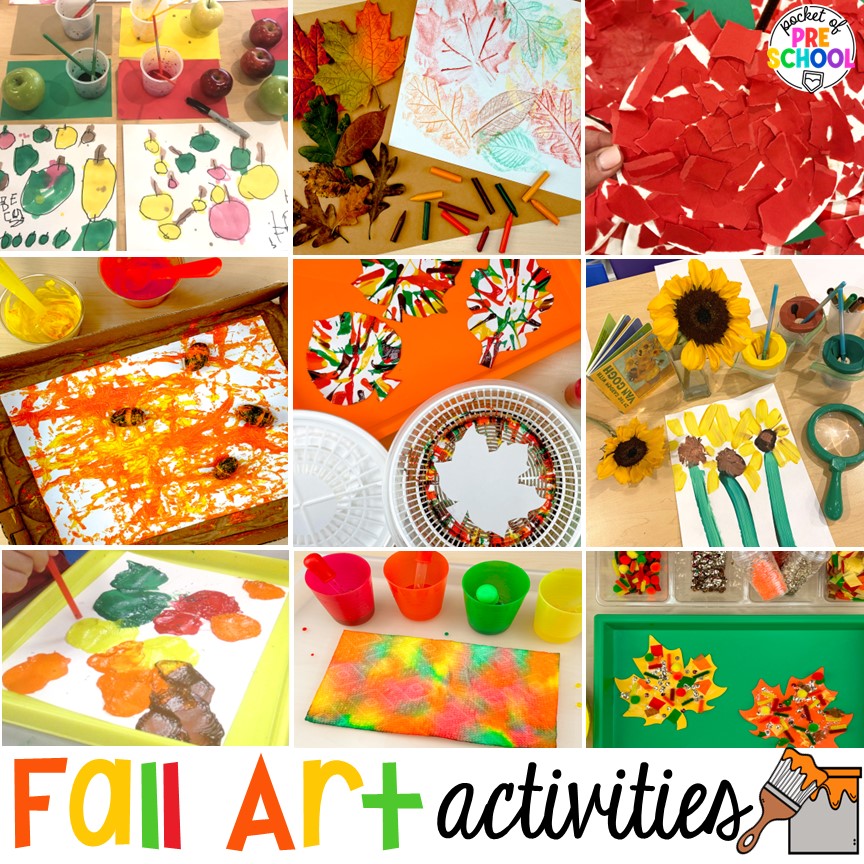

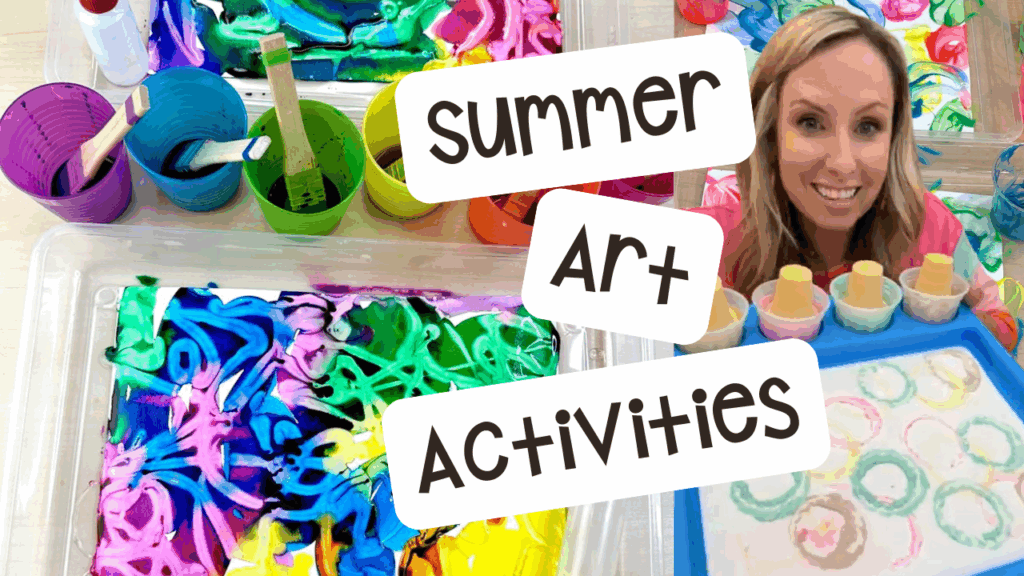
Want to see these art ideas in action? Check out the video!
Get the FREE safari silhouettes by filling in the box below.
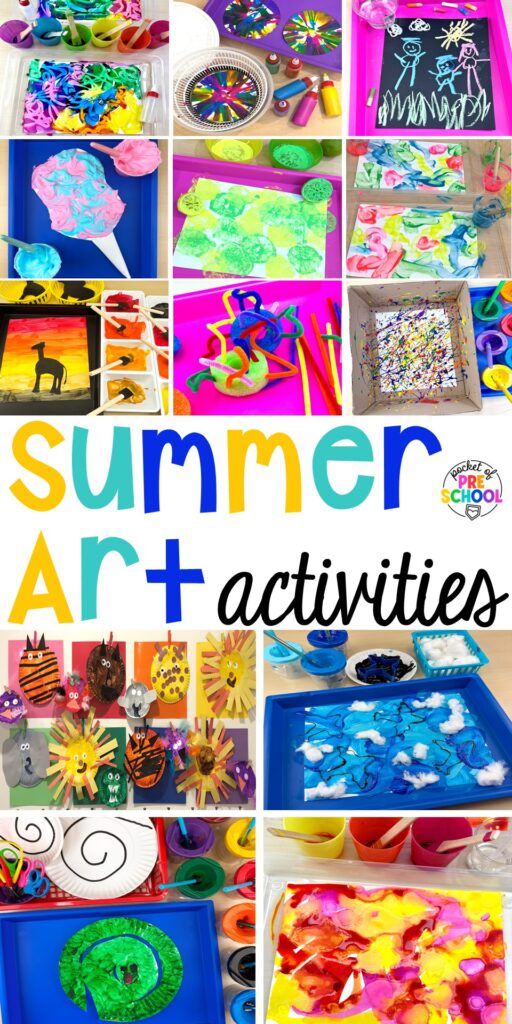
Love this post? Pin this image!
hey, i’m jackie!
I’m Jackie, your go-to girl for early childhood inspiration and research-based curriculum.