Directed Drawings for Preschool, Pre-K, & Kindergarten: Benefits and How to Use Them In the Classroom
Share This Post:
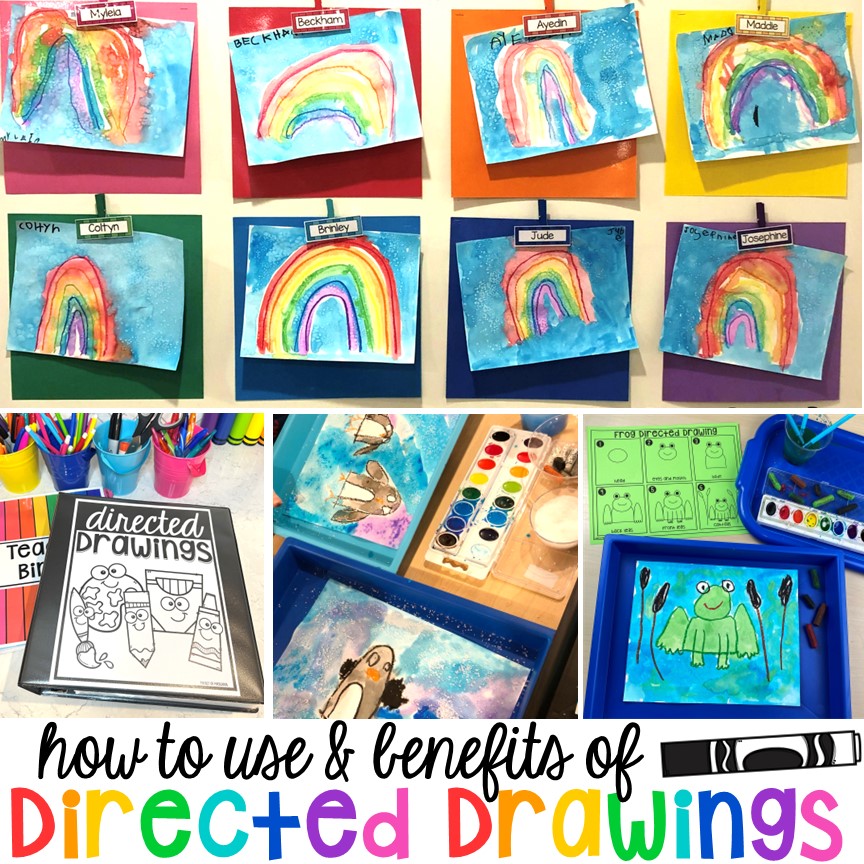
Directed drawings are always a hit in my classroom, and I love using them for all their benefits! So, what exactly are directed drawings? They are step-by-step directions to create a drawing of an object using simple shapes and lines. These are great for teaching following direction skills and fine motor development! Something to remember is that directed drawings do not replace open-ended art. Make time for open-ended art, too, so students have the opportunity to create, express themselves, and use their imagination that is process-focused, not product-focused.
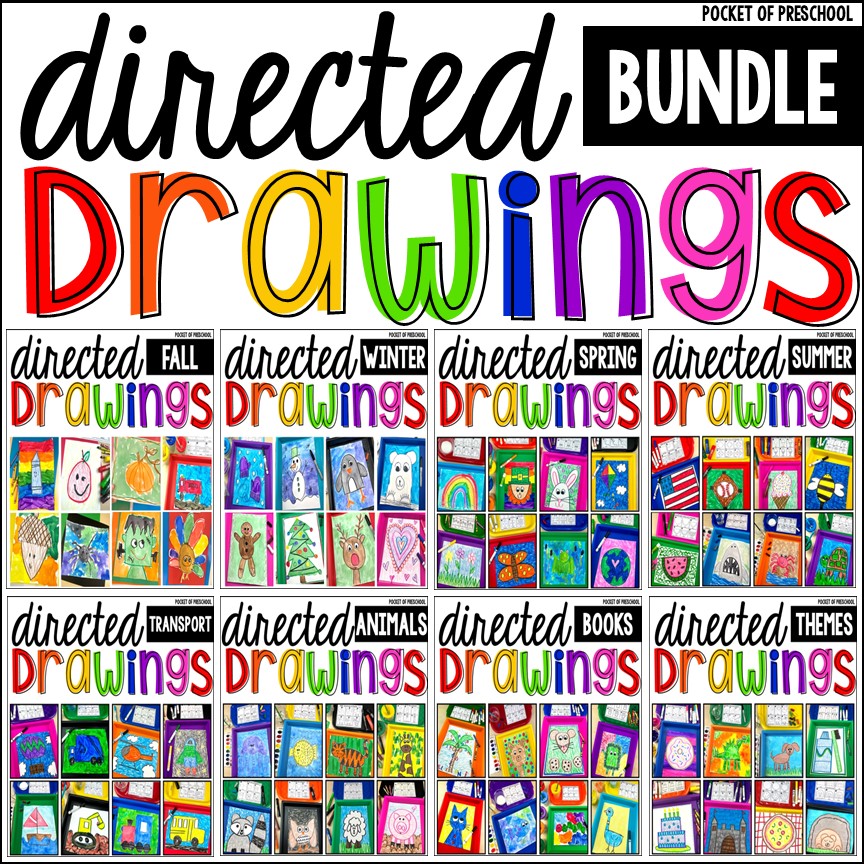
Check out the Directed Drawing Unit BUNDLE for pictures for the whole year!
This post contains affiliate links, which means I earn a tiny commission when you use my links at no cost to you.
Benefits of Directed Drawings in the Early Childhood Classroom
- Directed drawings strengthen students’ fine motor skills and child development, including hand-eye coordination, muscle strength, pencil grasp, and drawing simple shapes and various types of lines.
- Directed drawings teach young children how to draw by noticing shapes in objects and how to combine shapes to make new things.
- Directed drawings are an easy way to infuse art activities into the classroom.
- Directed drawings are a calming activity! Art is very calming and relaxing for most students.
- Directed drawings are a fun way to practice following directions.
- Drawing is communicating! You will see growth and more details in your little learners’ illustrations.
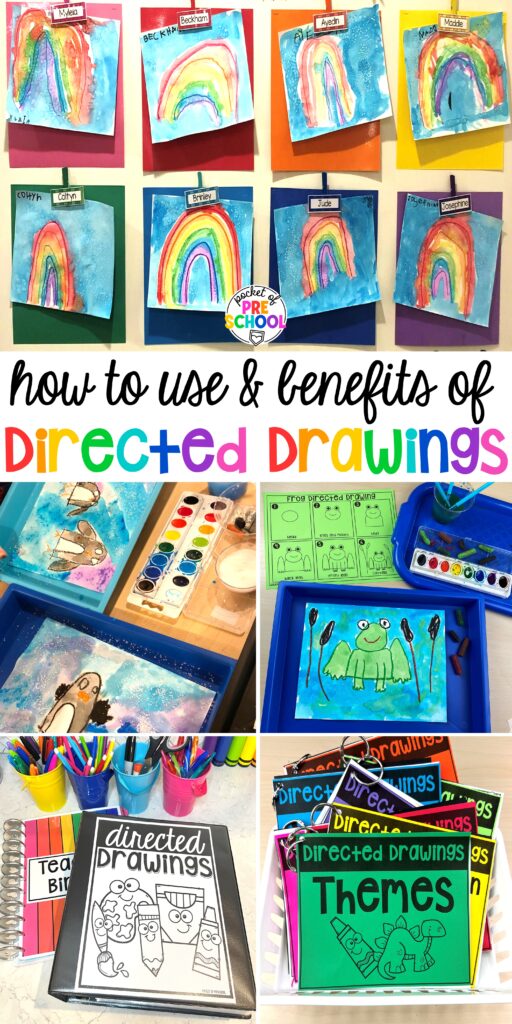
- Directed Drawings make gorgeous bulletin boards and student art to decorate the classroom.
- Directed drawings BUILD confidence and creativity even in your youngest students.
- Directed drawings are also great for developing social skills and language development as you learn about your children’s interest.
These are important skills for your preschool age group to be successful in other subject areas in the classroom. Plus, they are a great way to practice drawing a horizontal line, vertical, diagonal, and curved lines in your preschool classroom. Older students can also benefit from directed drawings!
How to Implement Directed Drawings in the Classroom
When I first introduce directed drawings to my students, I take each step slowly and model, model, model! The first few directed drawing activities need to be teacher-led to help all students be successful. You can even do them in small groups if that works better for your preschool children. Decide what is best for your children’s needs and roll with it.
- You draw a step, model, and verbally explain how to draw each shape and the size (ex: “This shape looks like a small U shape, I’m going to make this small….down, curve, up”.) Then, students draw that step.
- Continue to model a step, and then students draw a step until the drawing is complete.
- Model creating the background. Then, students create the background.
- Have students sign their artwork. If they are unable to write their name, give them the opportunity to try using their name card. If you must write their name, please write it on the back. We don’t want to devalue their work with our handwriting.
- Encourage students that their painting is going to be unique, that it’s okay to mess up, and that it’s okay if it’s not perfect. There are different ways to do things, and no one will look alike.
Tip: you can have students practice their directed drawings on dry-erase boards or with a pencil before you do the final project. Practice the whole picture or practice shapes.
Media Options for Directed Drawings
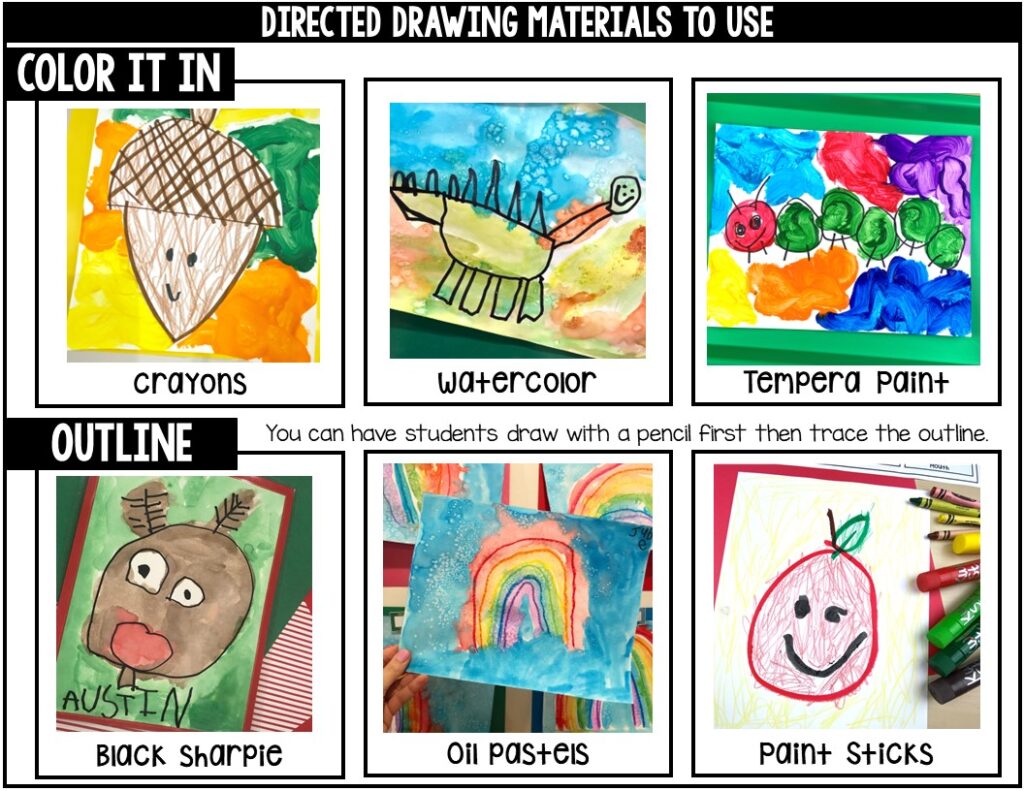
You can use a variety of media to create your directed drawings. Crayons, watercolors, and tempera paint are some of my favorites. I have students draw the pictures in pencil and then trace their pencil lines with black Sharpie, oil pastels, or paint sticks. Then, I have students color in the pictures.
For my oil pastels, I break them into 2 or 3 pieces and put them in a bowl. This way, students don’t break them; there is more than one of each color, and I find students are less likely to waste them. My favorite media is Sharpies/oil pastels with a watercolor background.
Background Options for Directed Drawings
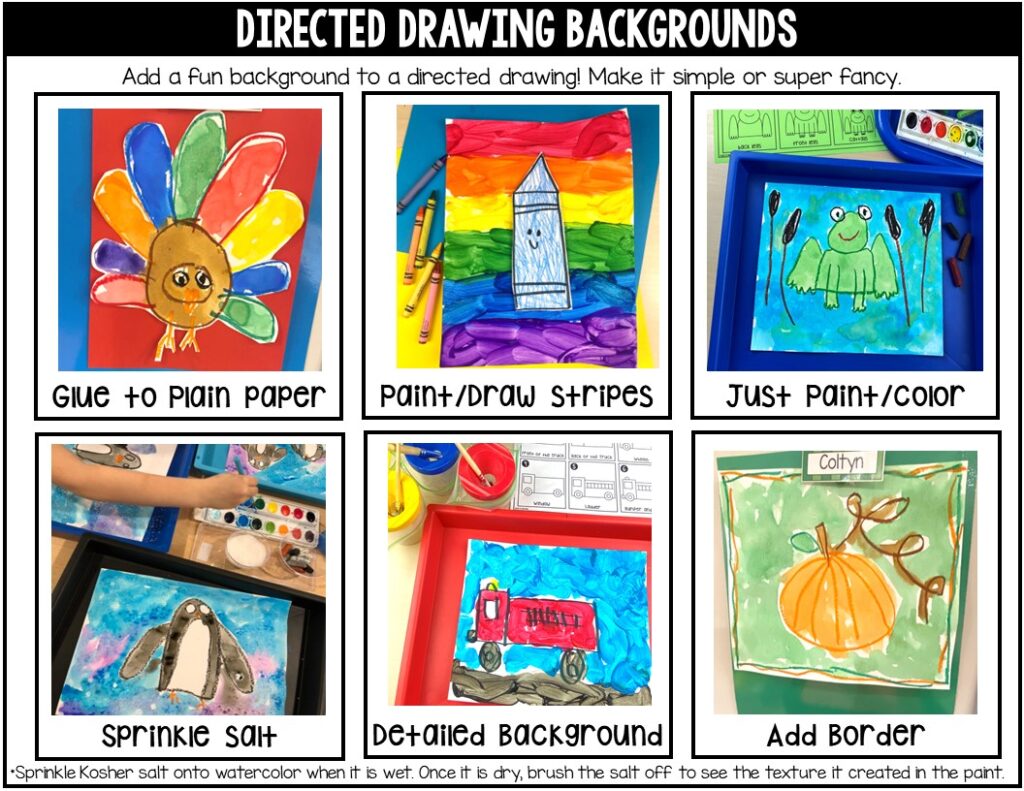
Creating the background is a fun step you can add to make your directed drawings even more beautiful! Some options are to cut out the picture and glue to plain paper, paint, add stripes or dots, color, add details in the background, add a border, or watercolor and sprinkle with kosher salt.
My favorite is to use watercolors, and while the paint is still wet, sprinkle coarse kosher salt on it. Let it dry overnight and brush off any excess salt the next day. The salt makes a gorgeous texture in the watercolors!
HOW TO hANDLE THE pERFECTIONIST
We are all going to have one or two students who don’t enjoy directed drawings because they want everything to be perfect! And let’s face it, no one is going to draw perfectly, not even the teacher! BEFORE you begin each directed drawing, have a conversation about how each of us is amazing and unique, so your drawings will all be amazing and unique, just like them! You can also model making mistakes and model reacting to that mistake.
How to Use Directed Drawings During Center Time
After you have done directed drawings a few times, you may be able to have them in the art center for students to complete independently. Below are a few ways to organize your directed drawings in your classroom.
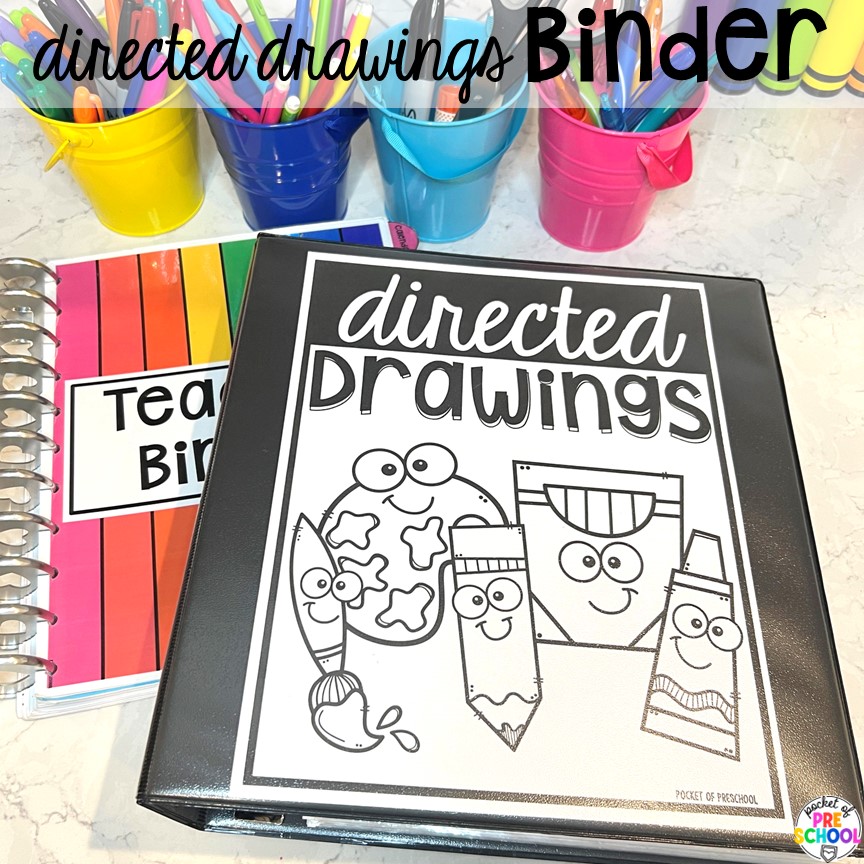
Option 1: Binder
Print the free binder label and place everything in a binder. You can separate the drawings by themes, holidays, seasons, or what matches your style. In the binder, I have the full-page directions.
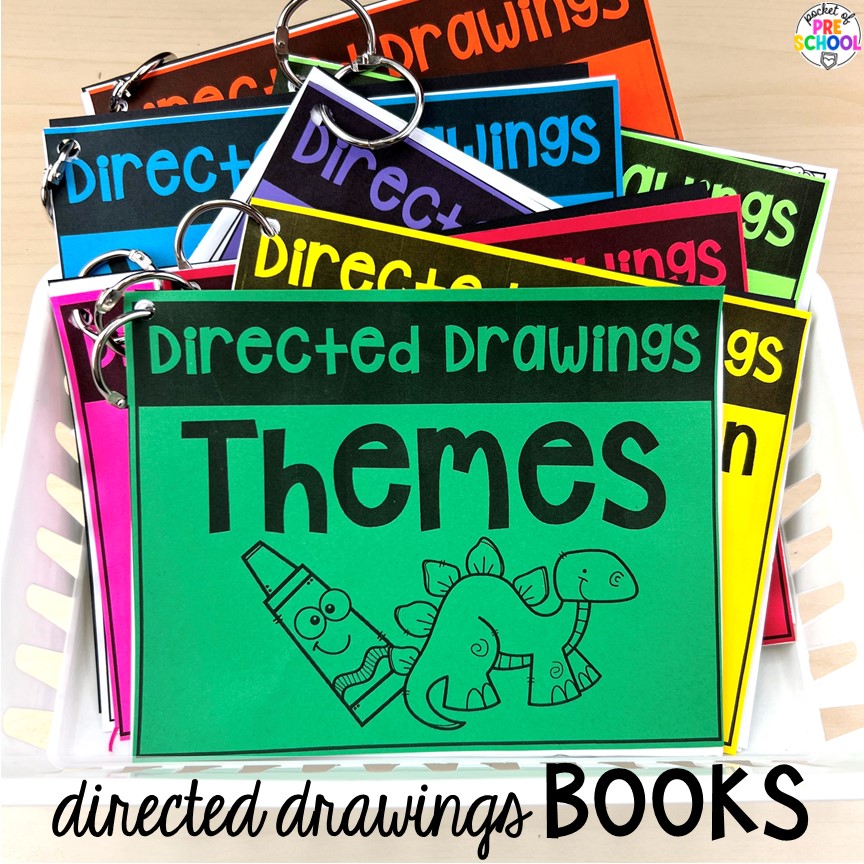
Option 2: Book Rings
Print the free labels on different colored paper and place each directed drawing set on its own book ring. Then, you can lay out one directed drawing set at a time for your students or all the sets and let students pick whatever they want.
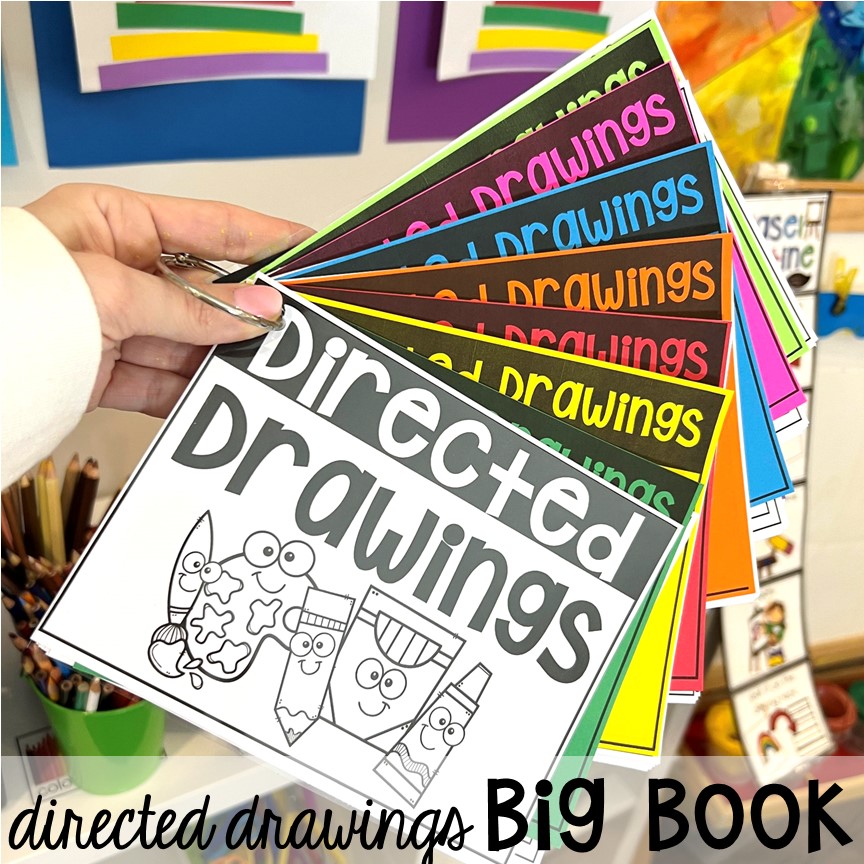
Option 3: One Big Book
For the final option, put all the directed drawing sets onto one book ring. I printed the free labels on different colors of paper and used them like dividers. On the book rings, I am using the half-sheet direction pages.
Organizing Student Work
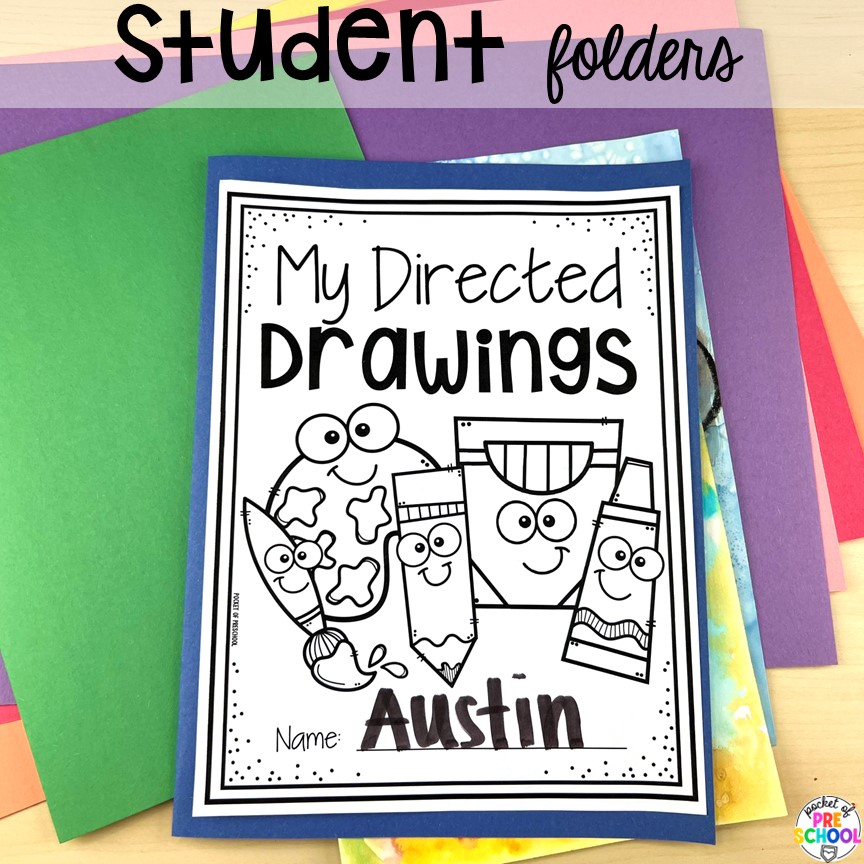
Make a quick student portfolio by folding a large piece of construction paper in half and adding a student cover. Each time they complete a directed drawing, you can slide it into the portfolio to keep until the end of the year. I love collecting student work samples to see all their growth at the end of the year.
I can’t wait for you to start using directed drawings in your early childhood classroom! There are so many benefits, and my students love completing them. They have become more creative and independent in their artwork since they can use these skills to make their own pictures. Also, I love that students are working on listening and following directions when we make a picture.
Grab the Directed Drawings BUNDLE to get pictures for the whole year!
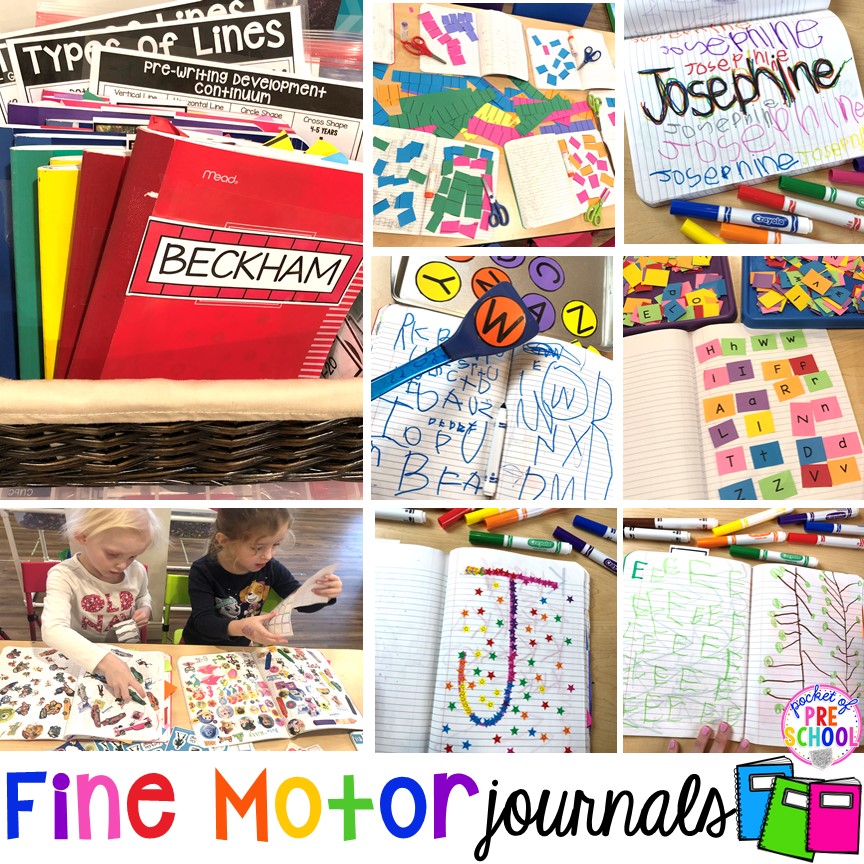
Need more fine motor work in your classroom? Check out this post all about fine motor journals.
Get more ideas for using directed drawings in your classroom by watching this video.
Love these ideas? Pin this image.
hey, i’m jackie!
I’m Jackie, your go-to girl for early childhood inspiration and research-based curriculum.


