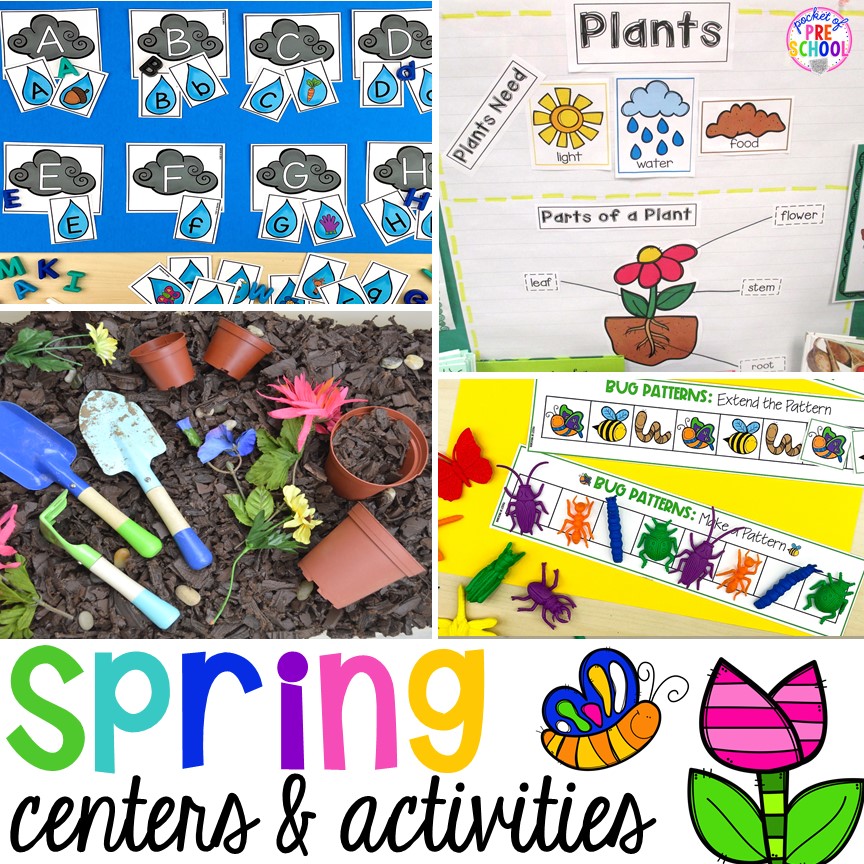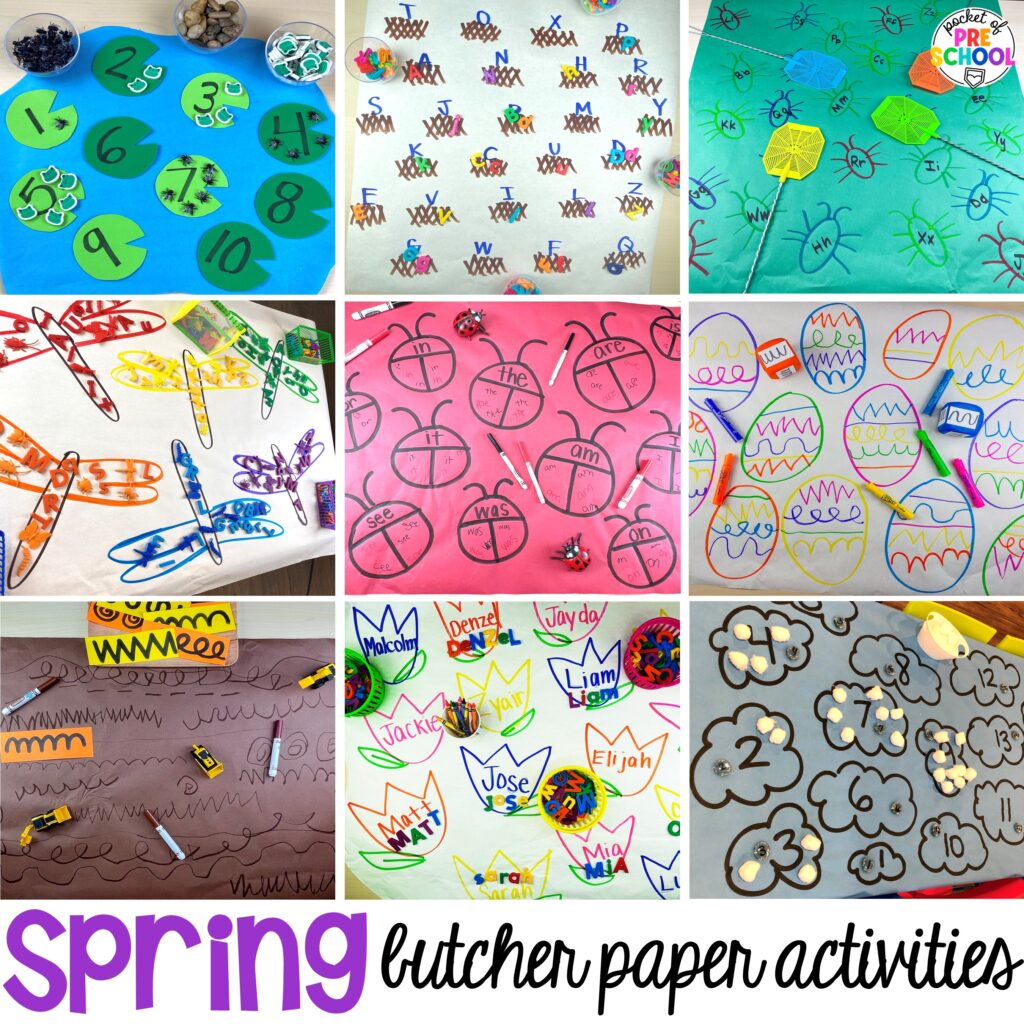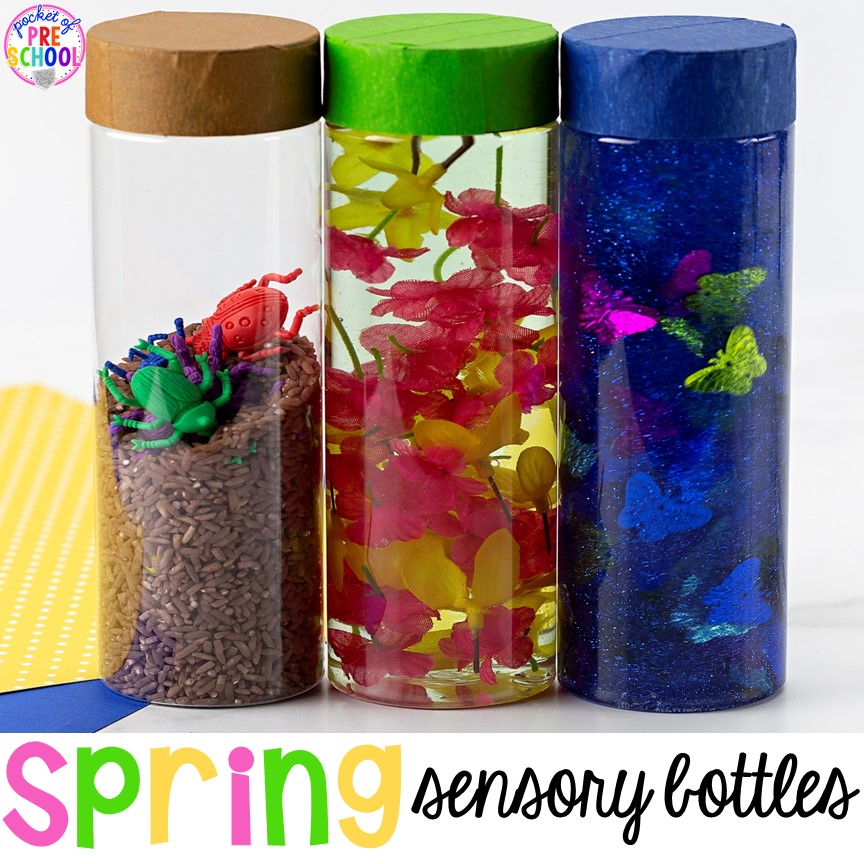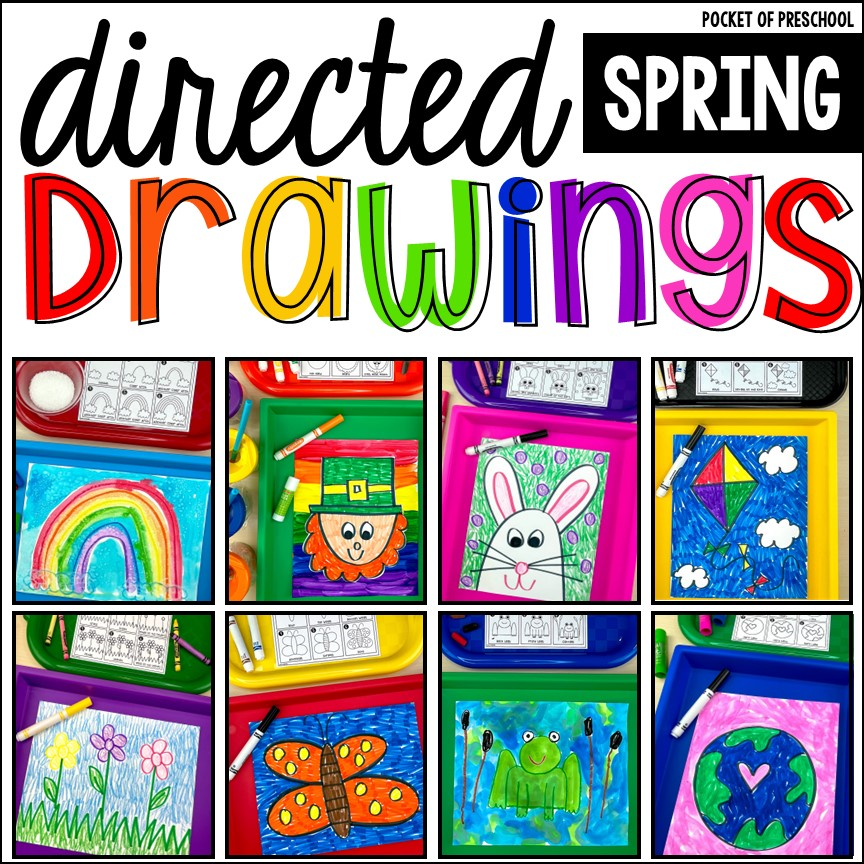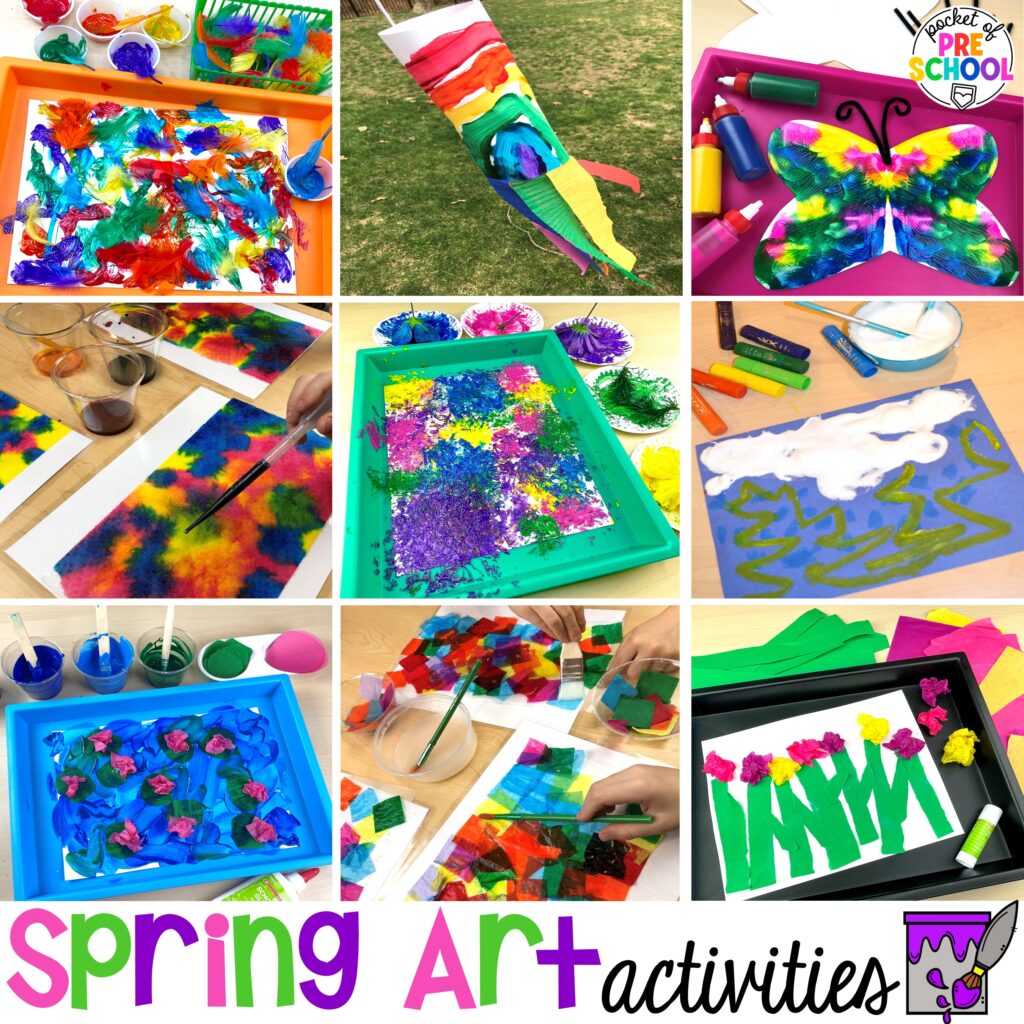
Brighten up your classroom with these spring process art activities for preschool, pre-k, and kindergarten students! There are tons of ideas for spring themes like flowers, birds, farm, pond, rainbow, and MORE. Your little learners are going to love these art projects where they can be creative and explore a variety of media.
So, what’s the difference between process art and product art? Process art is open-ended. The focus of the activity is to use various mediums and create a piece of art for the purpose of expression. Product art is a craft that has a set of instructions and requires the final product to replicate a given design. Both kinds of art are important in the classroom for kids of all ages, I believe.
This post contains affiliate links, which means I earn a tiny commission when you use my links at no cost to you.
Collage Spring Process Art Activities
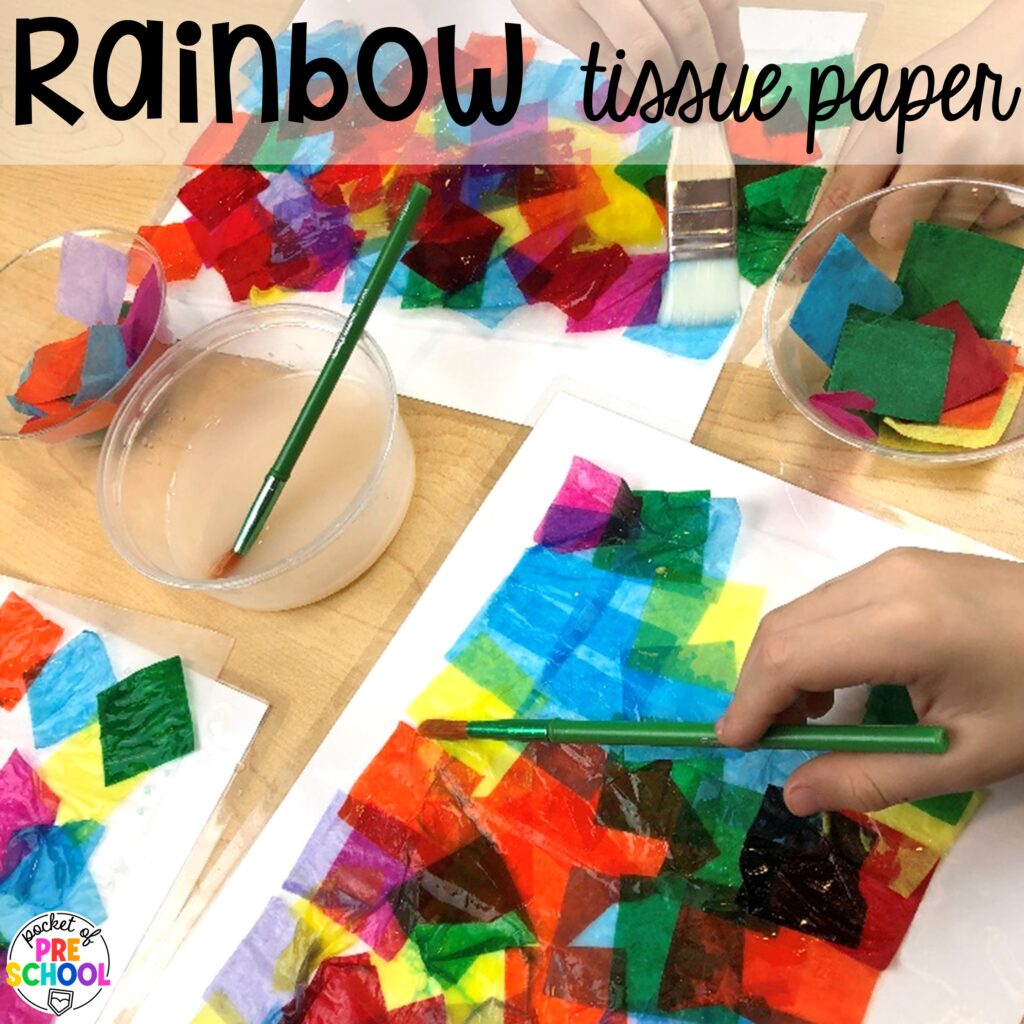
Rainbow Tissue Paper Art! Make a colorful collage with tissue paper squares, wax paper, and liquid starch. So simple, but they turn out beautifully. They make great stained glass pieces to decorate your room with. Give students a piece of wax paper for the base. They then use paintbrushes to paint the liquid starch onto the tissue paper squares. Allow to dry. If you don’t have liquid starch, you can use white glue and water mixed.
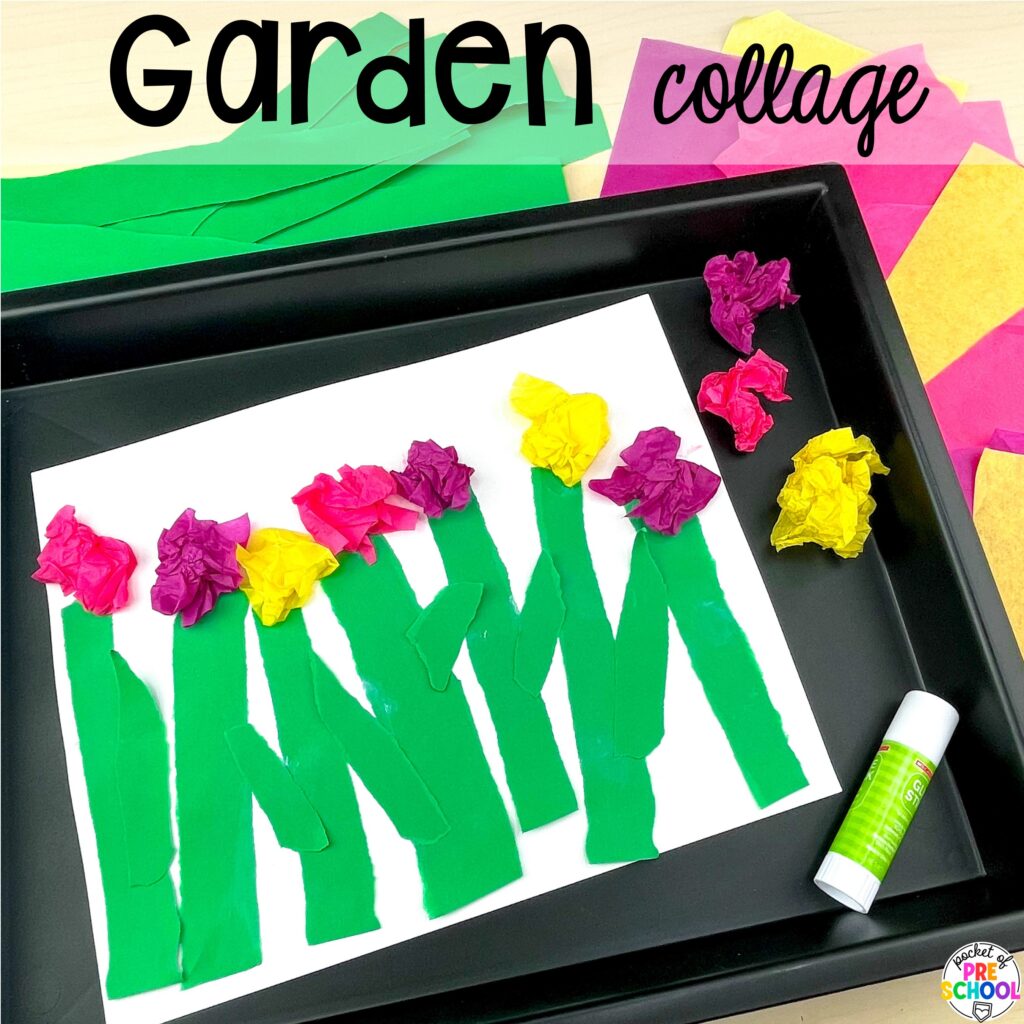
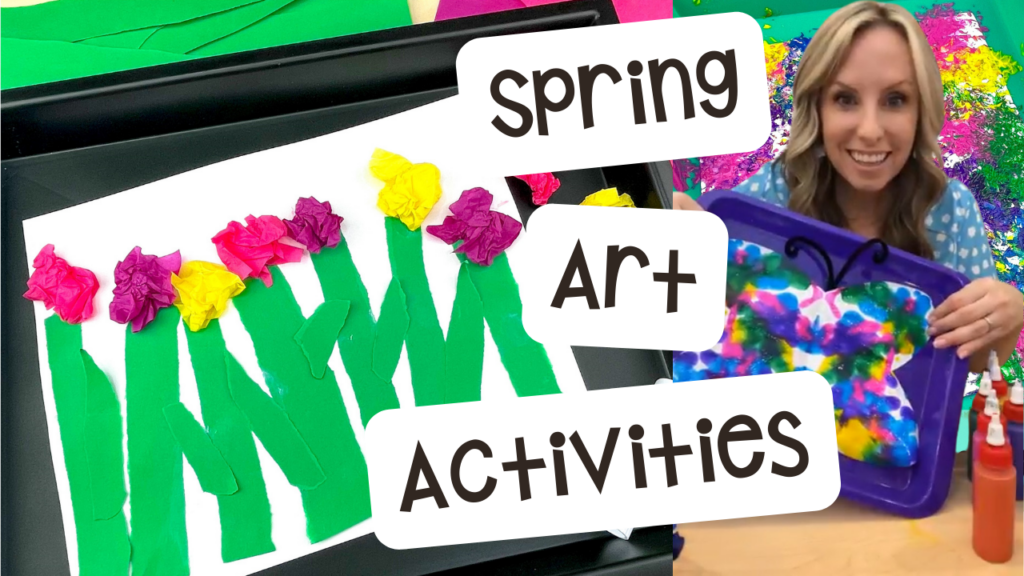
Garden Collage! Make this cute garden collage with paper strips and tissue paper balls. Students rip pieces of paper to make the stems and glue them onto a blank sheet of paper. This is a great way to strengthen fine motor skills in young children. Then, I used some tissue paper to create the flower head and glued it to the stems.
Painting Spring Process Art Activities
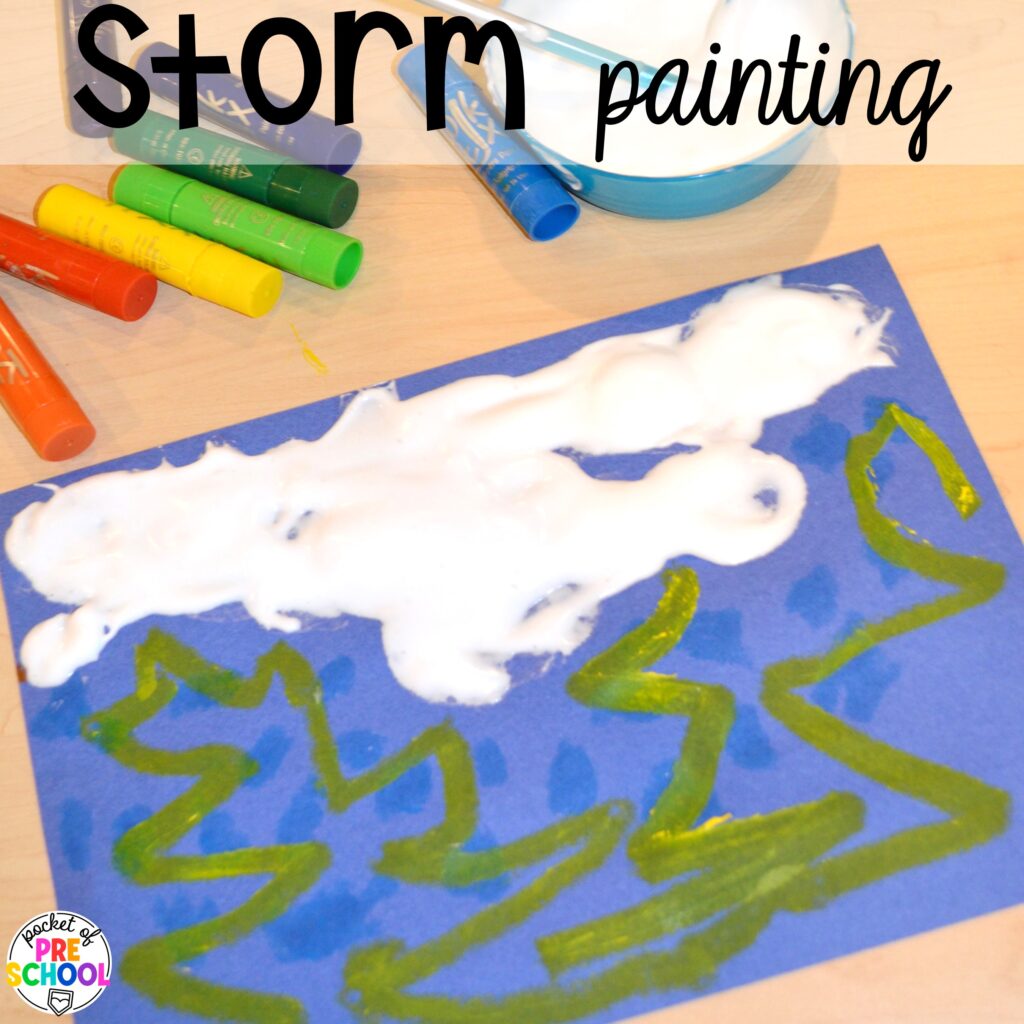
Storm Painting! Create a weather-themed art project for those spring storms that roll through many areas. To make the cloud part, mix equal parts glue and shaving cream and have students spread it on their paper. My students used yellow and blue paint sticks to create the lightning and rain, but there are different ways that students could make the rainy day, like paint, crayons, or markers.
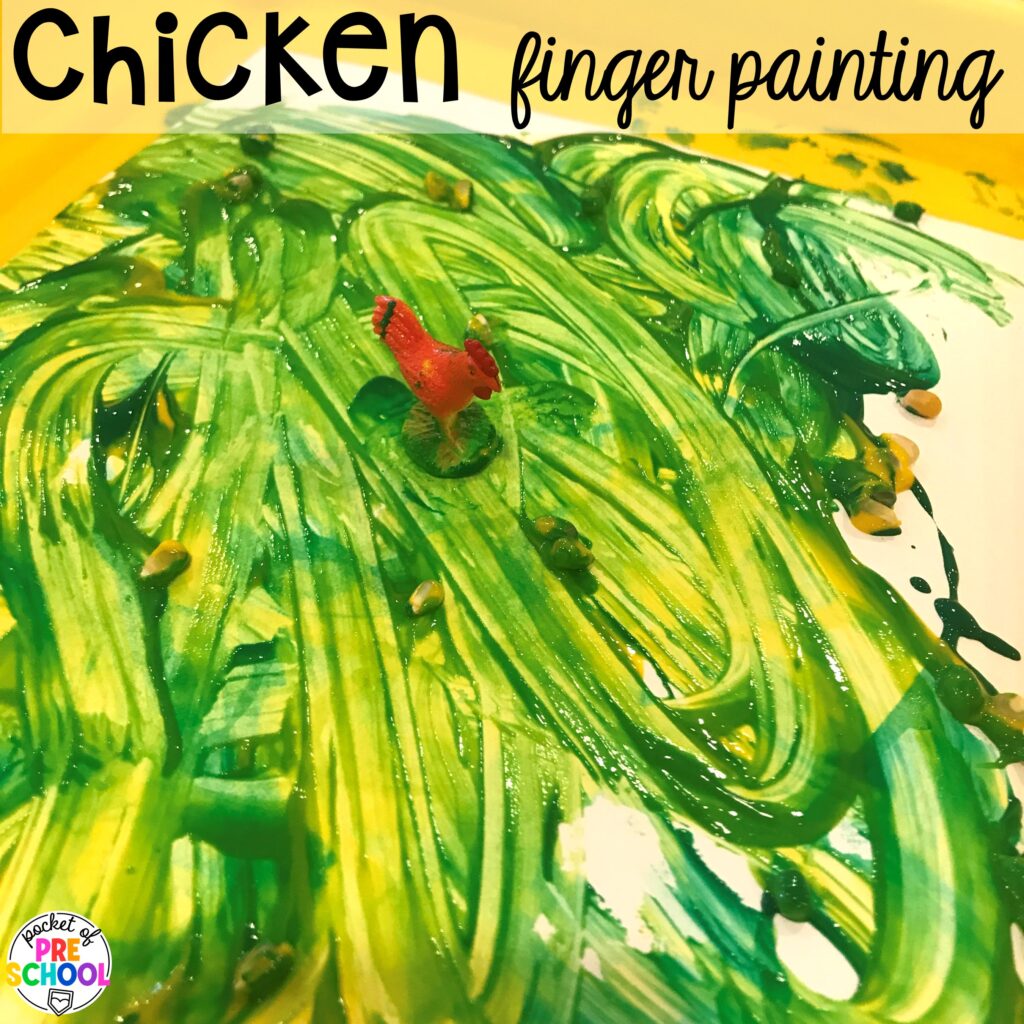
Chicken Finger Painting! During a farm or bird theme, you could do a chicken finger-painting activity with your students. Squirt some green and yellow paint on a piece of paper and sprinkle a few pieces of corn on top for texture. Students can exercise those fine motor muscles as they create fingerpainting with the chicken. Some of my students pretended the chicken was eating the corn as they painted! This is such a fun way to encourage students in the creative process.
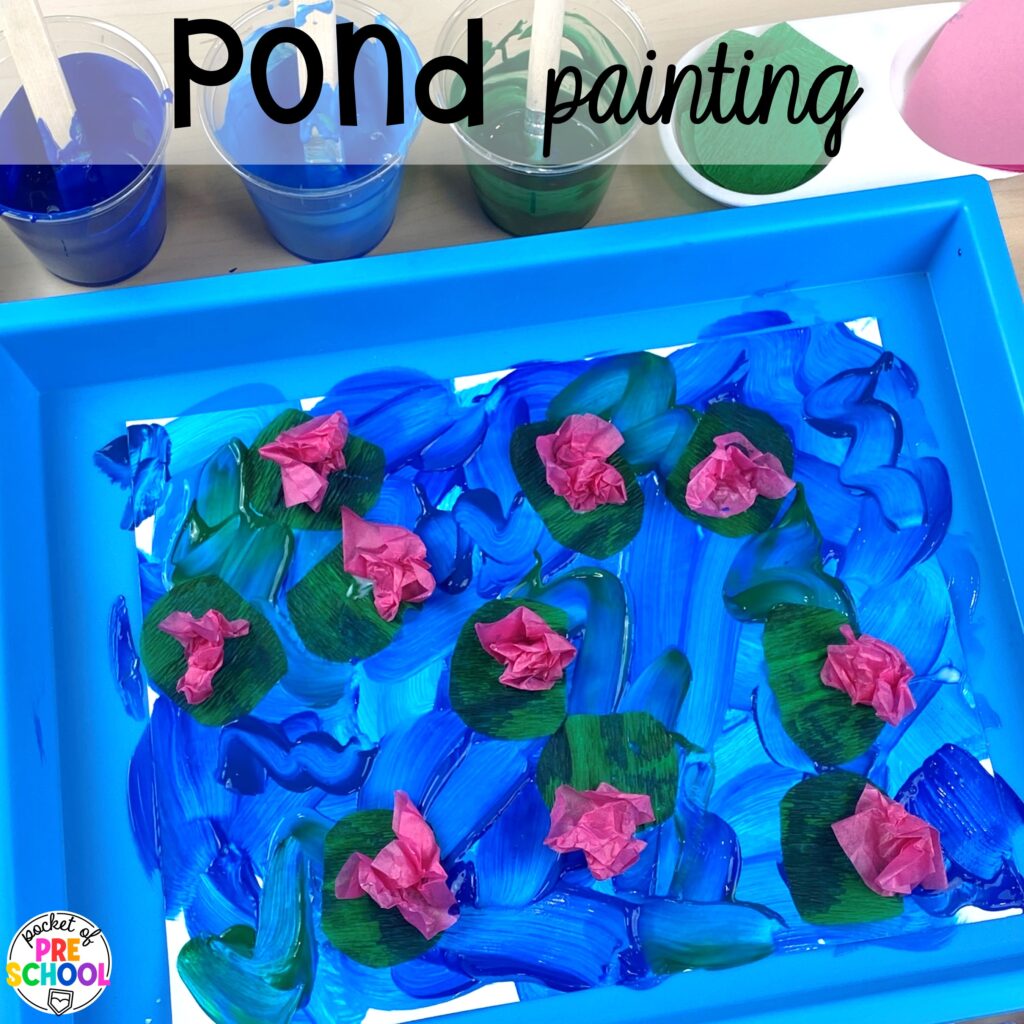
Pond Painting! I love how this pond painting project turned out! Students painted their paper blue. While the paint is still wet, they added streamer lily pads. Lastly, they glued pink tissue paper flowers to the lily pads. You can have students cut the circle lily pads, or you can, but be sure to do that step first so you can easily place them on while the blue paint is still wet. This is so much fun for younger or older kids.
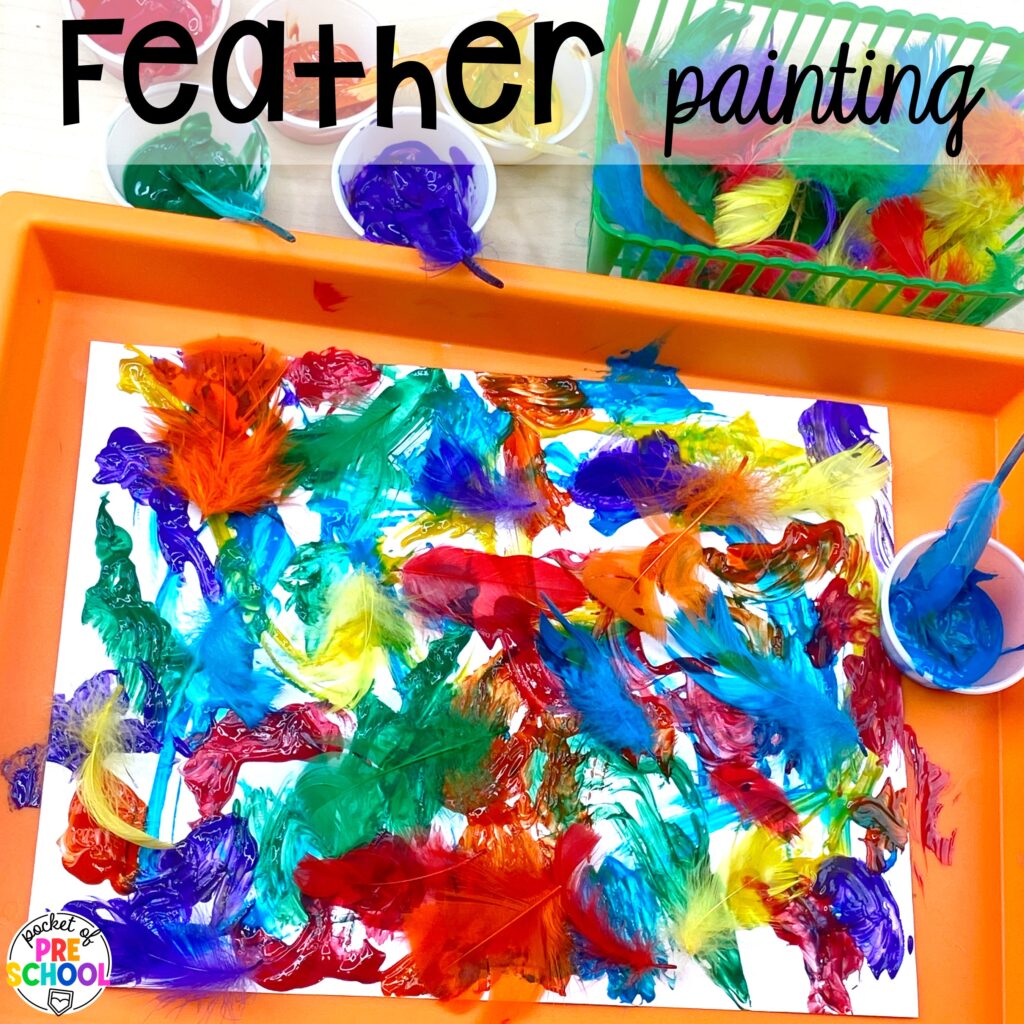
Feather Painting! Use feathers as paint brushes to create a colorful masterpiece for a bird or farm theme. I also let my students add feathers to the wet paint for even more texture. While the paint is wet is the perfect time to add the feathers because they dry and stick to the paper.
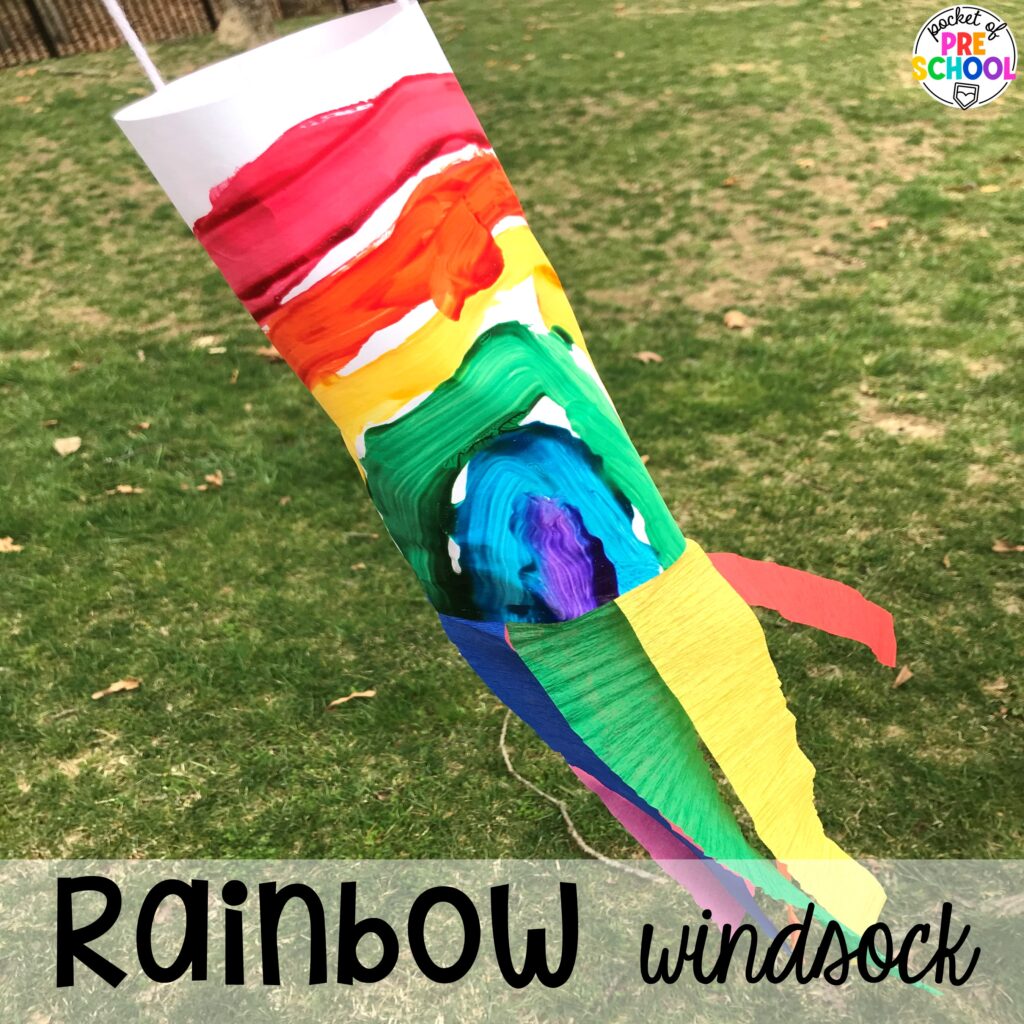
Rainbow Windsock! To begin, have students paint a blank piece of paper; it can be the regular-sized or the larger construction paper. There is no wrong way for young kids to design their windsock. Allow that to dry. Then, flip the paper to the backside and have students glue streamers to the bottom of the paper. Then, roll the paper into a cylinder and staple/glue together. Add a string on the top to be able to hang your spring windsock.
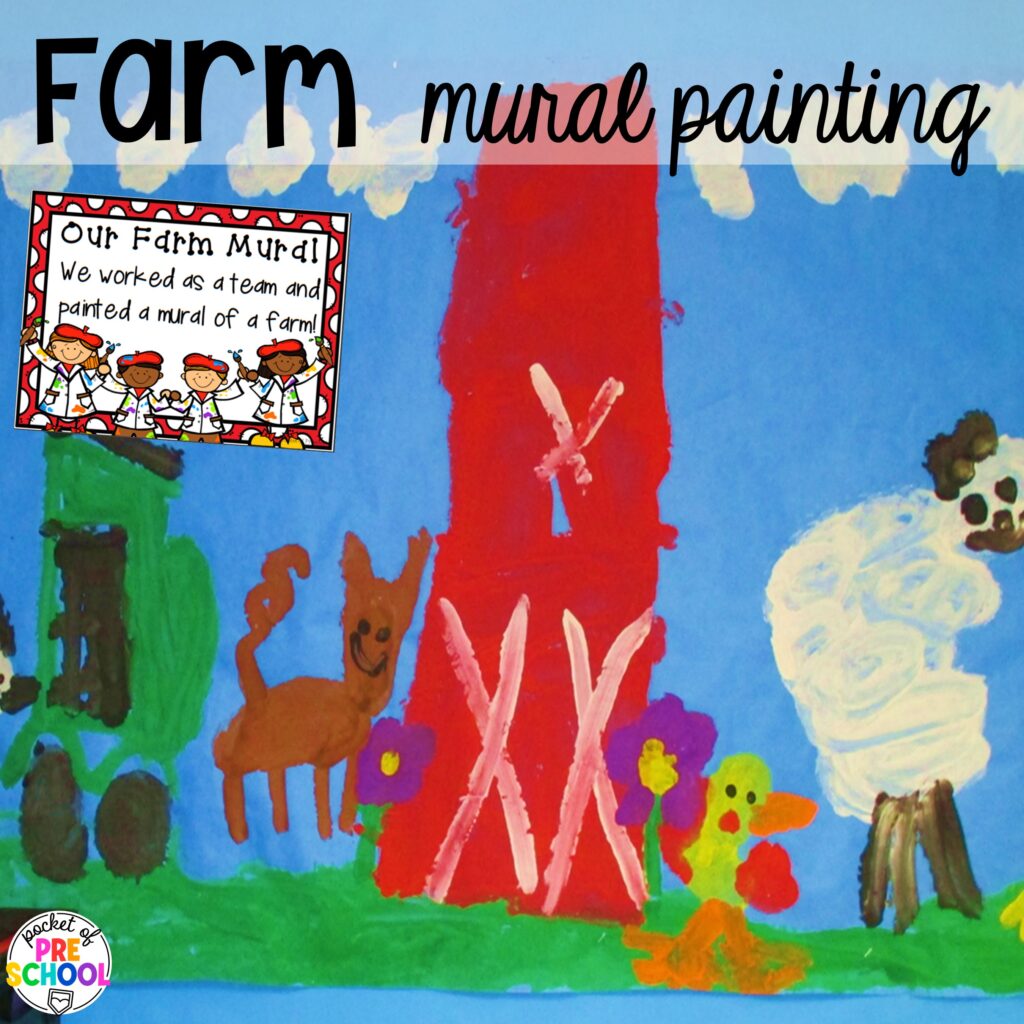
Farm Mural Painting! Have students create a farm mural on a large piece of paper. They can work together to add in all the things needed on a farm. This is great for language development, social skills, and developing vocabulary and background knowledge.
>>Grab the farm mural FREEBIE by filling in the box at the bottom of the post with your email.<<
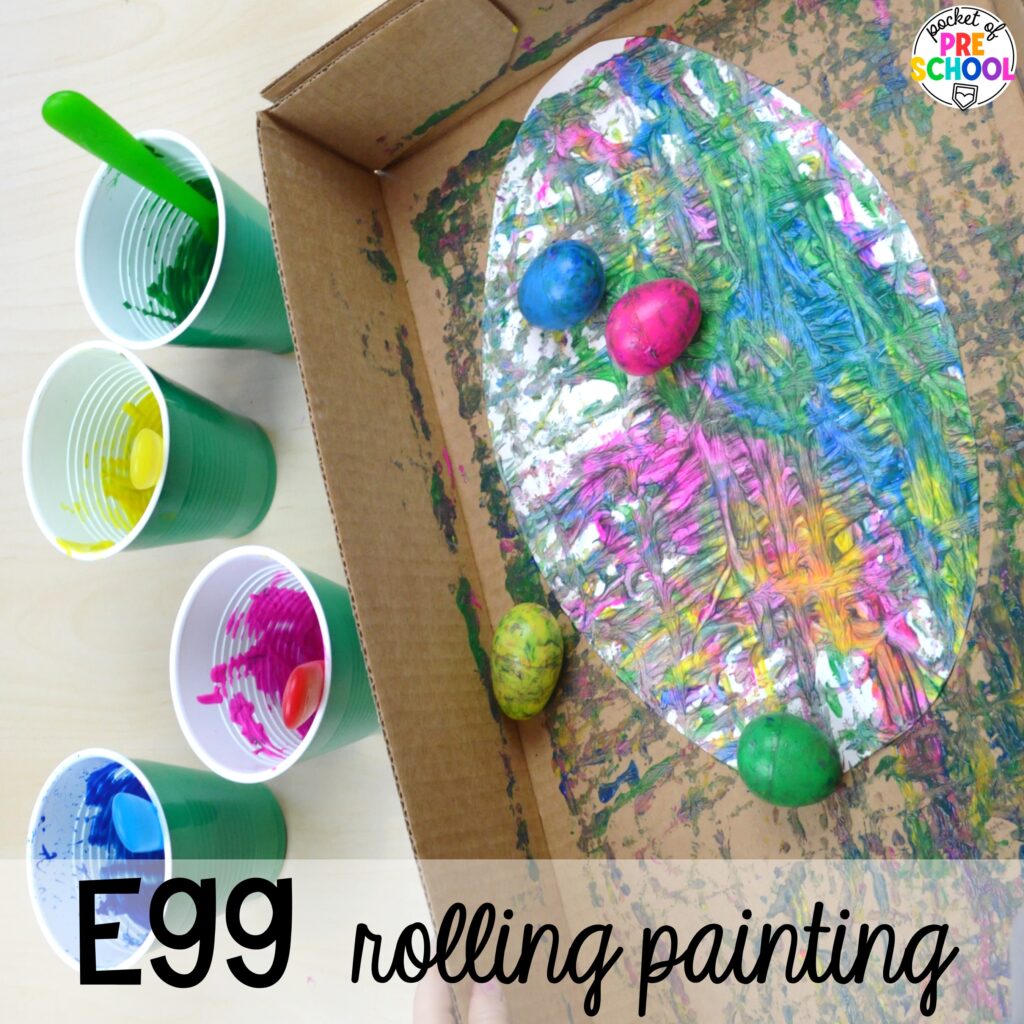
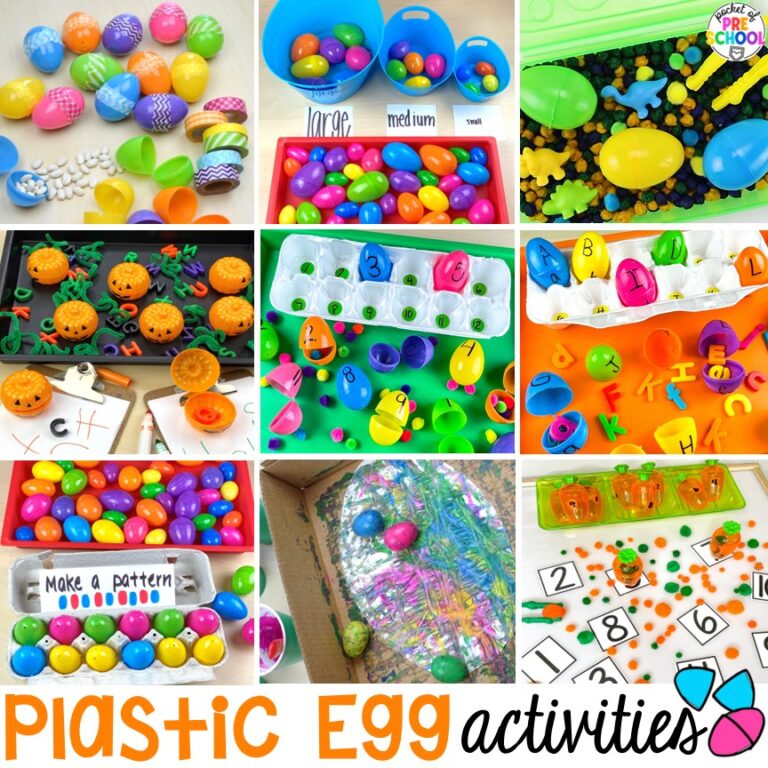
Egg Rolling Painting! Before, put marbles inside your plastic Easter eggs to give them extra weight. To complete the project, tape an oval paper inside a box lid. Put the eggs into cups of paint. Use spoons to scoop the eggs, paint them onto the paper, and move the box around to roll the eggs.
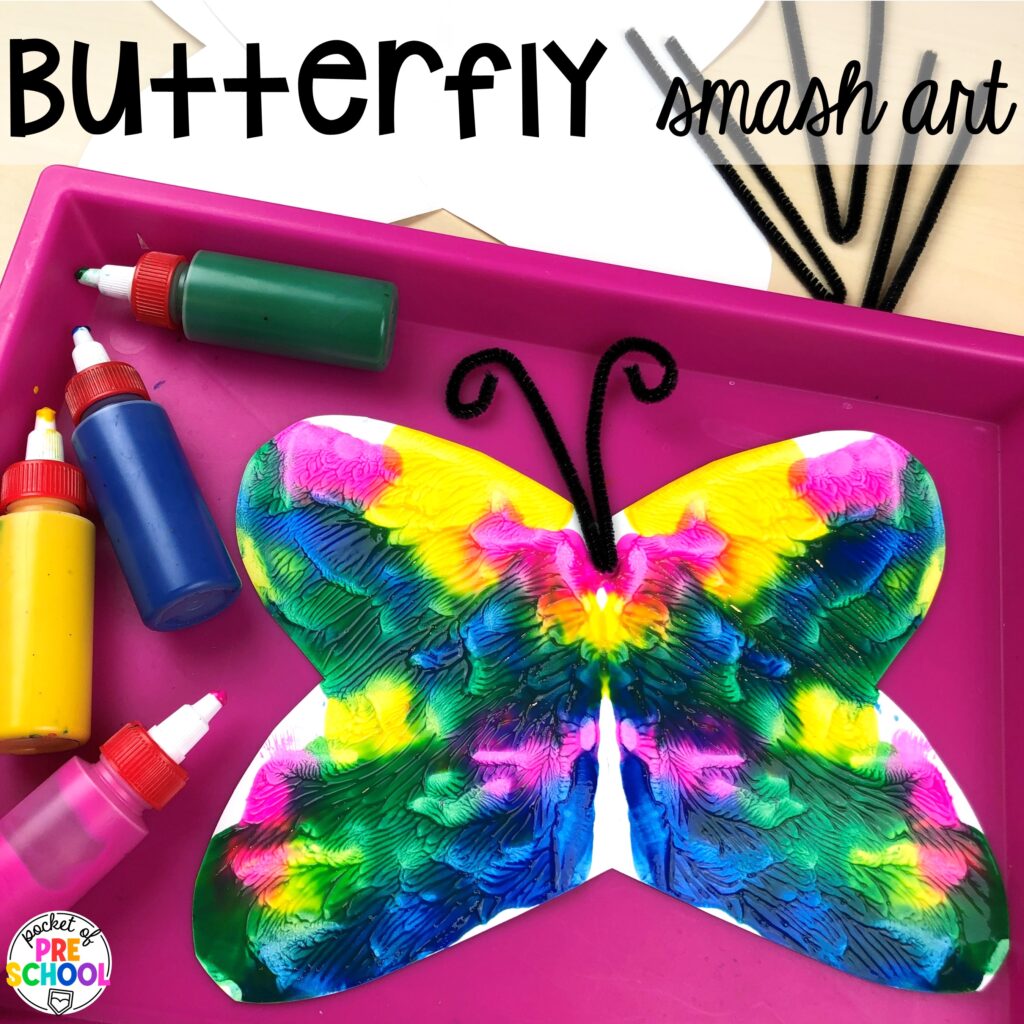
Butterfly Smash Art! Cut out a butterfly shape and fold it in half. Open the paper back up and let students squirt paint onto one side. Fold the paper back and smash it together. Open the paper, and you have a beautiful butterfly! Add some pipe cleaner antennas after the paint is dry.
Spring Process Art Prints
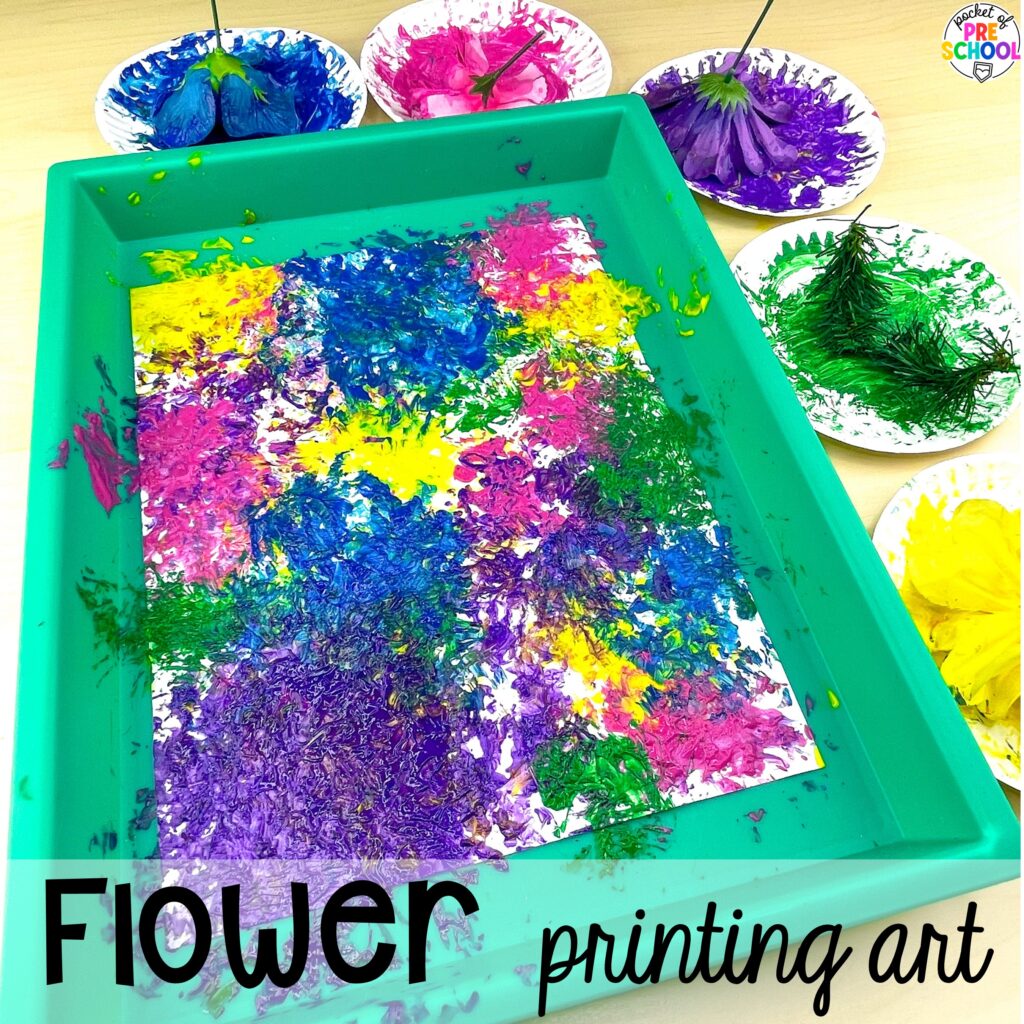
Flower Printing Art! Use flowers to make a gorgeous spring print! You can use real or fake flowers for this project. Put the paint on paper plates so you can easily clean up the mess for your flower crafts. Students must be gentler with the real flowers, but they do work for this art project. I put paint onto plates, and students pressed the flowerhead into the paint and stamped it onto their paper.
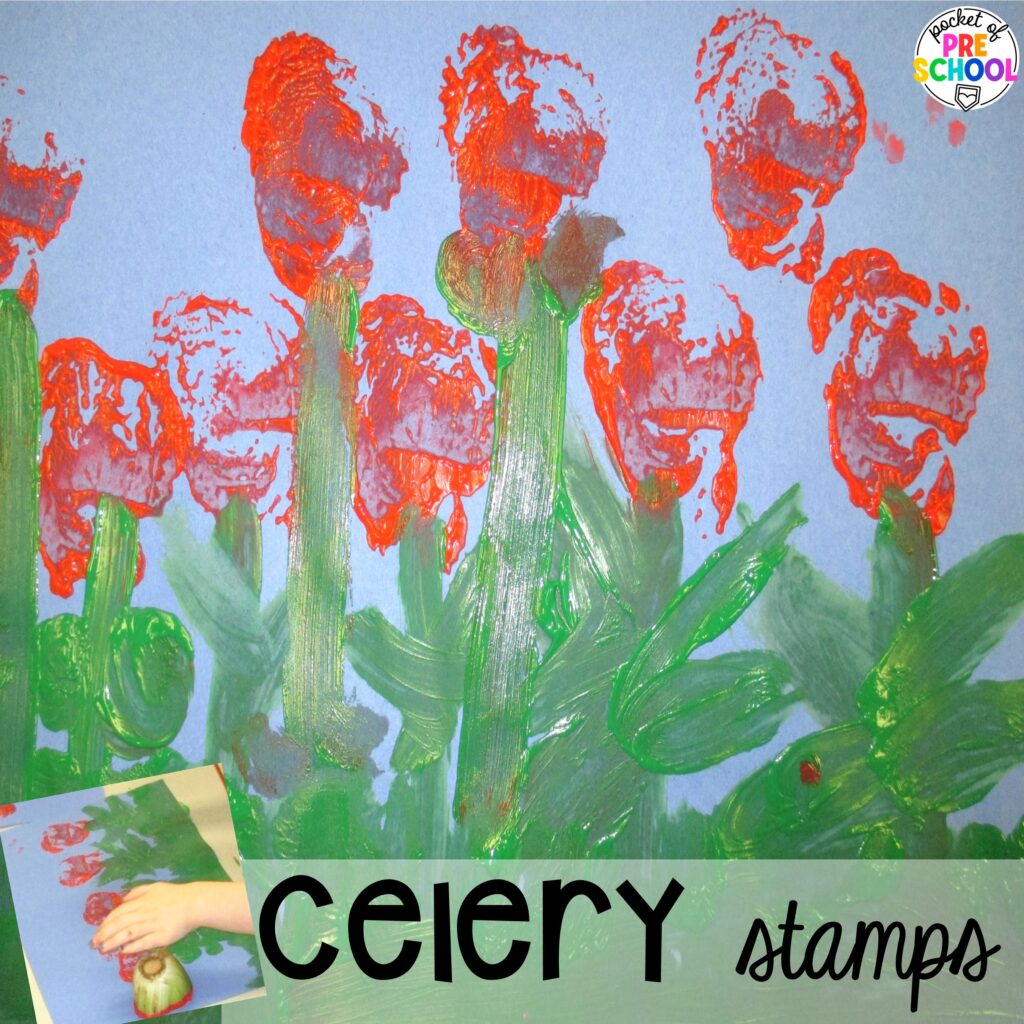
Celery Stamps! Use celery to make a fun stamp for your students. We did this during a farm theme, but it would also work for food, nutrition, or gardening. To begin, students used green to create the stems and leaves. Then, they used the celery to stamp the flower heads. I think they look a little like roses, so we used red paint.
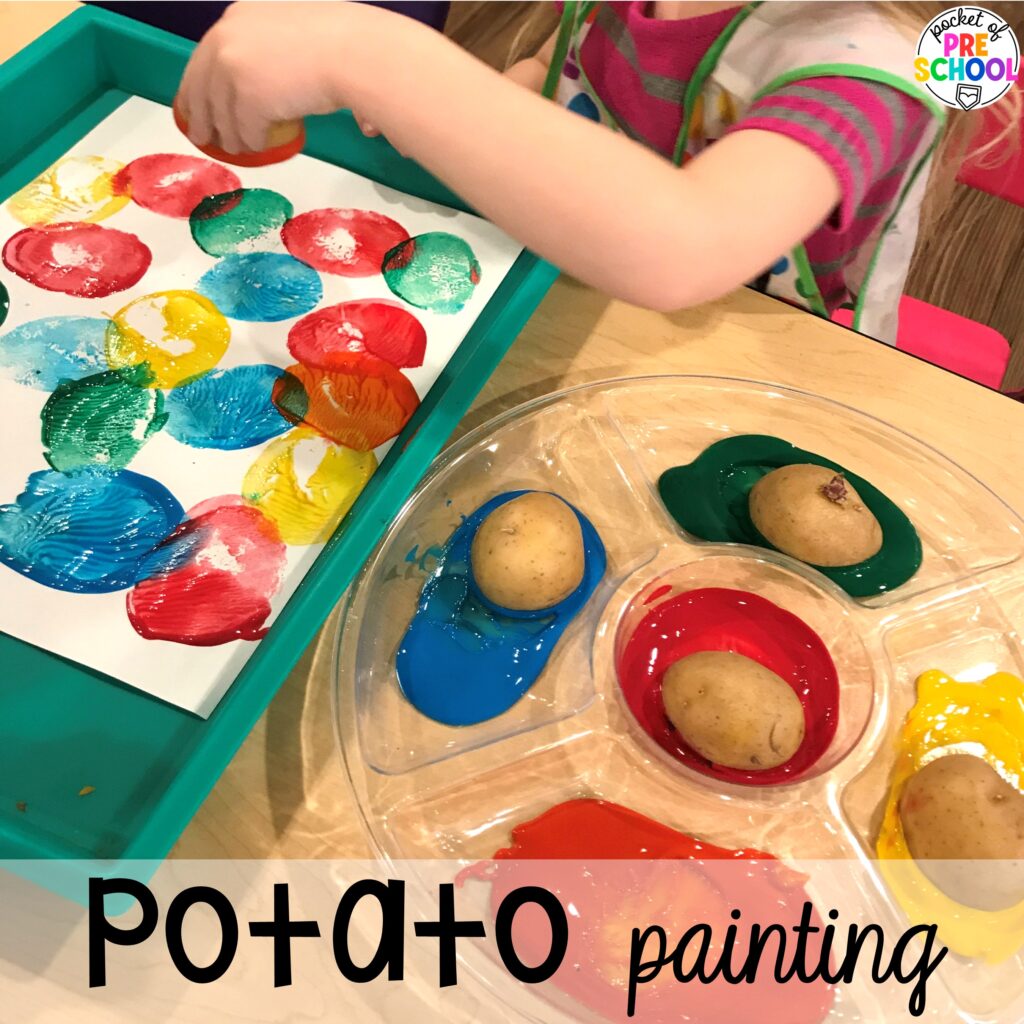
Potato Painting! For another farm, gardening, food, or nutrition theme use potatoes to make prints. Cut your potatoes in half or thirds and let students use them like stamps in paint.
Spring Process Art Still Lifes
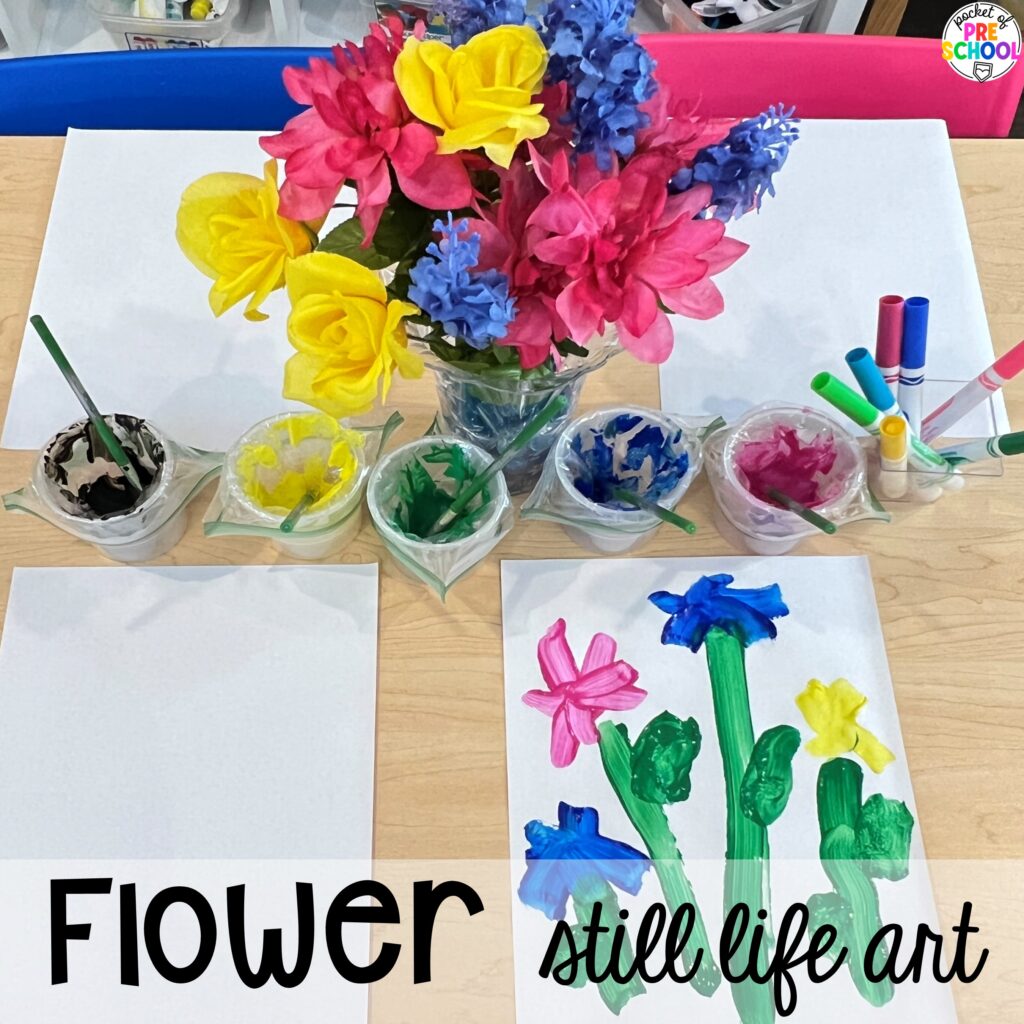
Flower Still Life Art! Use real or fake flowers and place them in a vase in the middle of the table. Students will observe and draw/paint what they see. This is a great art activity to talk about the different shapes that make up items to simplify trying to draw them. Paint yellow circles for petals; some petals are pointy, some are small, etc.
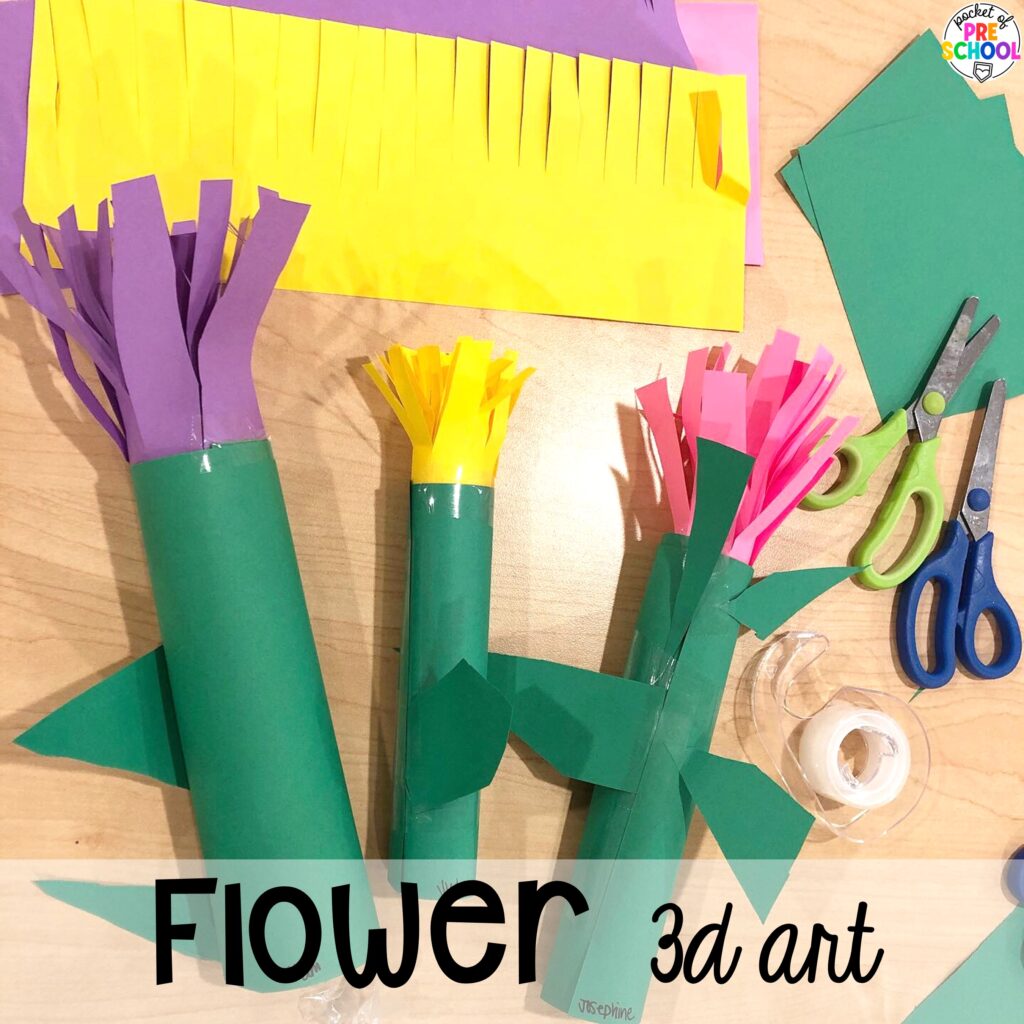
Flower 3D Art! Make some fringe from a piece of paper, roll it into a cylinder, and tape it. Then, roll a piece of green paper into a cylinder and tape it. Tape the flower fringe to the top of the stem. Then, add some leaves to complete your flower! These are perfect for a dramatic play prop, too! My students love this fun art project to make a flower garden.
Dropper Spring Process Art Activities
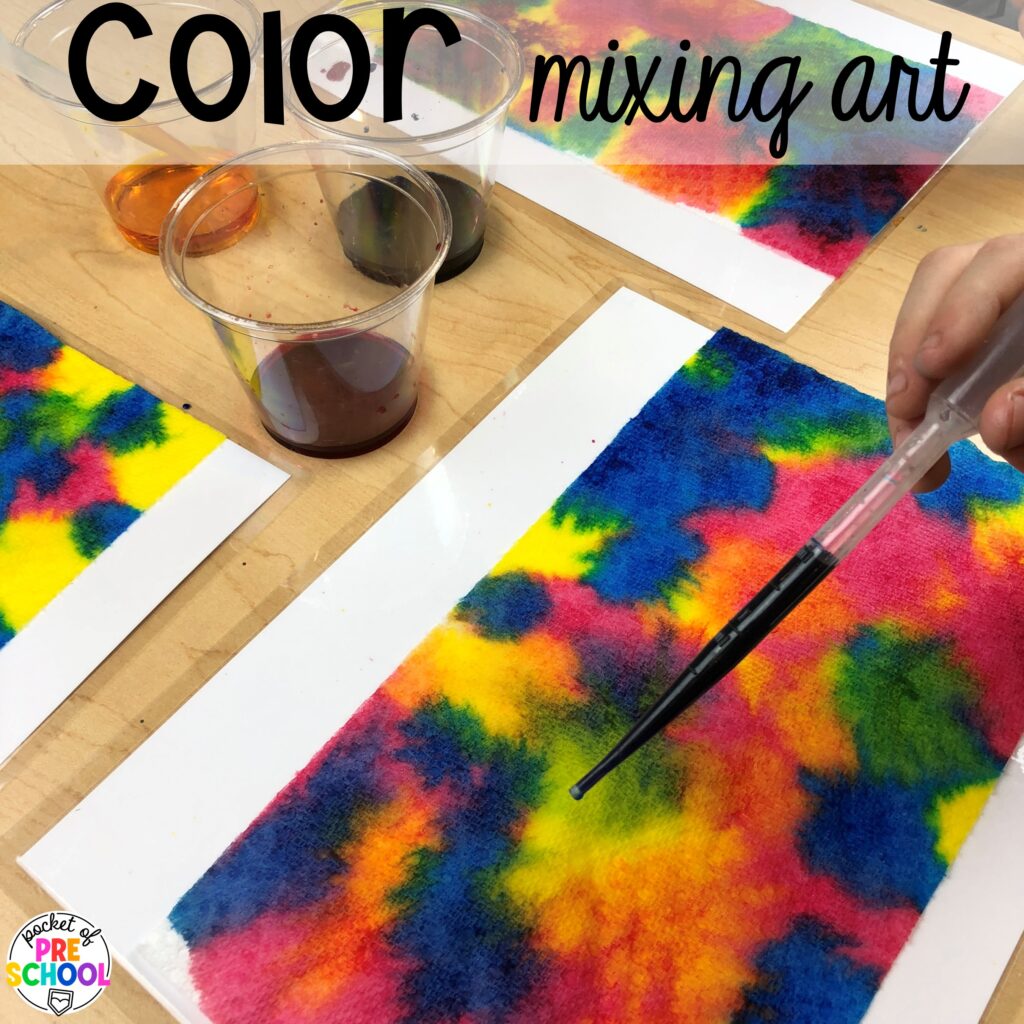
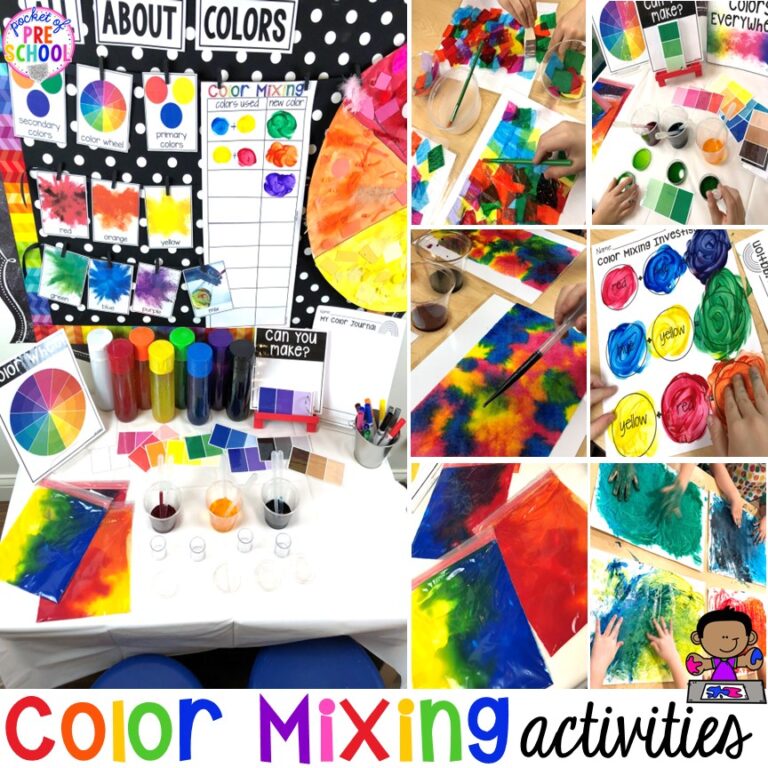
Color Mixing Art! Use a paper towel to create this color mixing dropper art project. The white underneath is a piece of paper in a plastic sleeve just to keep their areas a little cleaner. Students use droppers of liquid watercolors to make these fun tie-dyed masterpieces. It is a fun idea for students to try new things with their art supplies.
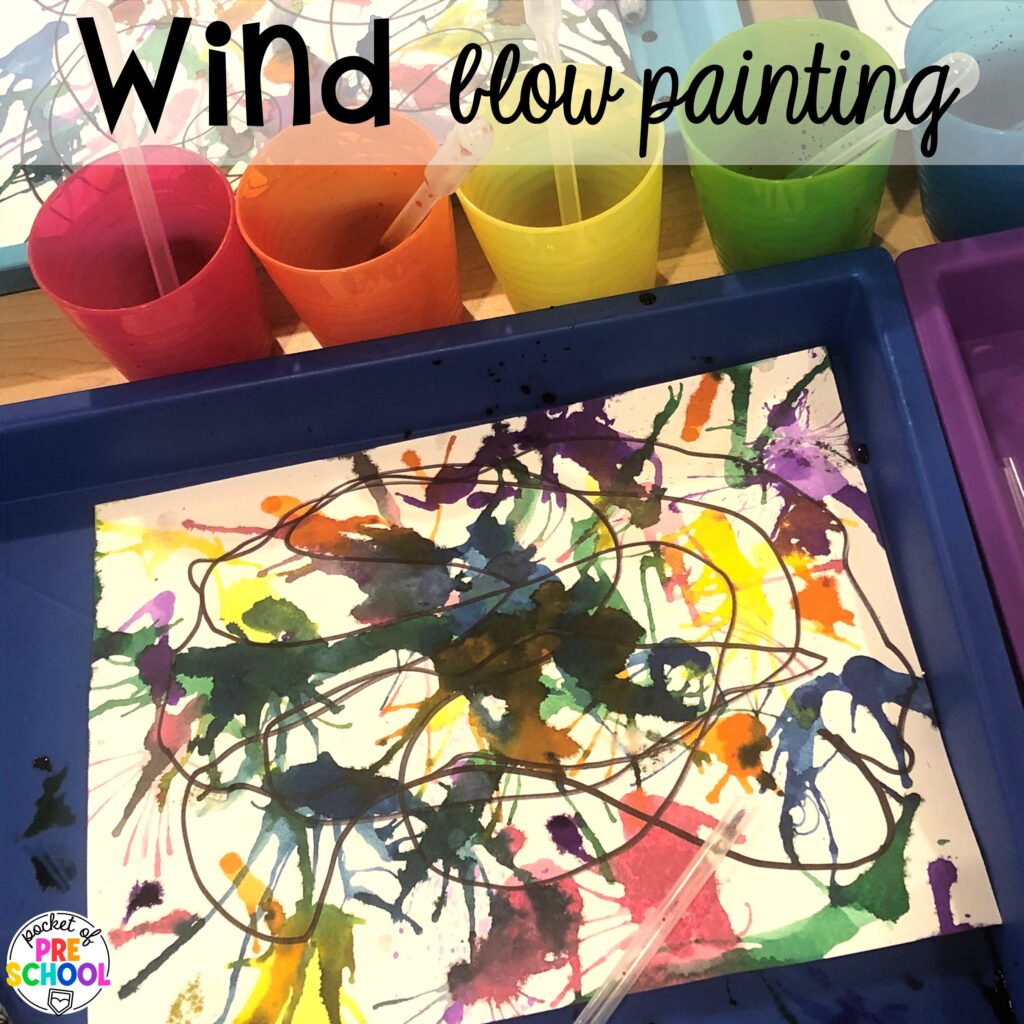
Wind Blowing Paintings! Students used droppers of liquid watercolor to place small puddles on their paper. Then, they used a straw to blow the colors around to mix and spread all over.
These spring process art activities are going to be a hit in your classroom, and I can’t wait for you to try them! I love their bright colors and that they can work for so many themes. Keep scrolling for TONS of spring activities to complete your lesson plans!
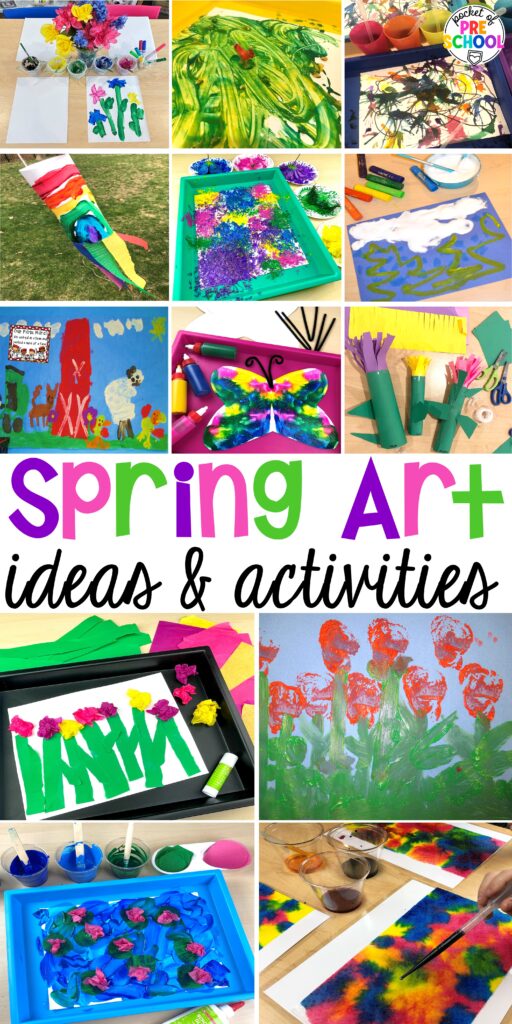
Click the images to see the spring ideas!
Find spring printables below!
Check out the video for more ideas!
Love these spring process art ideas? Pin this image!
hey, i’m jackie!
I’m Jackie, your go-to girl for early childhood inspiration and research-based curriculum.
