








Over the years, I have tried many different kid made Christmas presents & ornaments in the classroom. These activities make a great project for the colder winter months when you are locked inside, and even better, they make the perfect homemade gift for parents and caregivers. As a mom, I love to get handmade presents from my kids so when they are grown, I can look back and cherish those memories. Keep reading for my favorite kid made Christmas presents & ornaments that are affordable and manageable with little learners.
Get the FREE Ornament Making Station and the FREE reindeer directed drawing at the end of the post!
This post contains affiliate links. This means I earn a tiny commission when you use my links at no cost to you.
Kid Made Christmas Presents & Ornaments

Holiday Cards! Put out word cards, paper, writing utensils, washi tape, scissors, stickers, and other fun holiday materials for your students to use to create cards for their loved ones. You can use word cards for students to copy, or I write the words in pencil, and the student traces with a marker (pictured). Then students can write or draw inside the card. I pre-fold the cardstock so students don’t have to worry about that. Showing children purposeful writing is a great way to encourage reluctant writers and I use the holiday season to do that.

- Fingerprint Ornaments! Beforehand, use a black permanent marker to draw the cord of the Christmas lights on the ornament. Students will use their fingers to make the lights. Optional: I added green paper filling inside and covered the ornament in Modge Podge. Tip: Always use plastic ornaments to help prevent your DIY Christmas ornaments from breaking.
- Pony Bead Candy Canes! Students will thread pony beads onto a pipe cleaner and bend it into a candy cane shape. This great gift is a good open-ended option because students can choose what colors they want and if they want to make a pattern or not. Plus, you are sneaking in math for these handmade gifts. If a whole pipe cleaner is too long, cut them in half and make smaller candy canes.

Making the Pony Bead Candy Canes! I placed my pony beads into these fun Christmas-themed trays so students could pick and choose what colors they wanted. We used sparkly pipe cleaners, but any kind will work. These DIY gifts are a wonderful way to sneak in fine motor skills!

Snowman Ornaments! These snowman ornaments were made using the student’s fingers! I think DIY Christmas gifts are the perfect gift for loved ones because it allows them to have something to cherish! Tip: Always use plastic ornaments to help prevent them from breaking.
- The snowman on the blue bulb was made using the child’s whole finger. Then, they decorated it with a permanent marker after it dried. We also added snowflakes with their fingertips for the background.
- The snowmen on the clear flat ornament were made using the student’s fingertips. Once dry, they decorated them with permanent markers. Optional: I painted the back of the ornament blue. Then, we painted glue inside on the back and filled it with fake snow.

Wooden Circle Ornaments! You can find these wooden circles at a craft store or on Amazon. Students can paint the whole thing, like the snowman face, or just paint something on the wood slice. Some great ideas are a candy cane, Santa hat, Christmas tree with pom poms hot glued for decorations (pictured), snowmen, snowflake, or reindeer faces using their fingerprints. Tip: don’t put hooks on your ornaments; I just use ribbon to make them hangable.

- Tree Ornament! For this homemade Christmas gift, we started by making a triangle from green paper, adding a brown stump, and gluing green popsicle sticks around the outside. I used their school photo in the middle and added a star with the year. Then, they decorated the sticks with glue, glitter, and pony beads.
- Lid Ornament! The circle ornament is made from an old lid. You could also use lids from Mason Jars, if you want. The students painted them white. After they dried, we used their fingers to make the tree. Optional: Hot glue ribbon around the lid and add a ribbon loop for hanging.

Popsicle Stick Ornaments!
- Tree! Students glued sticks into a triangle and painted them green. Then, they added a clothespin for the stump and painted it brown. Once dry, they added foam stickers for the decorations. These are great crafts from younger kids because they don’t have a lot of steps and won’t take too long.
- Reindeer! Students glued sticks into a triangle and painted them brown. They added a pom pom nose and googly eyes. Lastly, they added pipe cleaner antlers to complete their reindeer.
- Snowflakes! Pictured below: write names on pieces of wax paper and let them design their snowflake however they want. Then, put a huge glob of glue in the middle and let it dry for several days. Once dry, students painted their snowflakes and added glitter while the paint was wet so that it would stick. Glue a ribbon loop to the top to hang.

Each one is so unique, and my students loved making them! These allow for a good use of student imagination, and I love the colorful ornaments!

Handprint Ornaments! Make their handprints and allow them to dry completely. Then, paint and add details. The ornaments on the tree are made using their fingers. For the handprint-shaped ones, I cut around the hand while it is wet. For the circle ornament, use cookie cutters that are larger than the children’s hands. Then, we glued the ribbon around the outside. This one was harder than just cutting the hand out.
Tip: Use white Model Magic and let dry completely before painting. If you paint before dry, it will remain tacky. Some of mine are over 10 years old and still beautiful without sealing them. I have found that the model magic lasts longer than the salt dough ornaments; some of mine have started to crumble over time. The children’s family members are going to love these homemade gifts kids can make.

Photo Ornament! You will need a wooden ornament, Modge Podge, a picture, letters, and bows. You don’t have to use a Christmas picture, but to create this image, I put students against a black background, put a Santa hat on their heads, and wrapped them in white Christmas lights. Then, I printed the picture in black and white. I put it on the frame and sealed it with Modge Podge. Then, they added a letter initial for their name and a bow to complete the ornament. This lovely gift does take some time, but it will be appreciated and cherished by the whole family!

- Christmas Trimmings Filled Ornament! Students could fill the ornament with all kinds of Christmas trimmings like bows, pom poms, ribbons, garlands, etc. Then, they were allowed to draw/scribble on the outside with a permanent marker. I love the different ways that students designed these ornaments. They were a fun way to see the students’ personalities shine.
- Paint Swirled Ornament! Students used droppers to put paint into the ornament. Then we covered the top, and they shook or rolled their ornament to swirl the paint.

Foam Ornaments! These are foam ornament kits that you can purchase from craft stores or Amazon. They are great for a time filler or something quick and easy to keep little hands busy. I like to ask parents to pick these kits up if they ask for ideas for the classroom. Some of these kits are quite intricate, and your younger kids will need a little help.

Foam Ornaments! Don’t want to purchase the pre-made kits? No problem! I still have craft ideas for Christmas time. These are a pack of foam trees to which I added foam stickers and permanent markers for students to create their own masterpieces. Hole-punch the top to make them into DIY ornaments.

String Reindeers! This craft is for older kids who have more fine and gross motor skills. I hot glued the popsicles together (2 regular and 1 short) to make a triangle and then hot glued the string to the end. Students wrapped the string around the sticks and added the nose and eyes with regular glue. Then, they colored any popsicle sticks that were showing. I hot glued a string for a hanging loop and the antlers on the back. Each one turns out a little different and shows the child’s personality.

Christmas Tree Handprint Towels! Find all the directions for these handprint crafts in this post, but you could make a tree, candy cane, reindeer, or whatever handprint idea you want. I like to use these bar towels or potholders (more expensive). They are pretty affordable, and I use the acrylic paint I already have in my classroom. Throw some ribbon around the top to make it even more festive! Tip: I touch up the handprint with a paintbrush, if there are places that didn’t print dark enough.

- Homemade Gift Bags! Don’t purchase fancy bags; just use white paper bags and let the students decorate them! I let my students use dot markers to decorate the bags, and then they write on the gift tag (from the dollar store). I give them a piece of tissue paper, and they put everything in the bag themselves.
- Directed Drawing! A directed drawing is another easy craft for a homemade gift. Be sure to precut the white paper so you can glue it onto a piece of construction paper to make a frame. Then, I laminated mine to make them last longer. Check out the Winter Directed Drawing pack for 9 picture ideas! For more information about how to implement and complete directed drawings in the classroom, check out this blog post!

>>Grab the FREEBIE by entering your email in the box at the bottom of the post, and it will be sent to you.<<
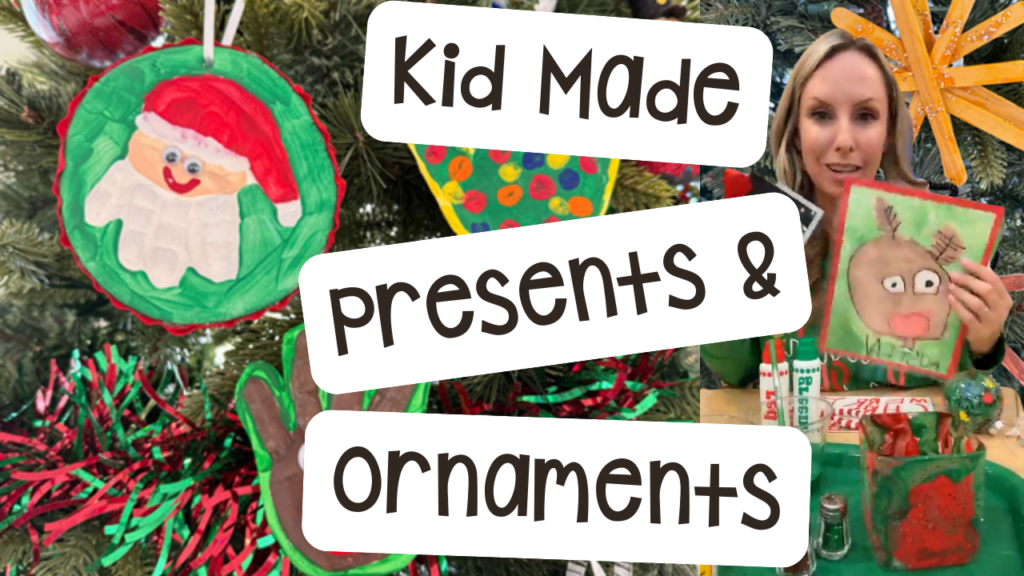
Want to see these kid-made gifts in action? Check out the video!
Love these Kid Made Christmas Presents & Ornaments? Pin this image!
hey, i’m jackie!
I’m Jackie, your go-to girl for early childhood inspiration and research-based curriculum.