Pumpkin Science Activities & Pumpkin Jack Experiment
Share This Post:

Explore pumpkins with your preschool, pre-k, or kindergarten students with pumpkin science activities & the Pumpkin Jack experiment. There are two things you can focus on when learning about pumpkins: the lifecycle of a pumpkin and the parts of a pumpkin. Little learners will love to touch, explore, and use t heir five senses to learn about pumpkins during the fall months!
Grab these resources to make your life less stressful and have more fun with your students!
Little Learners Science All About Pumpkins, Pumpkins Math & Literacy Centers, and the Halloween Math & Literacy Centers
This post contains affiliate links which means I earn a tiny commission when you use my links at no cost to you.
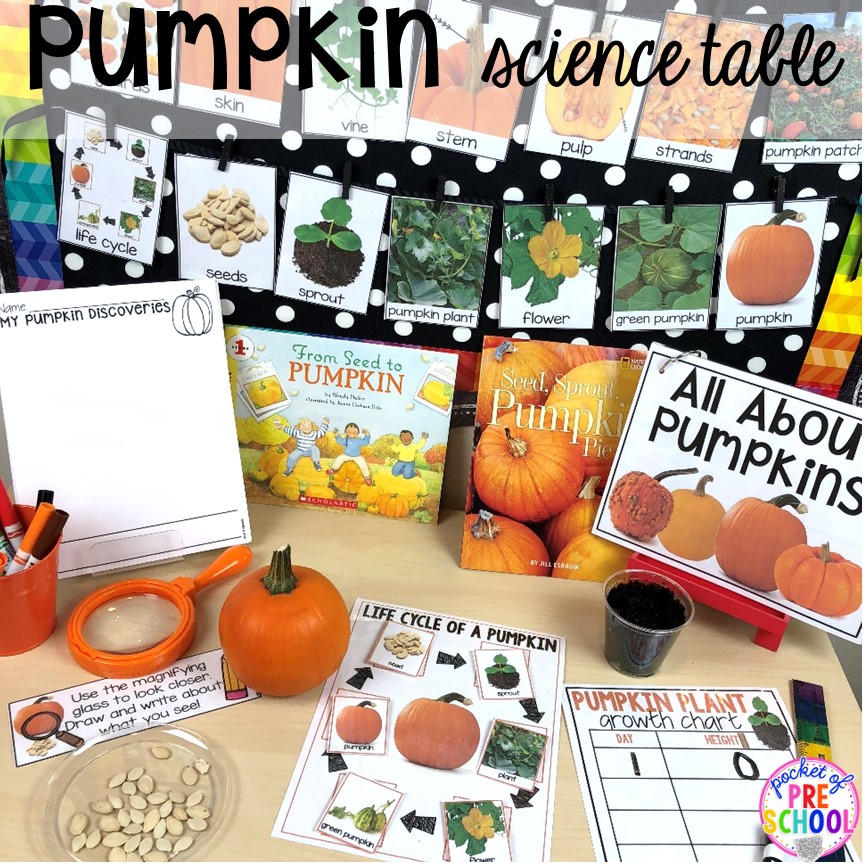
Parts of a Pumpkin Science Table
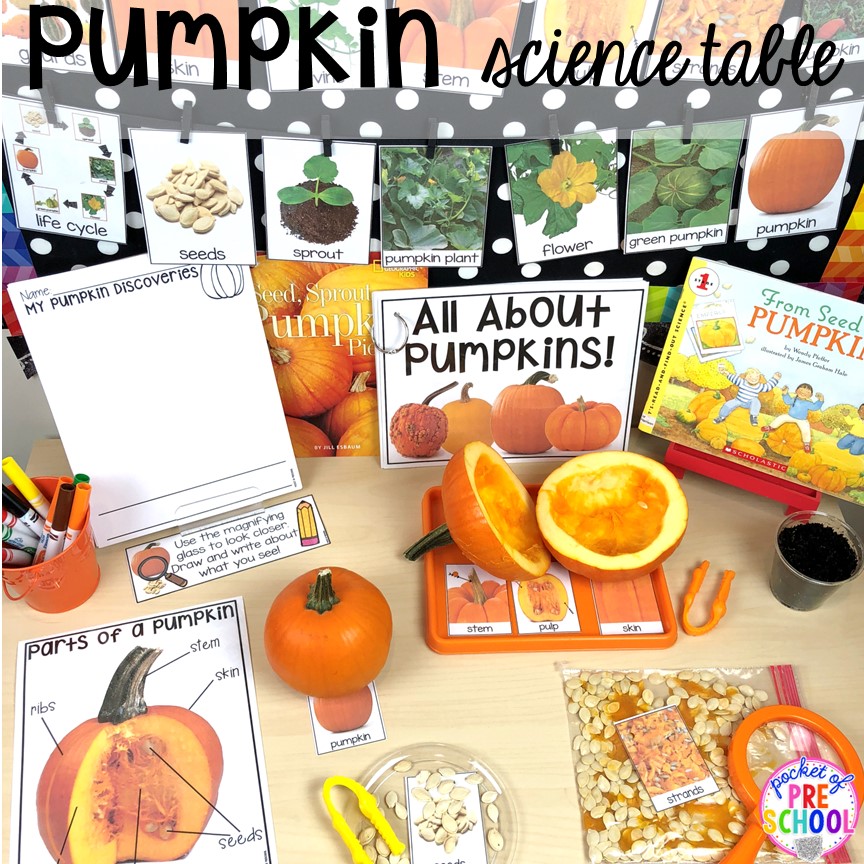
Pumpkin Science Table! Create a science table with information about pumpkins. I included different parts of the pumpkin so that students can touch and explore the insides of the pumpkins. I also laid out books, posters and pictures about pumpkins, magnifying glasses, and observation sheets.
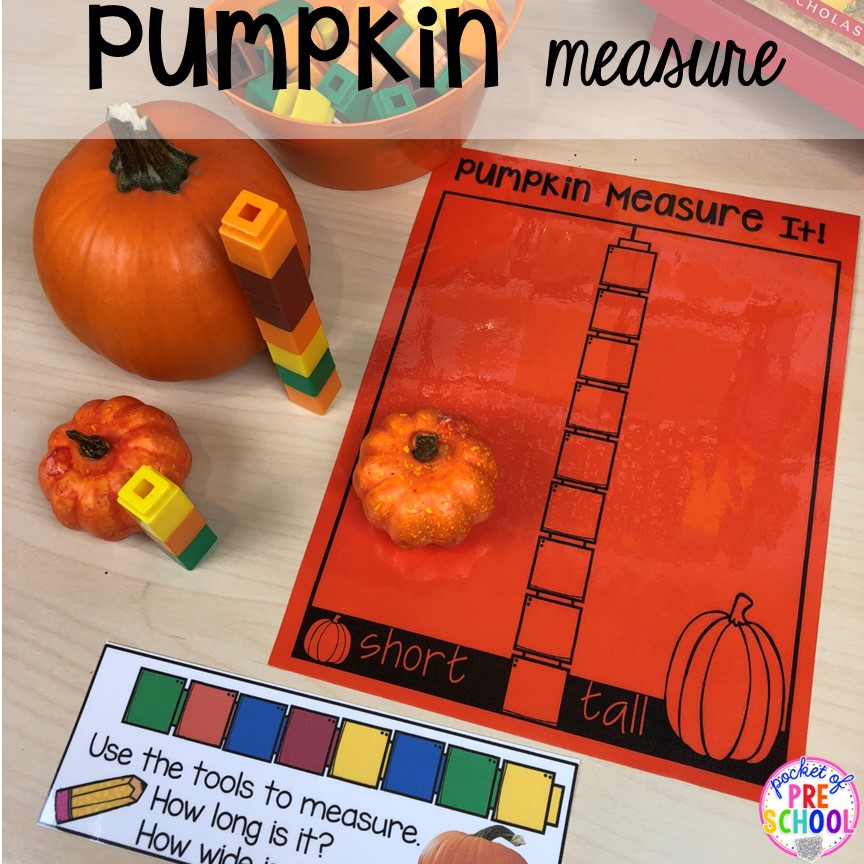
Pumpkin Measure! Give students the opportunity to practice measurement skills by setting out linking cubes and other measurement tools and charts. Allowing students to explore and measure the pumpkins will give them the learning opportunities to extend their math skills while completing pumpkin science.
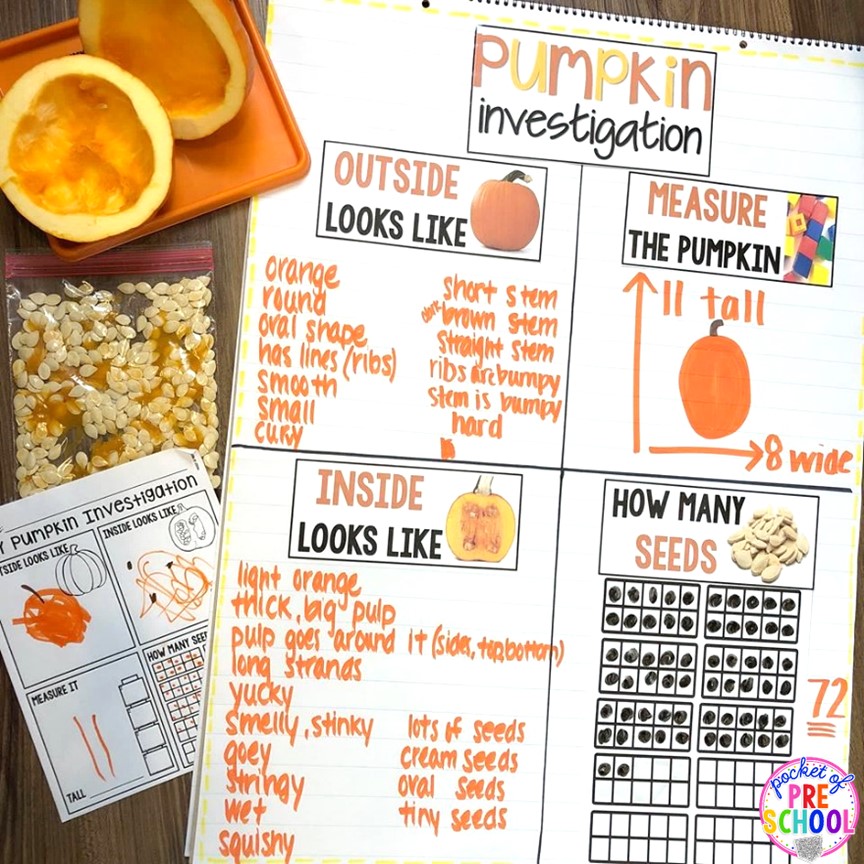
Pumpkin Investigation! As a class, have a pumpkin science talk and do a pumpkin investigation. Create the anchor chart and talk through each part. Then, record their answers. It’s a great time to use rich vocabulary and model measuring. Talk about the outside, inside, seeds, and the size of the pumpkin. You can create this anchor chart in one day or break it up and create it over two days/circle times.
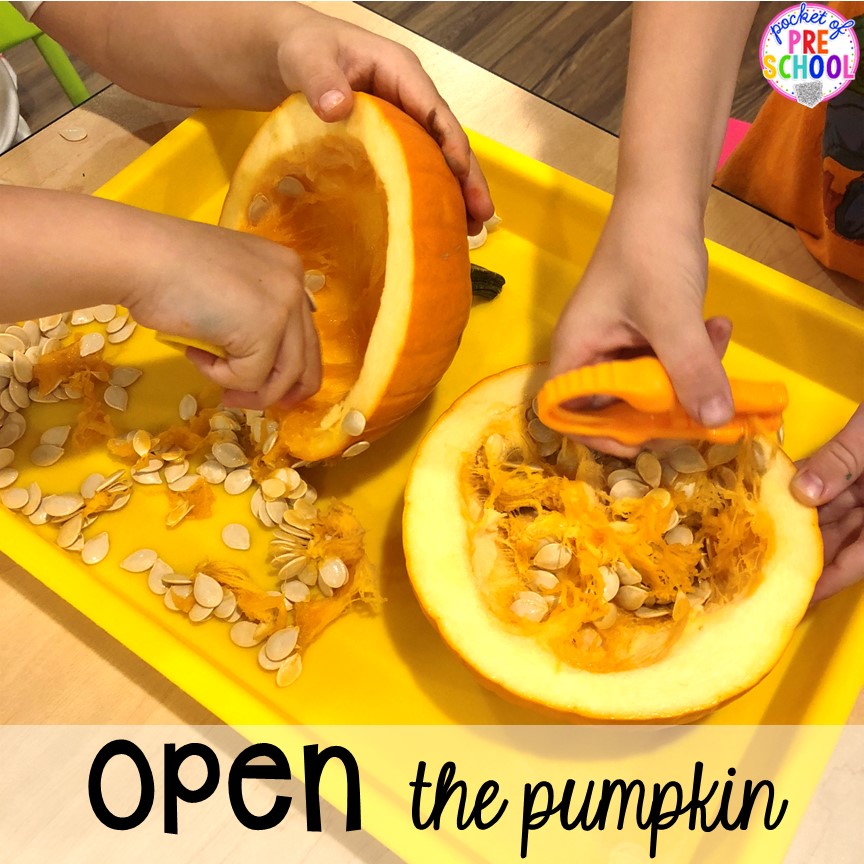
Open the Pumpkin! Cut open the pumpkin for students and do the 3rd part of the chart and place it in a center for students to explore the inside.
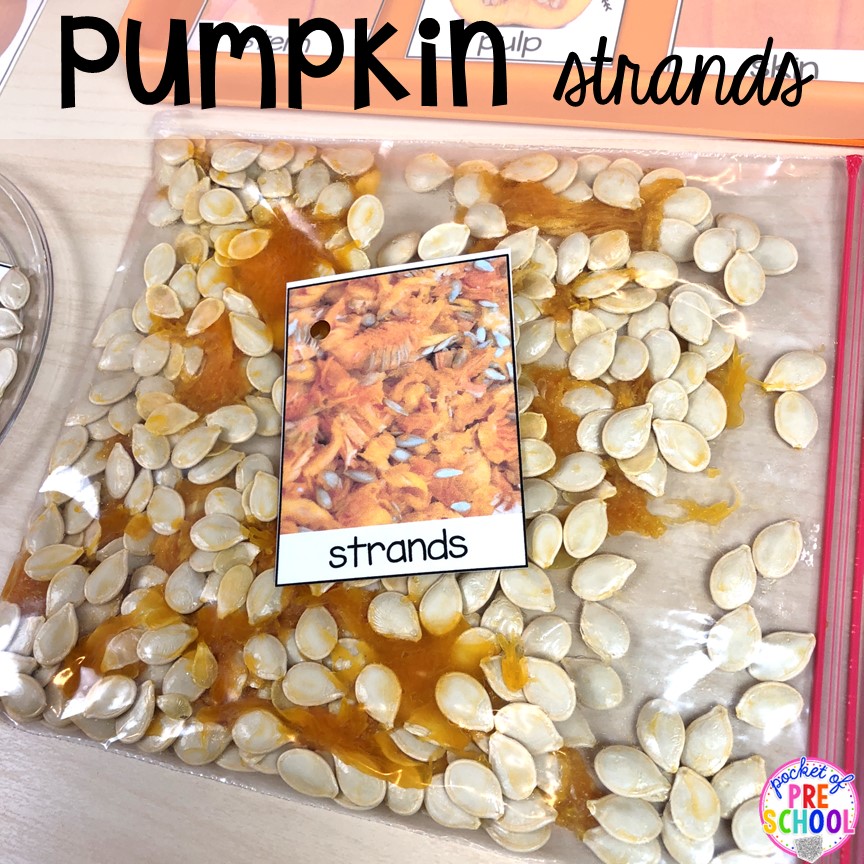
Pumpkin Strands! Place the strands in a baggie for students to explore who don’t want to touch it. I also leave them in the bag on the science table for several days for students to continue to explore.
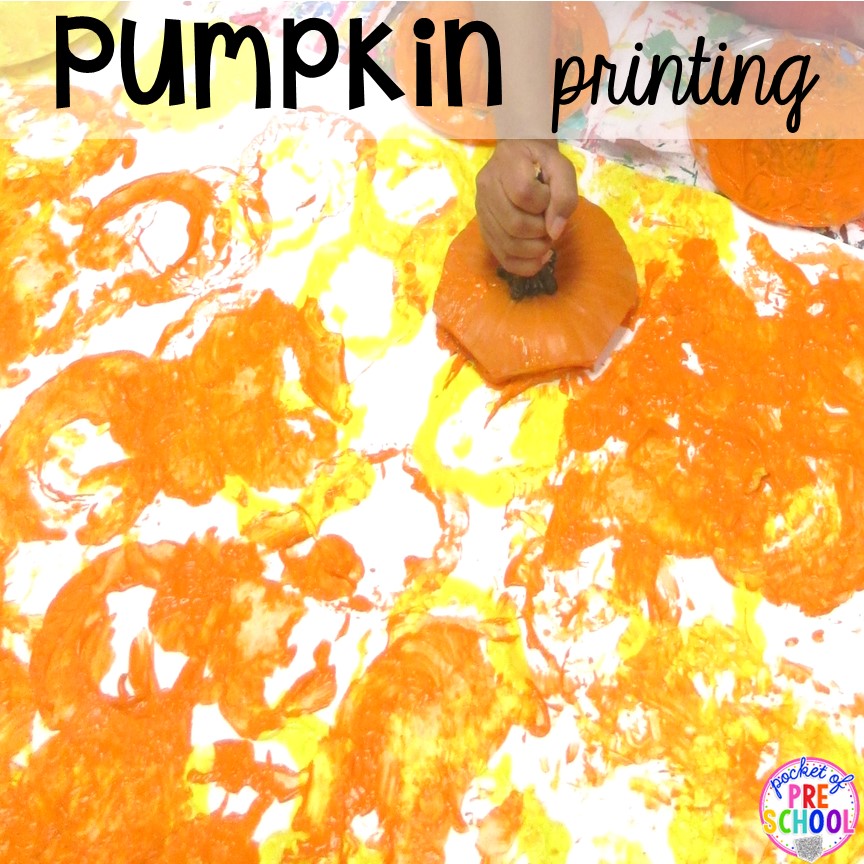
Pumpkin Printing! Save the top of the pumpkin for a fun art center! Students dip the pumpkin top in paint and stamp it onto a large piece of butcher paper.
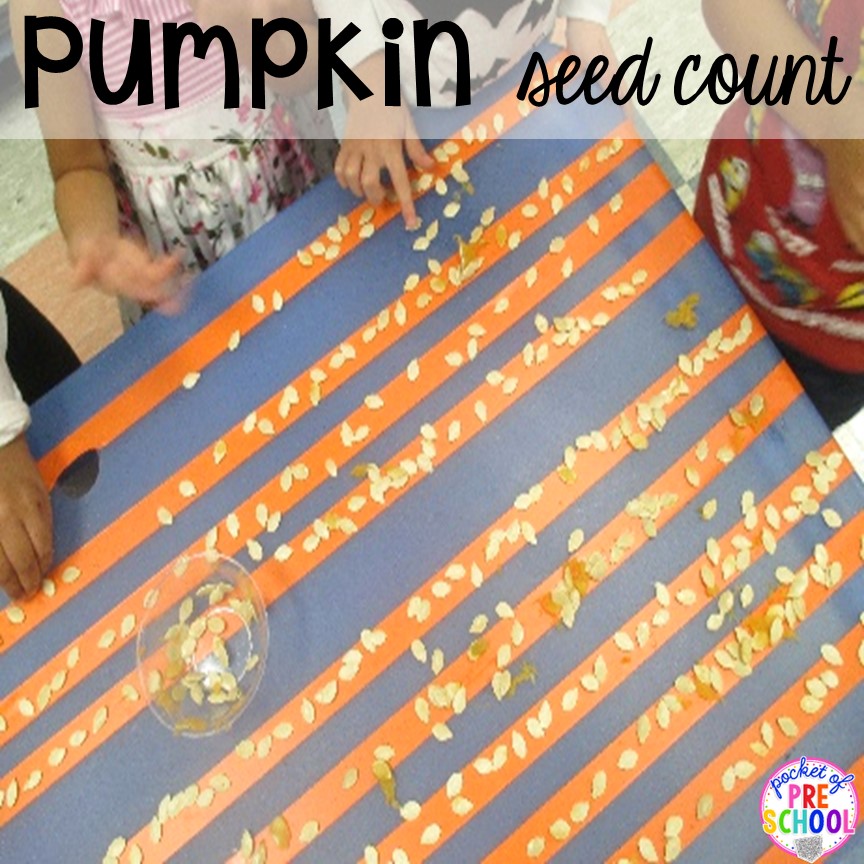
Pumpkin Seed Count! Does your pumpkin have a TON of seeds? Make lines with tape on a table. Students can place the seeds on the tape lines. You could also print out ten frames pages, and students can place the seeds in the ten frames. A visual makes it so much easier to count.
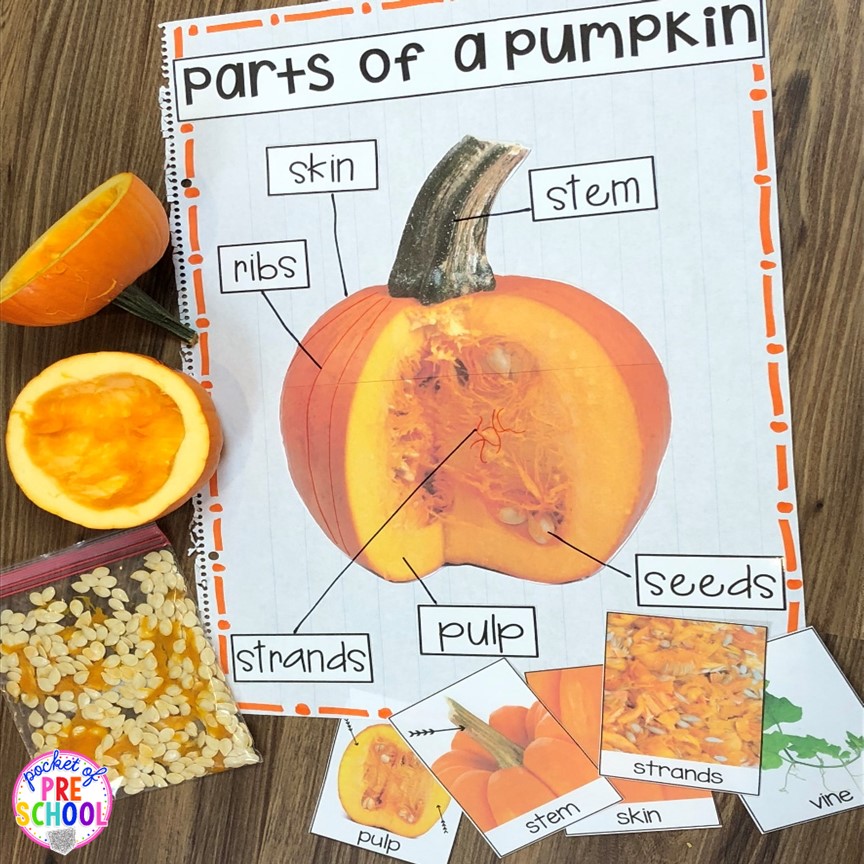
Parts of a Pumpkin! Create parts of a pumpkin chart at circle; bring vocabulary cards and pumpkin pieces to show each piece. Have a real pumpkin to give students a hands-on learning experience.
Life Cycle of a Pumpkin Science Tables
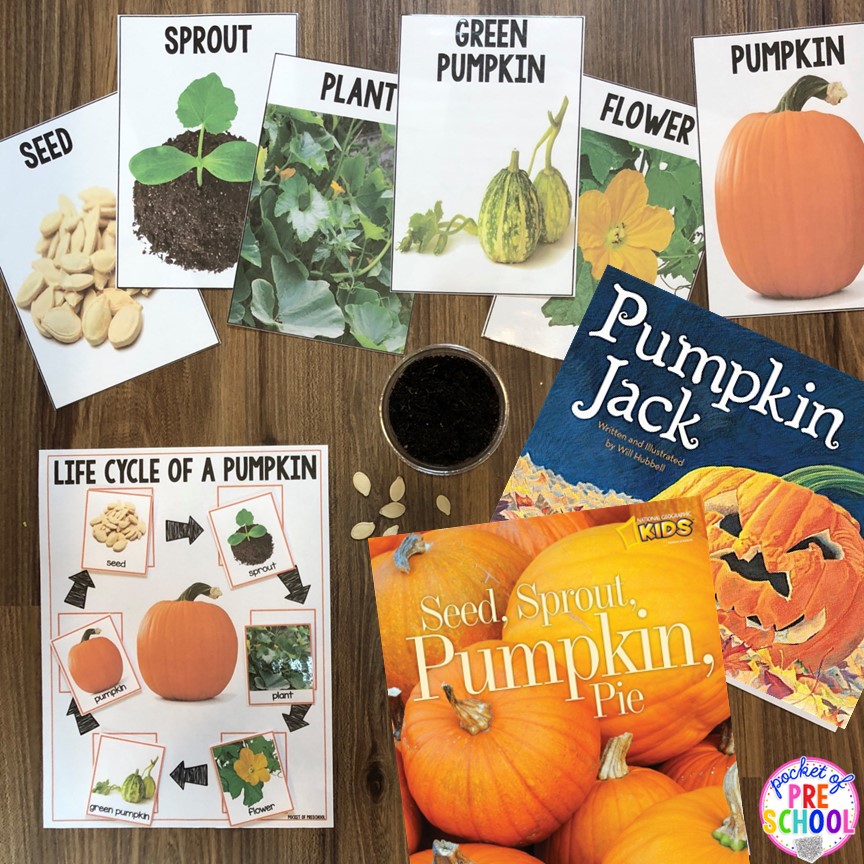
Life Cycle of a Pumpkin Science Table! Check out how I set my science table up for teaching about the life cycle of a pumpkin. There are lots of real-life images and tools to explore at my pumpkin science table.
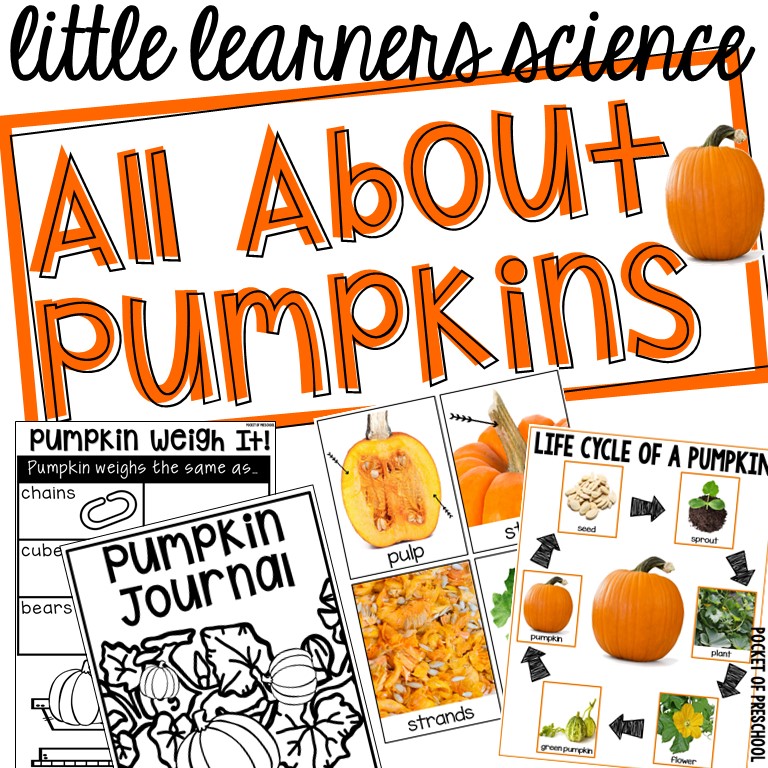
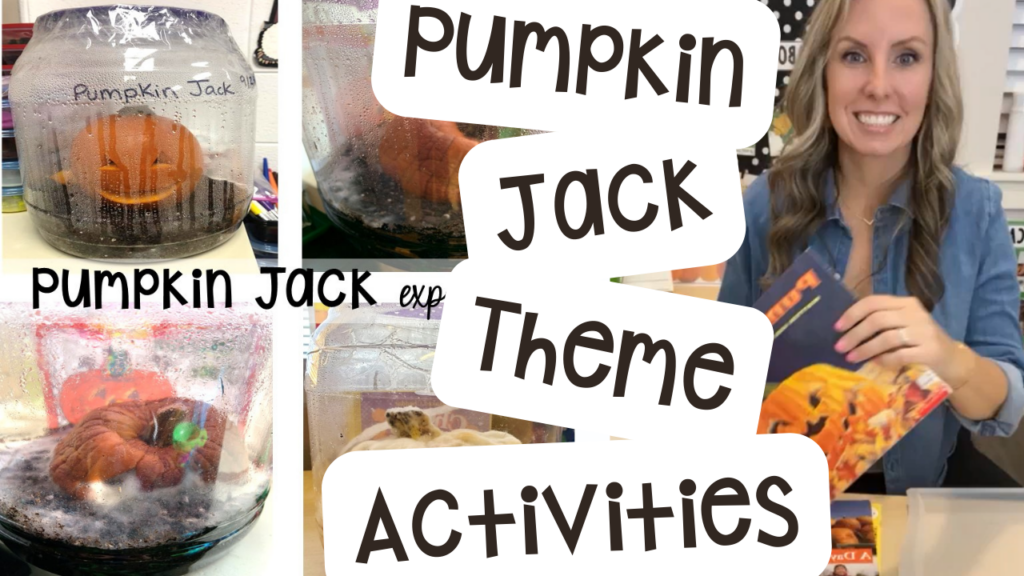
Life Cycle Printables! I like to use real images when teaching my science units, and the Little Learners Science All About Pumpkins Unit has over 75 pages of hands-on, engaging tasks for little learners to learn about pumpkins. I love to set out fiction and nonfiction books, too. Seed, Sprout, Pumpkin, Pie is a wonderful nonfiction title that walks students through all the stages of a pumpkin. Pumpkin Jack is a great fiction option that teaches the stages of a life cycle with a cute story.
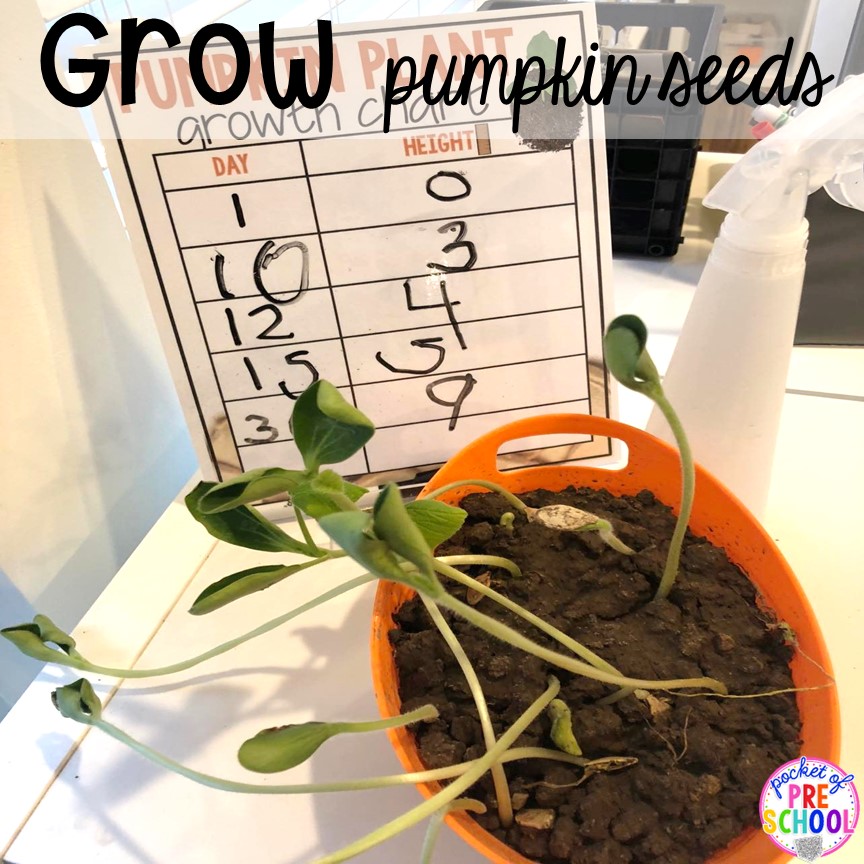
Grow Pumpkin Seeds! Save some seeds to grow and record measurements on a chart (write the date when planted on the back of the chart to help count days). This is a good option if you don’t want to do the pumpkin jack experiment.
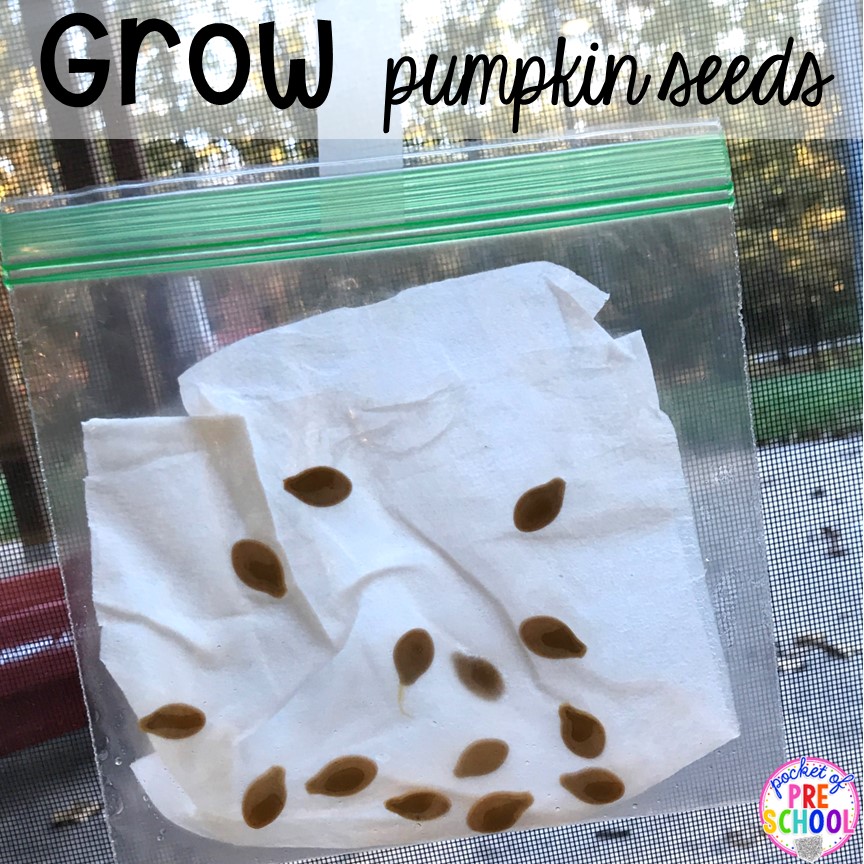
Grow Pumpkin Seeds! Soak the seeds in water (at room temperature) for at least two hours but not more than 24 hours to help with the germination process before you plant them. Place the seeds in a baggie with a damp paper towel and tape them to the window. You can also plant them in a clear cup (so you can see the roots) or a small container.
Pumpkin Jack Experiment
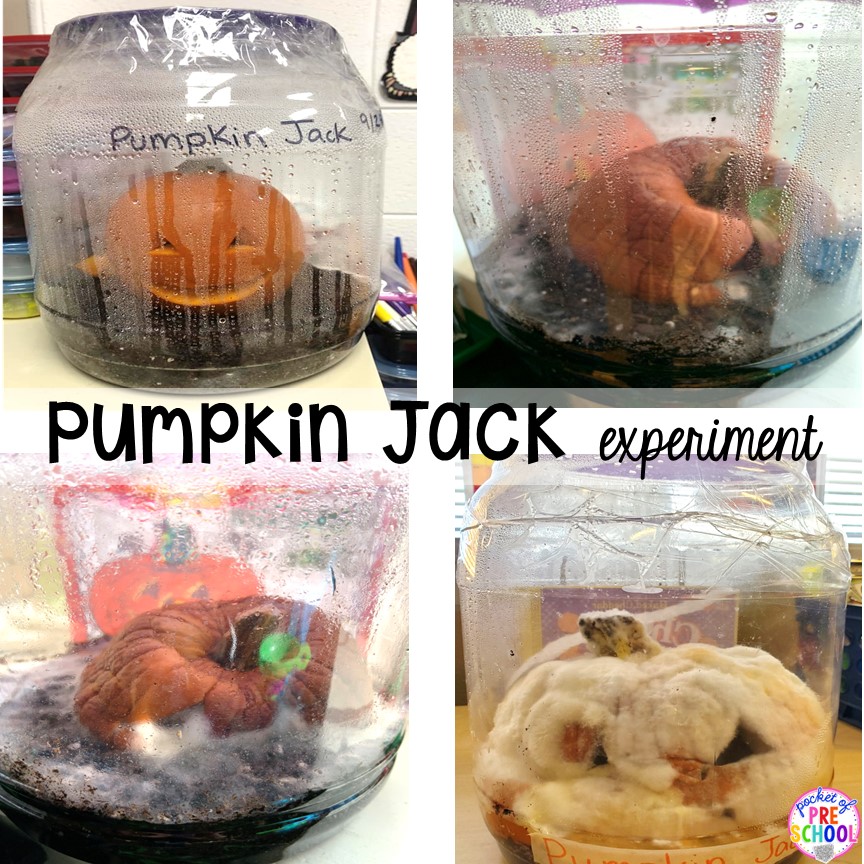
Pumpkin Jack Experiment Steps
- Put potting soil in the container
- Carve a pumpkin and let kids explore with hands (inside and out)
- Place the carved pumpkin with its insides into the soil and spray with water
- Put on the lid and seal with tape
- Place in a sunny window and watch it decompose and grow again
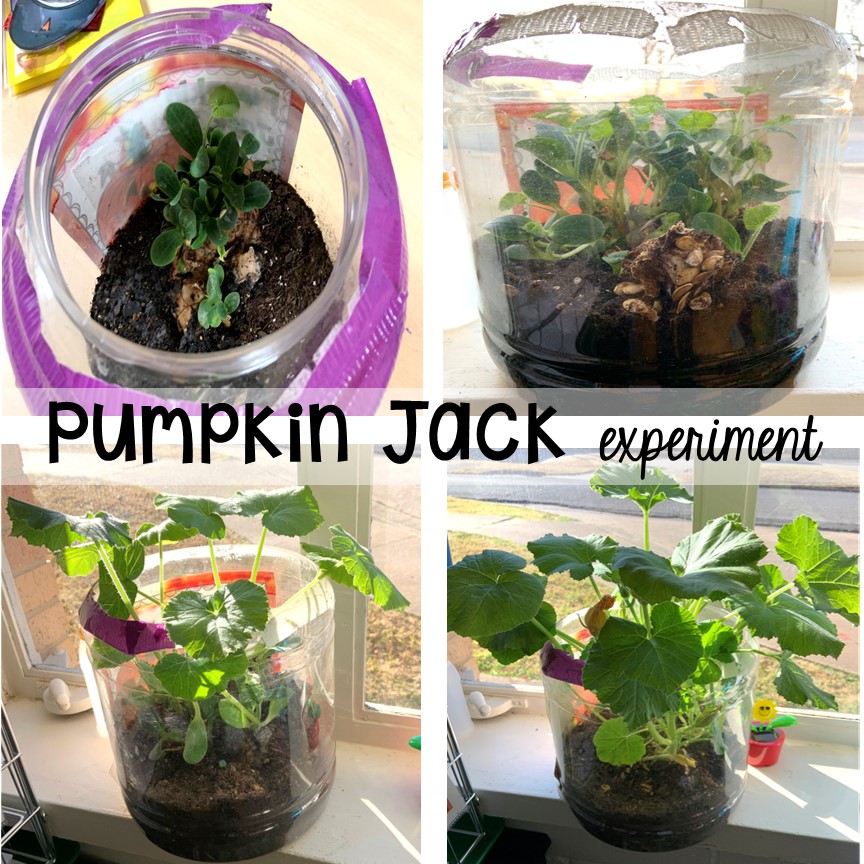
Experiment Tips!
- Container- use an animal cracker or cheese ball container (You cut the container in half and then seal it back together with duct tape so when the blossoms start to grow, you just unseal and it works as a planter until you’re ready to plant in the garden.)
- Make sure to have kids touch the outside and inside of the pumpkin to put more germs on it for faster decomposition.
- Don’t water it during the winter- It will produce its own condensation, like a terrarium.
- Add a little water to it about 6 weeks before you want to plant it, and then the seeds will start sprouting.
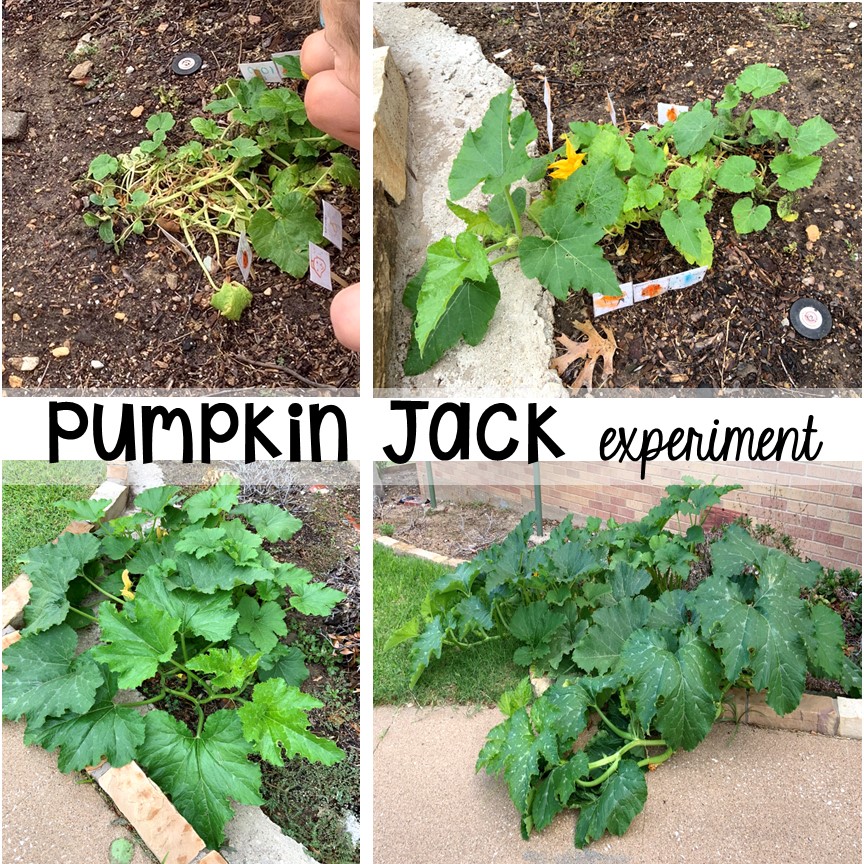
In the Spring! Once the pumpkin seeds start to sprout, you can plant them outside to see the full life cycle of the pumpkin. It will grow over the summer, and hopefully, you will have pumpkins in the fall.

Another Option! I placed my pumpkin in the woods outside of the playground for us to observe. It just decomposed slowly. It did not produce a seedling or plant in the spring. This is a great option if you don’t/can’t have the pumpkin inside.
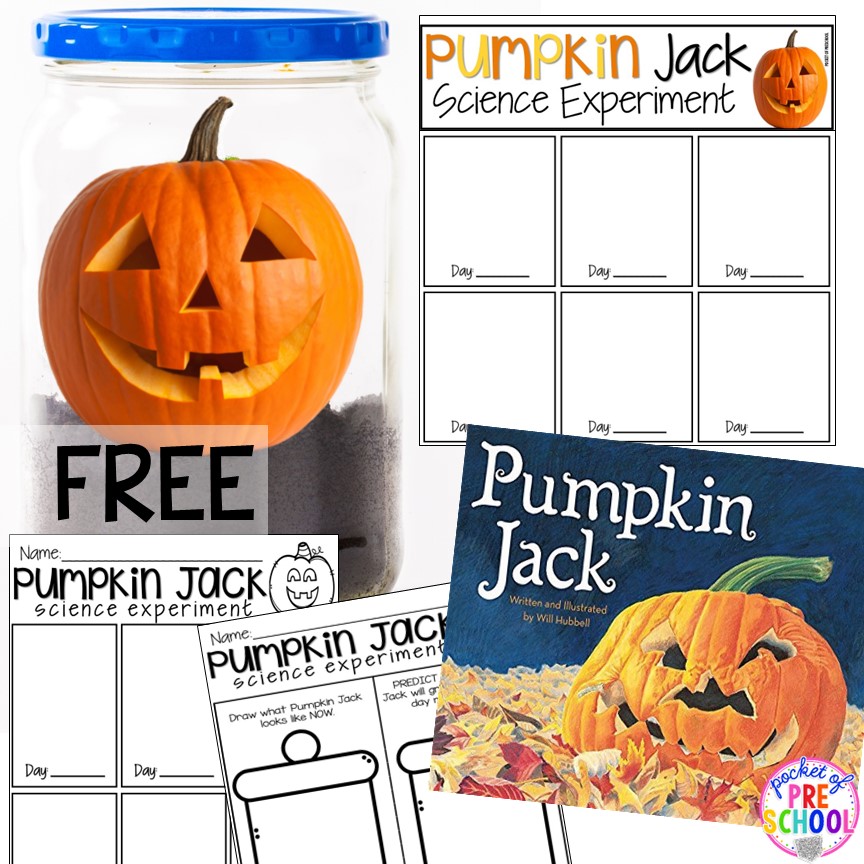
Freebies! Put your email in the box below to grab some Pumpkin Jack freebies so you can try this fun experiment in your classroom!
I hope this post helps you have so much fun exploring and learning about pumpkin science with your preschool, pre-k, or kindergarten students! Science can be fun, engaging, and hands-on with the right tools and resources! Grab the Little Learners Science All About Pumpkins Unit to have a wonderful and stress-free learning experience!
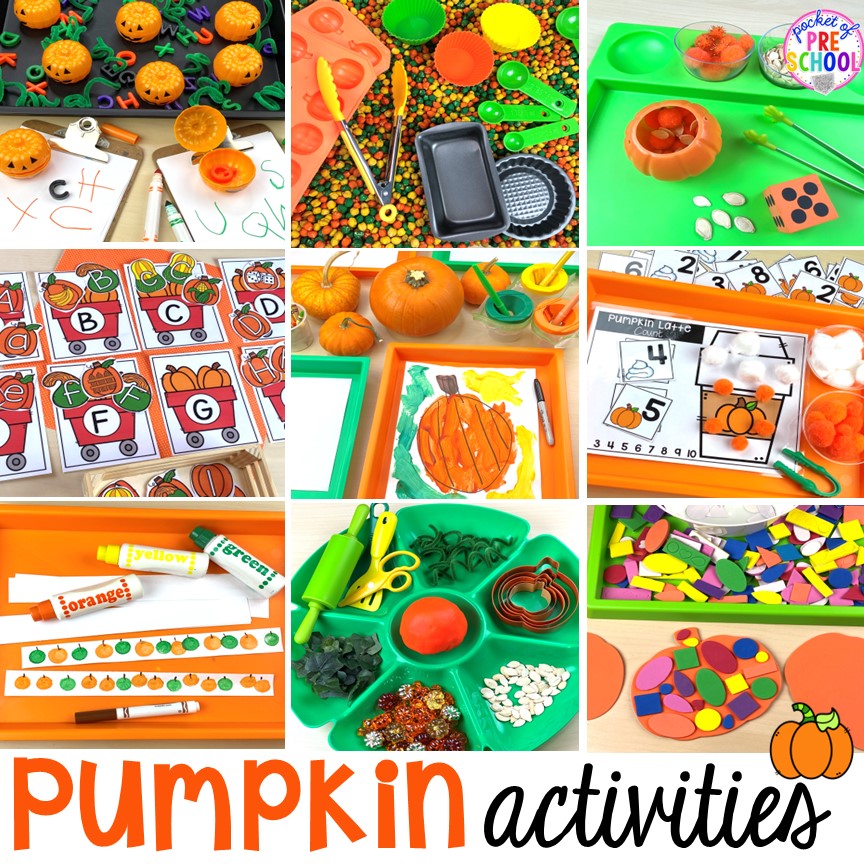
Check out this post for more pumpkin activities for all around the room!
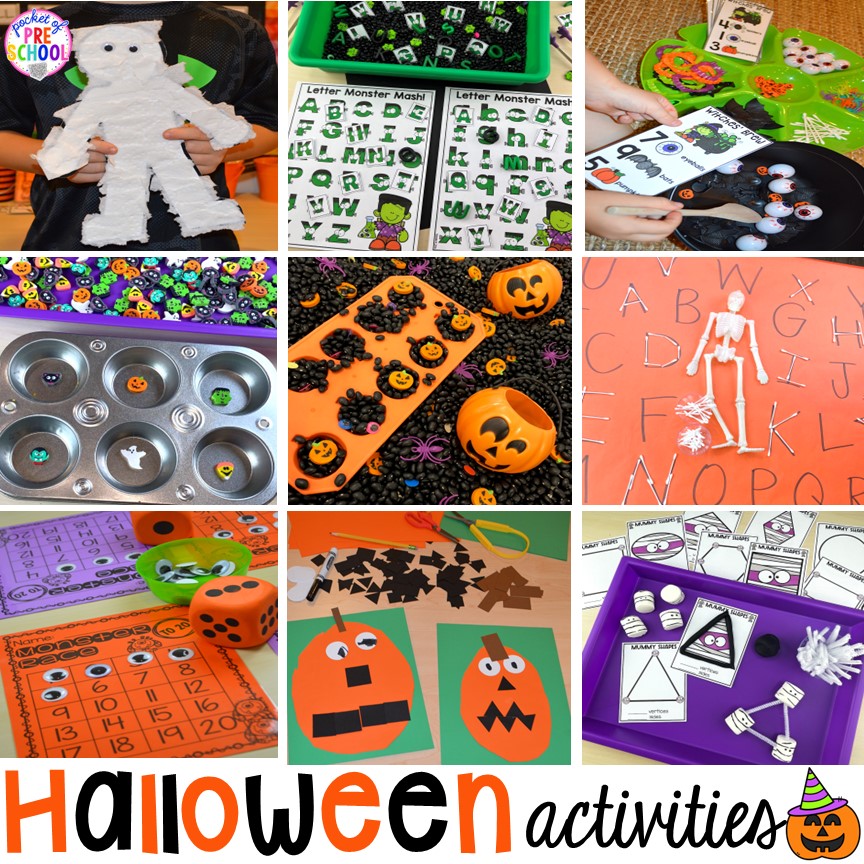
Get ready for Halloween with this post about Halloween math, literacy, and sensory activities.
Want to see the pumpkin jack experiment in action? Check out the video here!
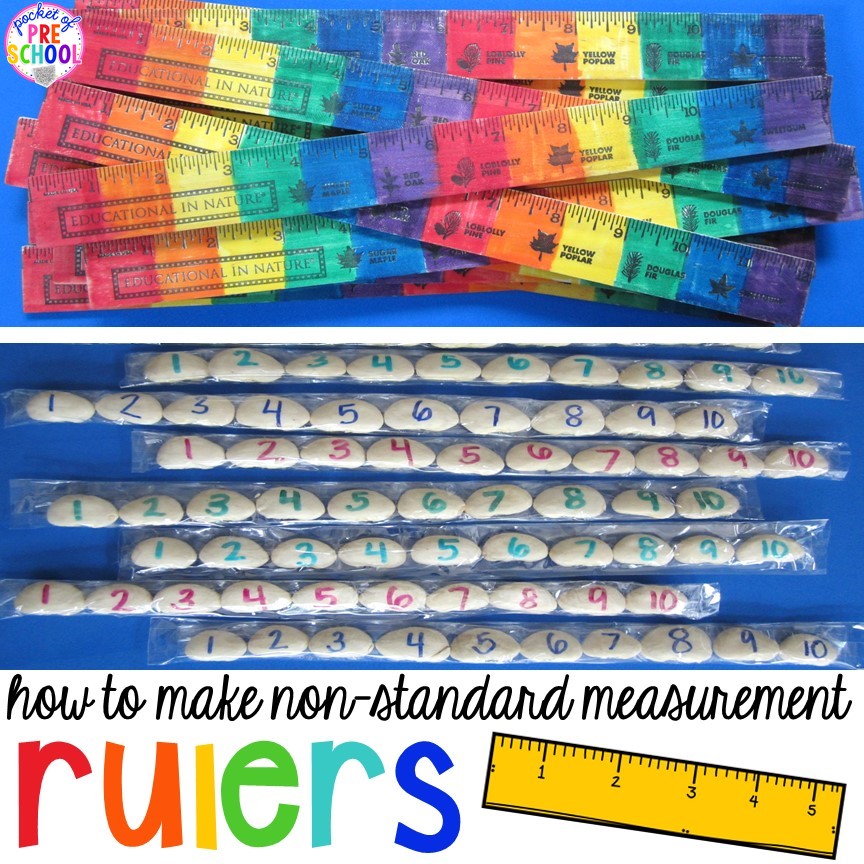
Make rainbow rulers or bean rulers to practice measurement skills with little learners.
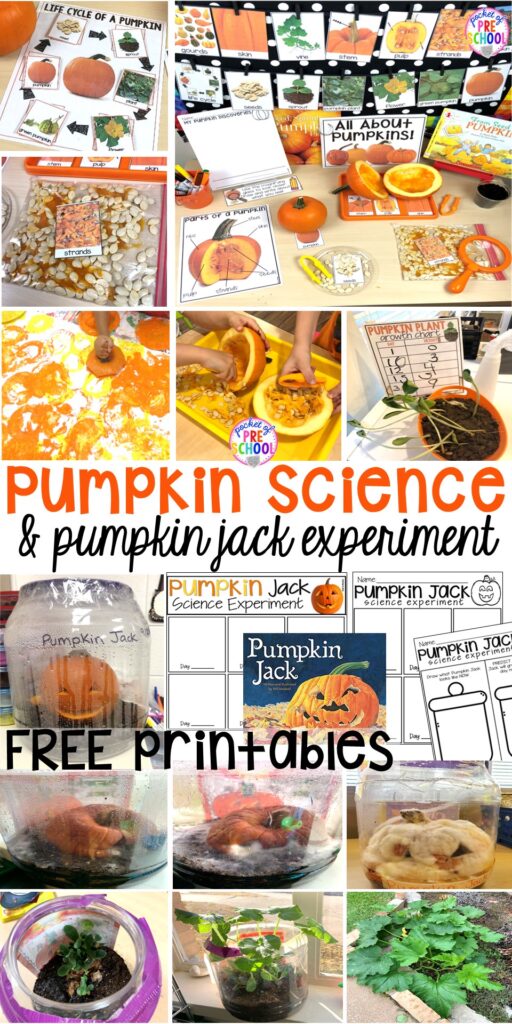
Love this post? Pin this image!

hey, i’m jackie!
I’m Jackie, your go-to girl for early childhood inspiration and research-based curriculum.

