How to Set Up and Plan for your Art Center in an Early Childhood Classroom
Share This Post:
The Art center is a place where students can go to express their feelings, ideas, and be creative! Every child is an artist in the Art center! It is a place that promotes high-level thinking, problem-solving, and is rich in vocabulary. Students can learn and develop skills in all learning domains (language, literacy, math, science, social studies, fine motor, gross motor, and social skills) through art. It is an amazing place in your classroom if you are intentional with the materials and experiences you plan and set up for your students.
This post contains affiliate links.
Setting up the Art Center
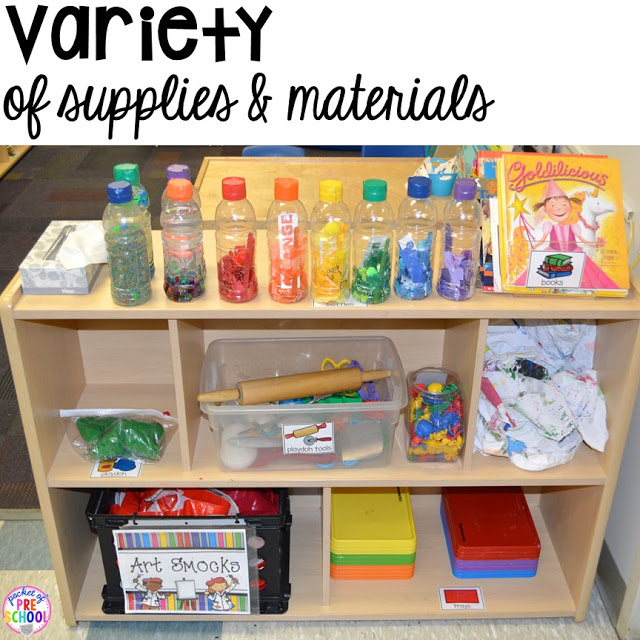
We all know students learn by doing, exploring, and getting messy. Having a variety of materials and rotating materials in your art is SUPER important! I add or remove items from my Art center based on student interest and what we are learning about (theme). Some materials are always in my center. These materials are: construction paper, white paper, grid paper, crayons, markers, glue, scissors, paint, play dough, stencils, dot markers, tape, paper shapes, paper/foam letters, feathers, tissue paper and trays. Some of the materials I rotate are oil pastels, watercolors, sand, clay, Model Magic, paint sticks, various collage materials, items from nature (ex: leaves, pine cones, shells, rocks, flowers, sticks), buttons, crepe paper beads, yarn, ribbon, recycled items (ex: bottle caps, cardboard, newspapers), wood pieces, pom poms, stamps, playdoh tools, playdoh scissors, playdoh manipulatives, and painting tools (ex: marbles, cotton swabs, tooth brushes).
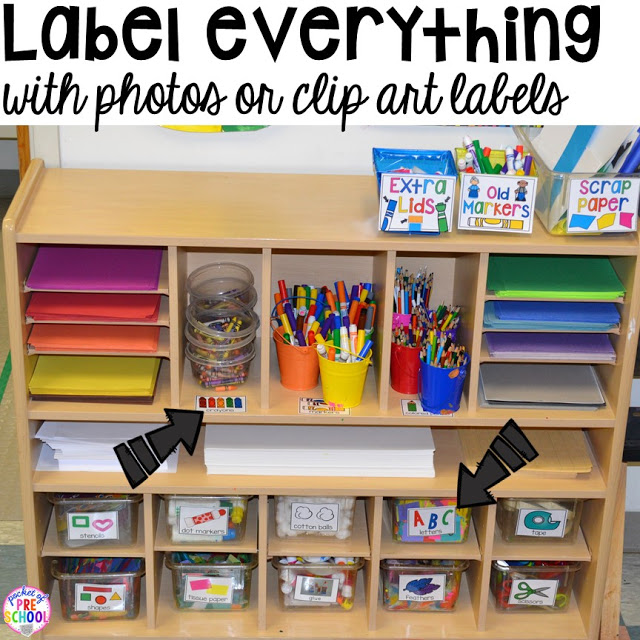
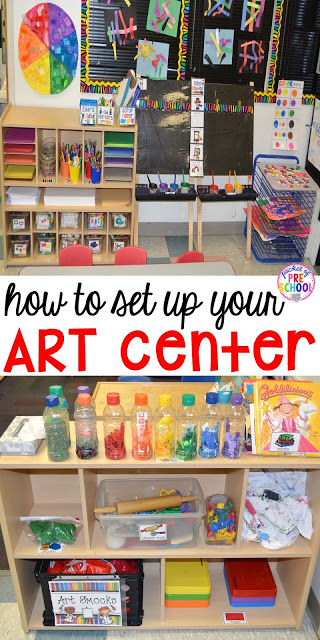
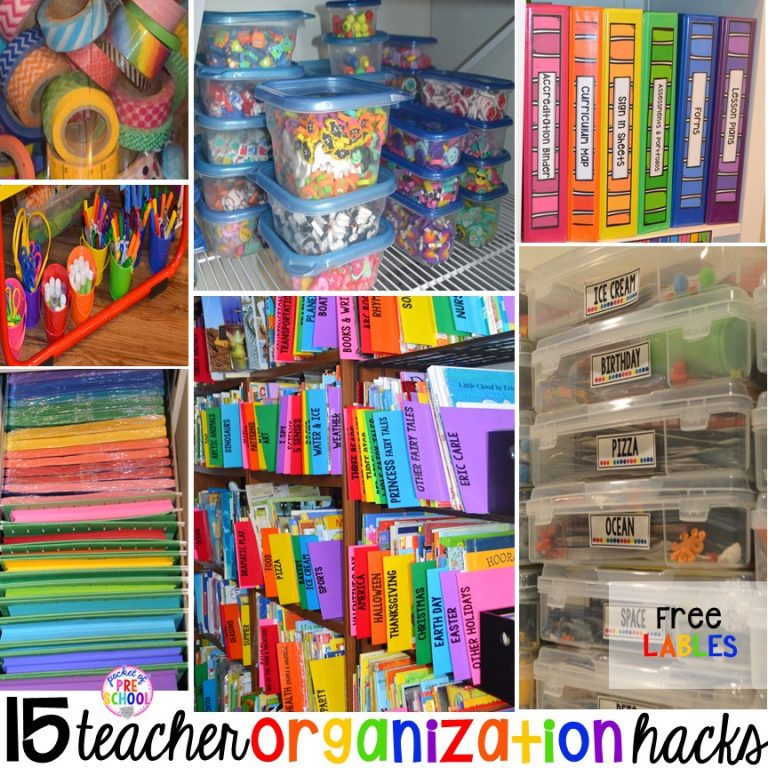
Label everything you can in the center to make clean up easier and to help students find the materials they need. My rule is that anything students see on the art shelves, they can use at any time. The things I don’t want them use, I put away in a cabinet. Labels show students (and teachers) where the items belong. It makes clean up easier and helps students become independent in your classroom so they won’t have to ask you for what they need. Instead they will be able to find it themselves in the center. Don’t forget to have the words paired with a picture on your labels! Grab my Classroom Labels HERE with real photographs!
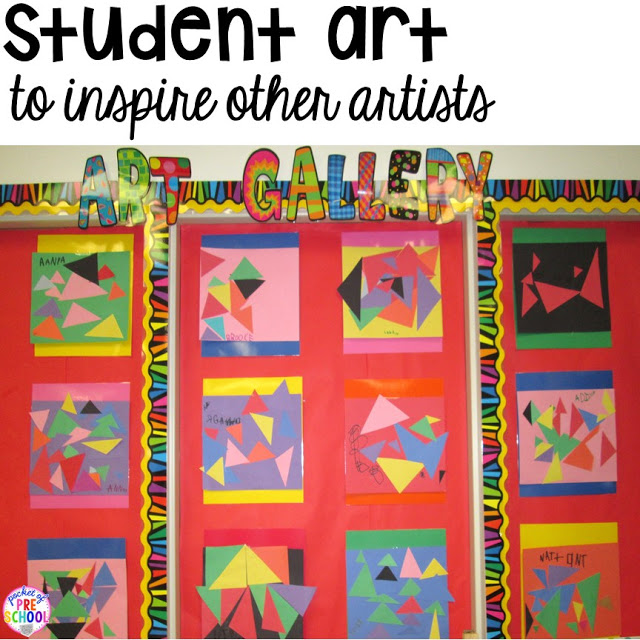
Post student artwork in the center to inspire other artists! Create an art gallery for the art center. You can use real picture frames, paper (like I did), or hang 3D art from the ceiling (if you are allowed to).
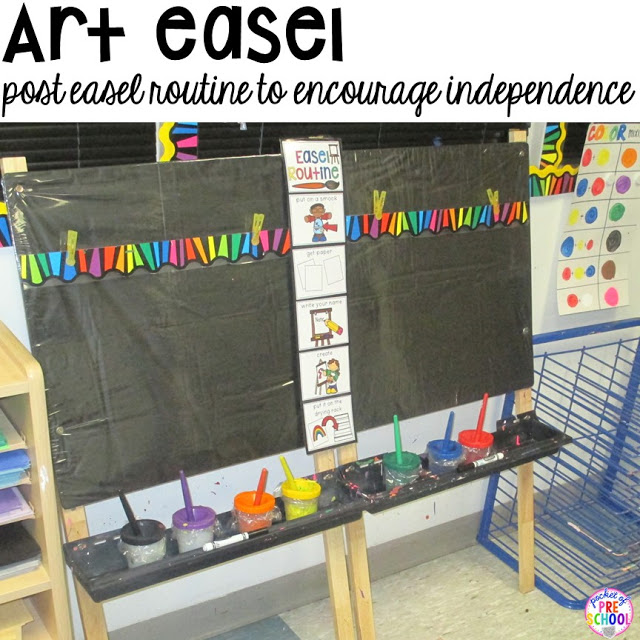
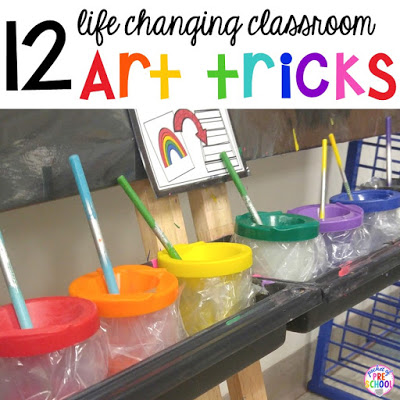
Every Art center needs an easel. When students are creating art at the easel, they are strengthening their upper arms and core muscles! I took my easel apart to make the two sides sit side by side. This way students can share materials, have conversations about their art, and observe their friends creating art at the easel which allows students to practice and develop their social skills! These no-spill paint cups are perfect for the easel and the students can match the color brush to the color paint lid.
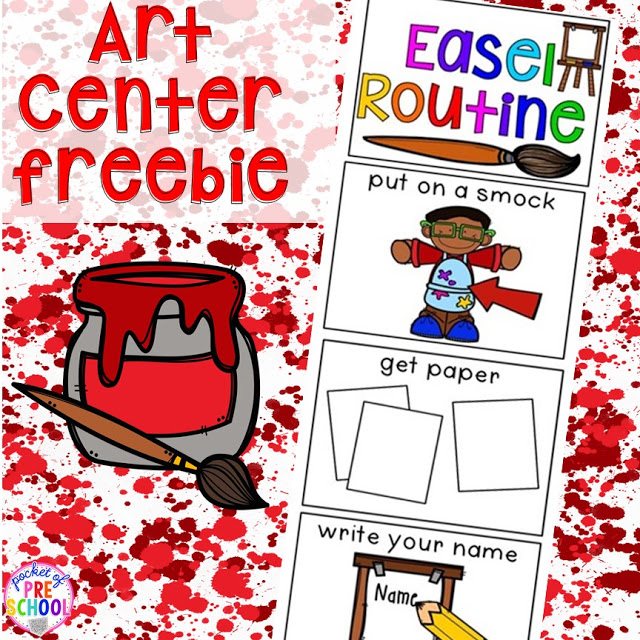
At the beginning of the year, I introduce and model our art easel routine and read the book You Ain’t Gonna Paint No More. Posting the art easel routine helps students work independently at the easel. Be sure to read to the end to find your Art Easel Routine FREEBIE!
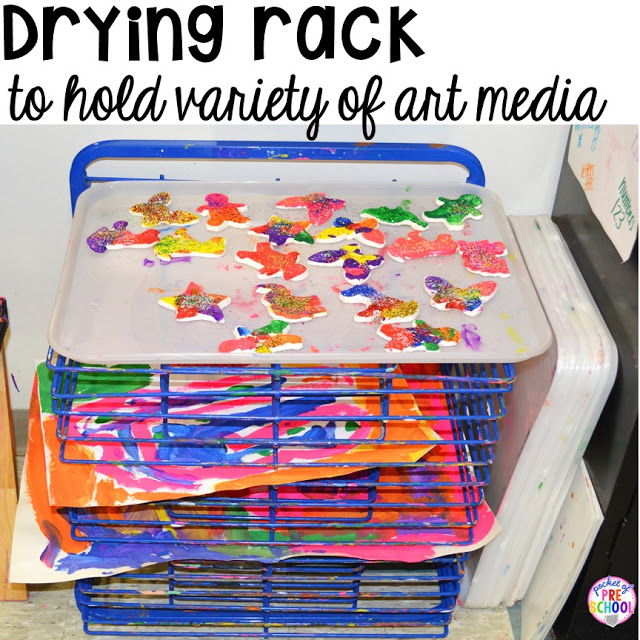
Every Art center needs a drying rack too. I have trays by the drying rack to hold all the tiny treasures my students create. If you do not have room for a drying rack, you can hang a clothes line or use a clothing drying rack with clothespins.
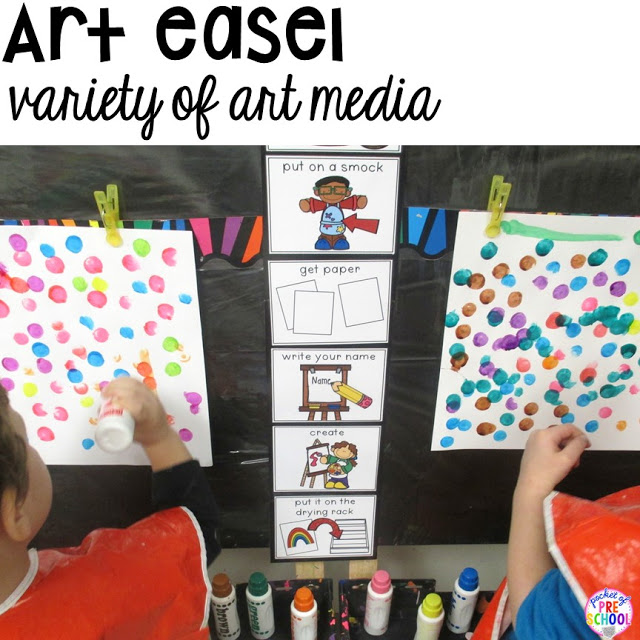
Don’t only use paint at your easel. Give students the opportunity to explore a variety of media at the easel (plus it can be less messy). Crayons, markers, dot markers, water colors, stamps, and sticky paper with collage materials are some of my students favorite media items to use at the easel.
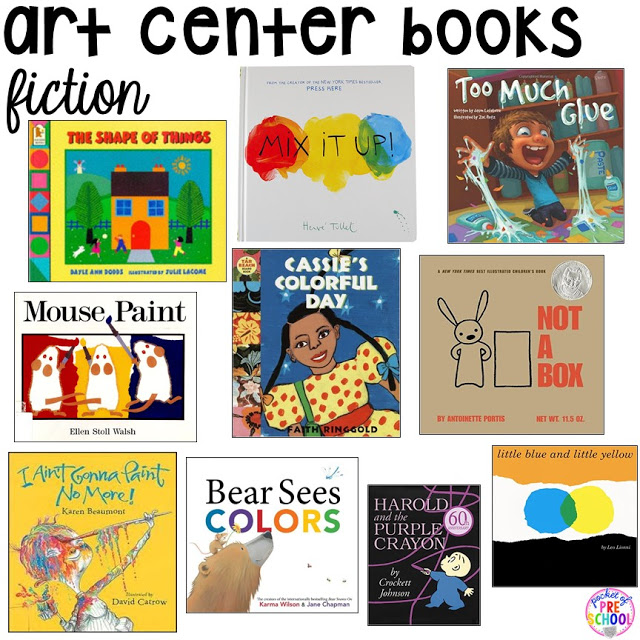
BOOKS about art and famous artists! Having books in every center shows students how meaningful and important books are. Books are a fabulous way to infuse culture into your art center and inspire your little artists too! These are my favorite fiction books about art and various art concepts. Who doesn’t just love Harold and the Purple Crayon! Some of my other favorites are The Shape of Things, Mouse Paint, Mix it Up, Too Much Glue, Not a Box, Cassie’s Colorful Day, I Ain’t Gonna Paint No More, Bear Sees Colors, Little Blue and Little Yellow.
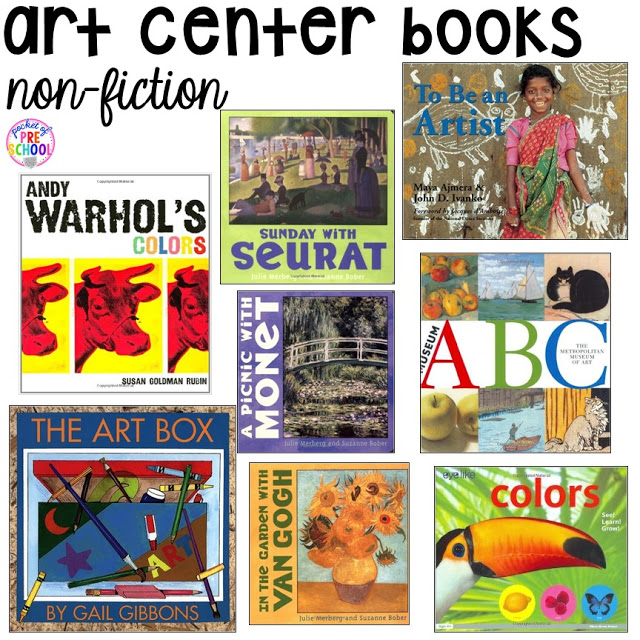
Non-fiction books are important too! These books are just right for Preschool, Pre-k, and Kindergarten artists. Julie Merberg wrote a fabulous series of board books on famous artists. Love her! Some of my other favorites are To be an Artist, The Art Box, Andy Warhol’s Colors, Museum ABC, and Colors.
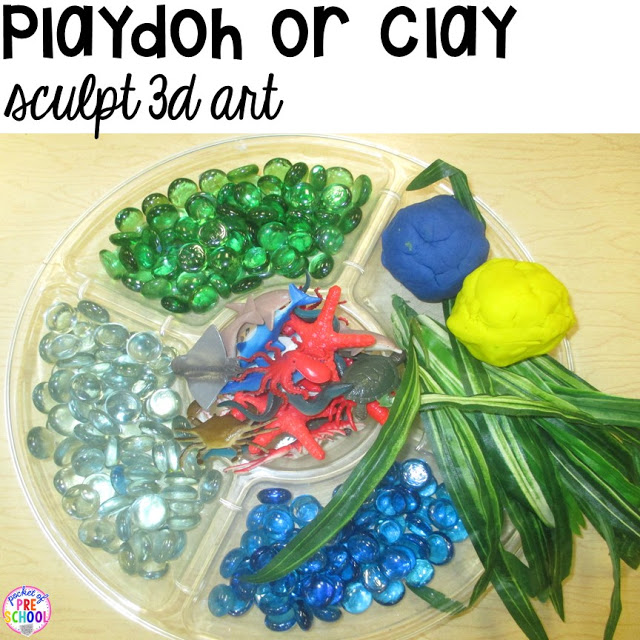
Playdoh, clay, or Model Magic are items you can have in your center that provide students with the opportunity to sculpt and create 3D art. Playdoh of different kinds are always in my Art center. I make homemade playdoh and sometimes buy playdoh. Playdoh strengthens students hands, wrists, and upper arms. Plus it is relaxing for students! If you have a student who doesn’t like to touch playdoh, just put it in a baggie. Then they can take part in the activity too!
The manipulatives, tools, and types of playdoh I have in the center correlate to what I am teaching in class. As you can see from the above image, I put out colored jewels, ocean animals, fake seaweed, blue playdoh, and yellow playdoh for our ocean theme.
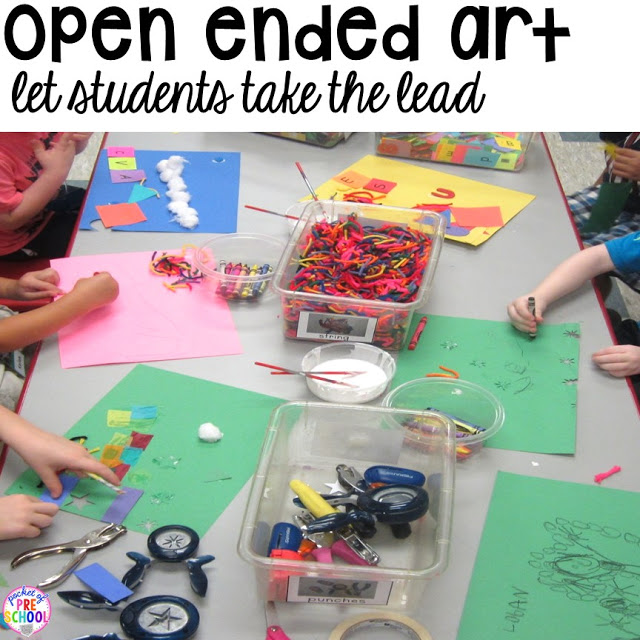
Each week you probably have to plan art activities or add something new to your art center. Be intentional when you plan! You know your students. Think about and reflect on your students. What do they love? What art media interests them (what do they always pick)? What are they talking about in class? What are they observing? What materials are they asking for? What skills do they need to develop? Observe your students in the art center and examine their artwork. Let students take the lead, they are showing you through their play and art what they are interested in. Don’t just plan an activity because you did it last year. Plan an activity because your students will love it and grow from it!
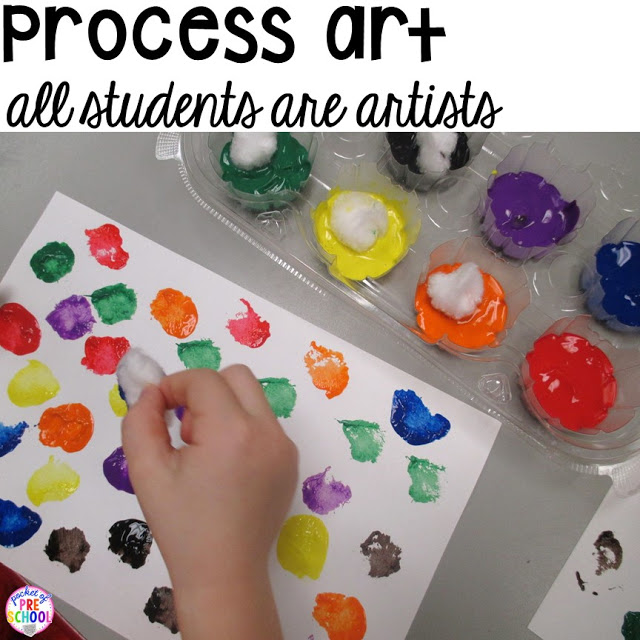
I could write an entire post on why open-ended art is so important! So to say it quickly, open-ended art allows students to be creative, plan, problem solve, express their emotions, focus, explore, develop self-regulation, strengthen fine motor skills, and just be artists. Process art is just that…..it is about the process not the product. It is about students enjoying, exploring, and creating art!
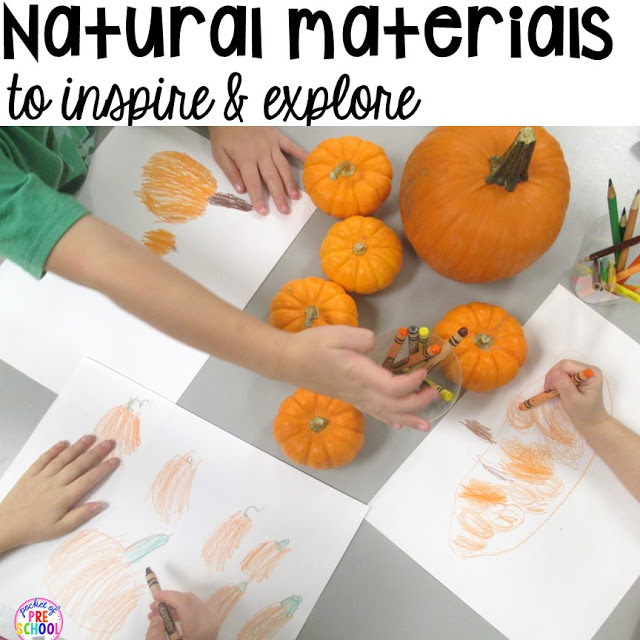
Plan art experiences using items from nature. Bring items from nature into the classroom. Paint and stamp with sticks, shells, leaves, flowers, fruit, veggies, sand, and dirt. Dirt finger painting is amazing! The above image is a pumpkin still life art experience I set up last fall.
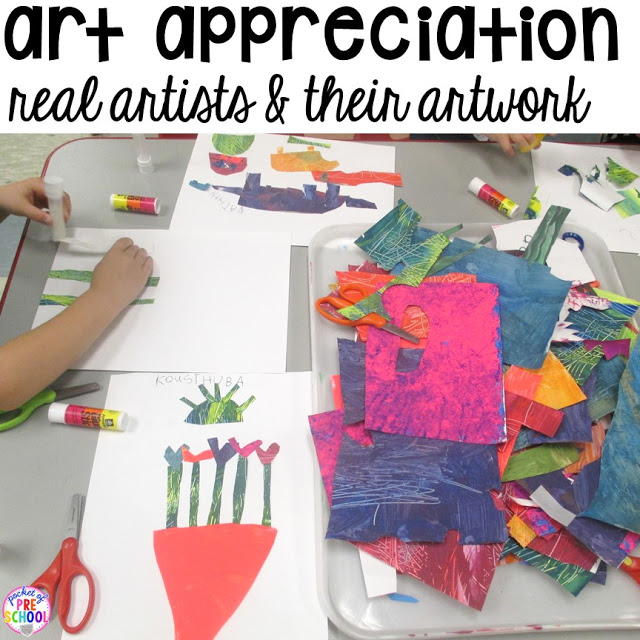
Help students develop a love of art by studying famous Artists and Illustrators. Students will be exposed to different cultures, art techniques, and many types of art media as you study various artists and kinds of art. You can see my students creating art like Eric Carle in the picture. First, we painted and printed various colors on construction paper. Then they cut the beautiful paper to create their art.
A few of my favorite artists to study are Jackson Pollock (splatter painting), Michelangelo (painting under the table), Pablo Picasso (face collages), Andy Warhol (coloring photographs), Piet Mondrian (straight line designs), and George Surat (pointillism). If studying famous artists is intimidating to you, just search my Pinterest art board HERE.
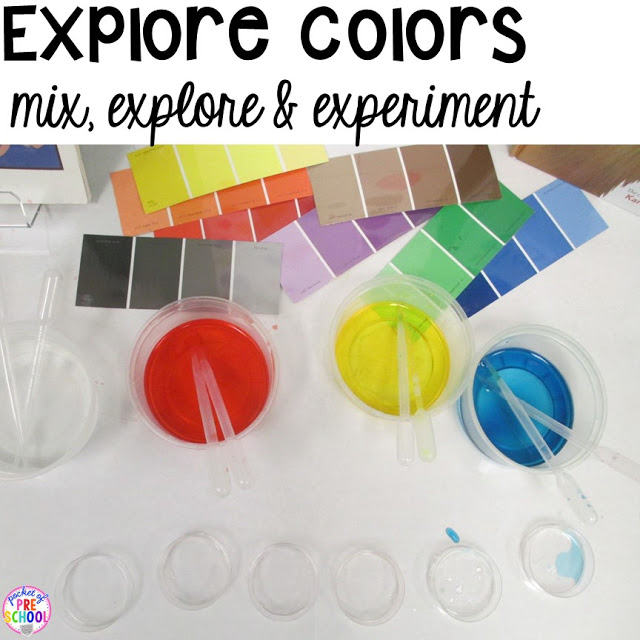
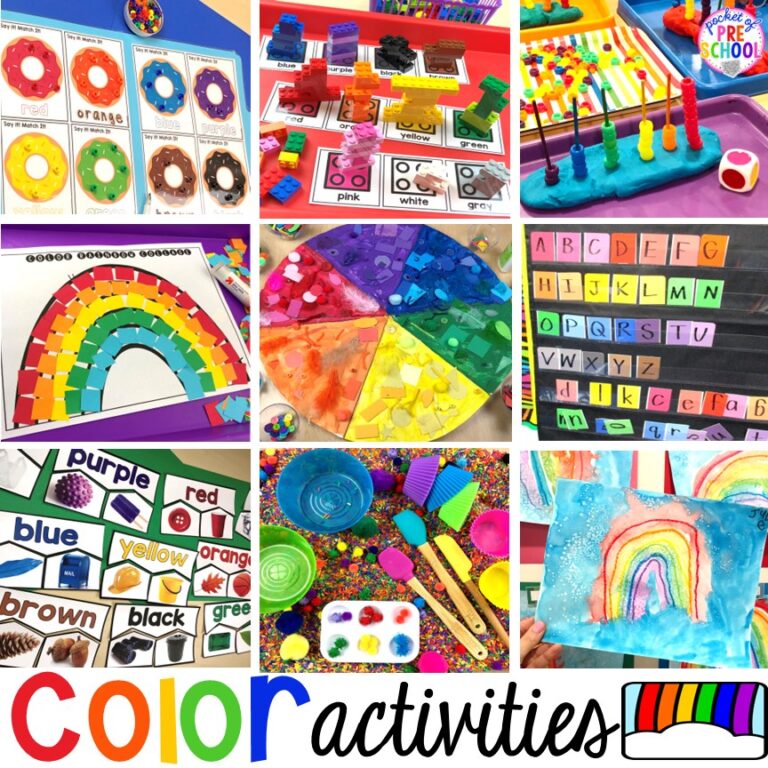
Exploring colors, color mixing, and experimenting with colors is beautiful and magical for students! Plus you are integrating science and STEAM into your Art center. BONUS! I put out colored water, tiny pie plates, paint samples, and pipettes for students to experiment with color mixing. If you want to take the color mixing experiments to the science center, check out All About Colors and Color Mixing unit HERE.
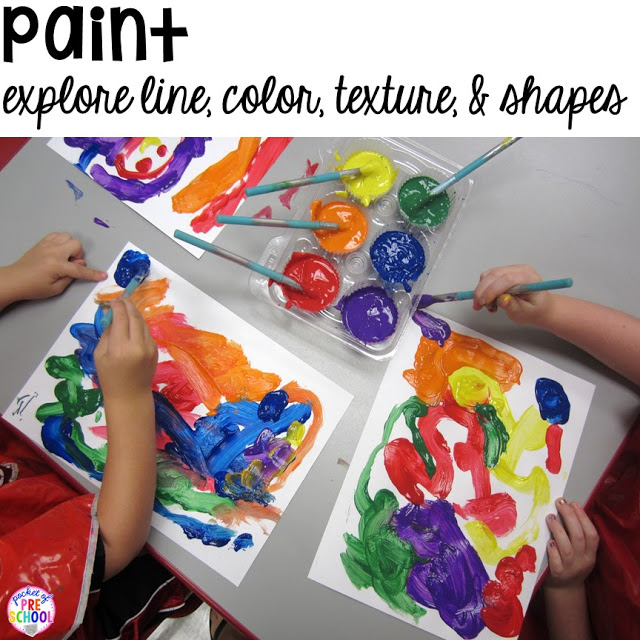
Paint. Sometimes I forget how important it is to just let students paint to explore types of lines, textures, and shapes. Add flour, sand, or oil to paint to change the texture. Paint at the table, at the easel, under the table, or outside. Just paint!
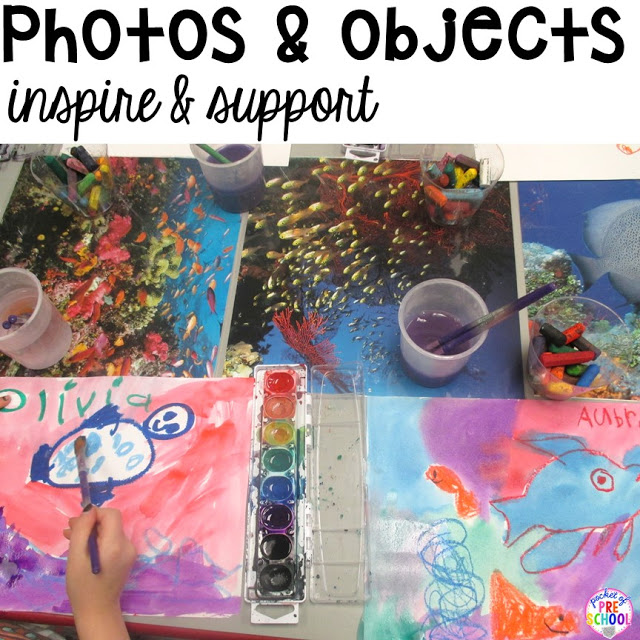
Put photos and real objects in your center to inspire and support your little Artists. If you read my blog, you know I LOVE using wall calendar photos in my classroom because they are beautiful and inexpensive. Photos allow students to see things they have not experienced or to examine them in greater detail.
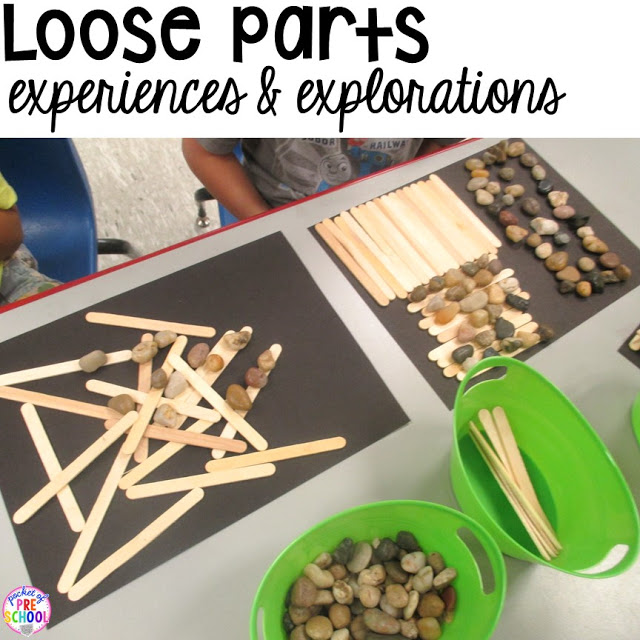
Loose parts is amazing if you haven’t tried it yet. Basically put out tiny, interesting materials and students just create with them. Super simple, meaningful, and completely open-ended. It is also amazing fine motor work.
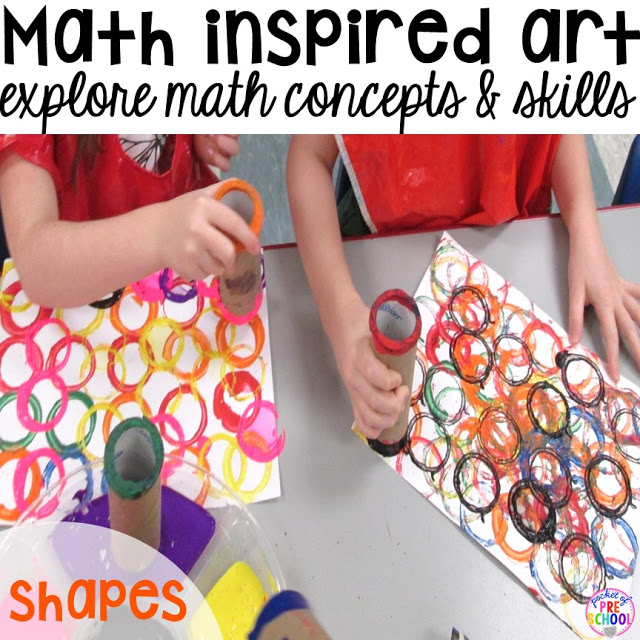
Embed math experiences into the Art center! When we learn about shapes, students print circles using paper towel tubes. This gives students an opportunity to create circles, notice circles, feel circles, and talk about circles. Patterns are also super fun to explore in the Art center.
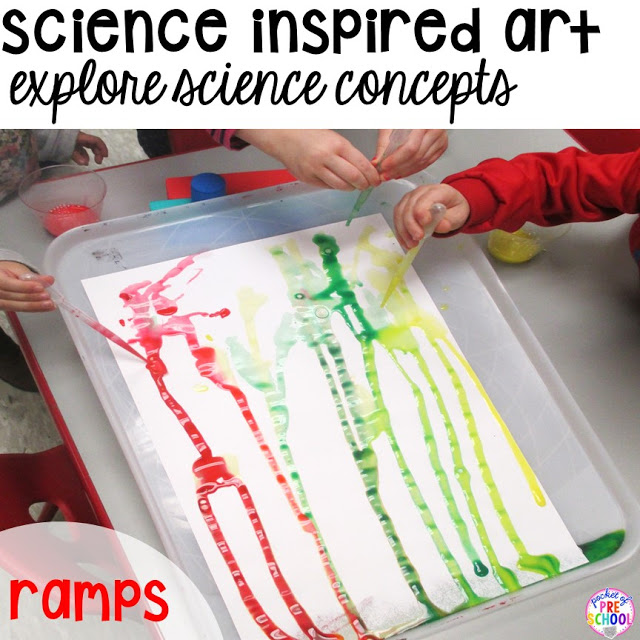
Discover and explore science concepts and STEAM through art! When we are learning about ramps, students paint ramps by dropping watered down paint down a ramp. Students can actually see the path the paint made and notice the speed of the water. Our conversations are full of rich vocabulary during this activity. One time a student said ” If they dropped a big drop at the top it went fast and if they dropped a little drop it went slow!” AMAZING!
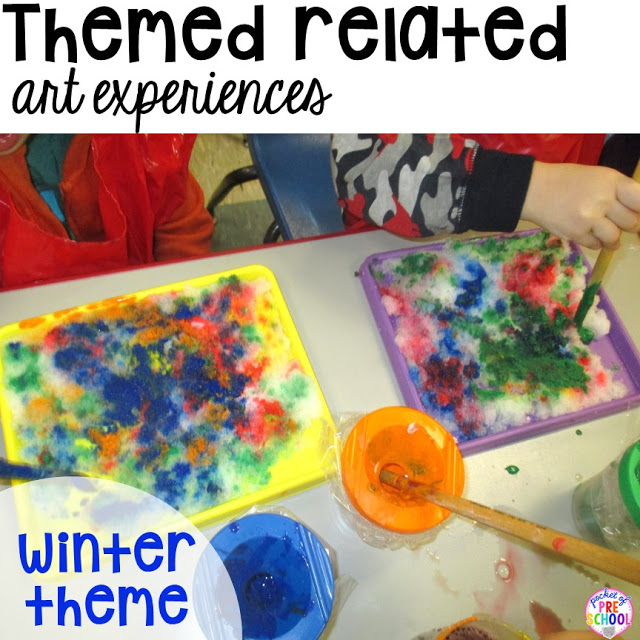
Plan and set up art experiences related to what you are learning about. We were learning about winter and snow and it actually snowed, I was super excited! I brought snow inside and students painted it! Super messy and super fun!
Now go to my TPT store and grab your Art Center FREEBIE! Just click the image below.
If you want to know how my TOP 12 Art tricks (and secrets) go read this post! I share how and what I cover my art easel with. It will change your life, not kidding.
Want to see my art center video? Check it out here.
Love these art center ideas? Pin this image!
hey, i’m jackie!
I’m Jackie, your go-to girl for early childhood inspiration and research-based curriculum.
