How to Make Sensory Bags PLUS a Letter and Number Card FREEBIE
Share This Post:
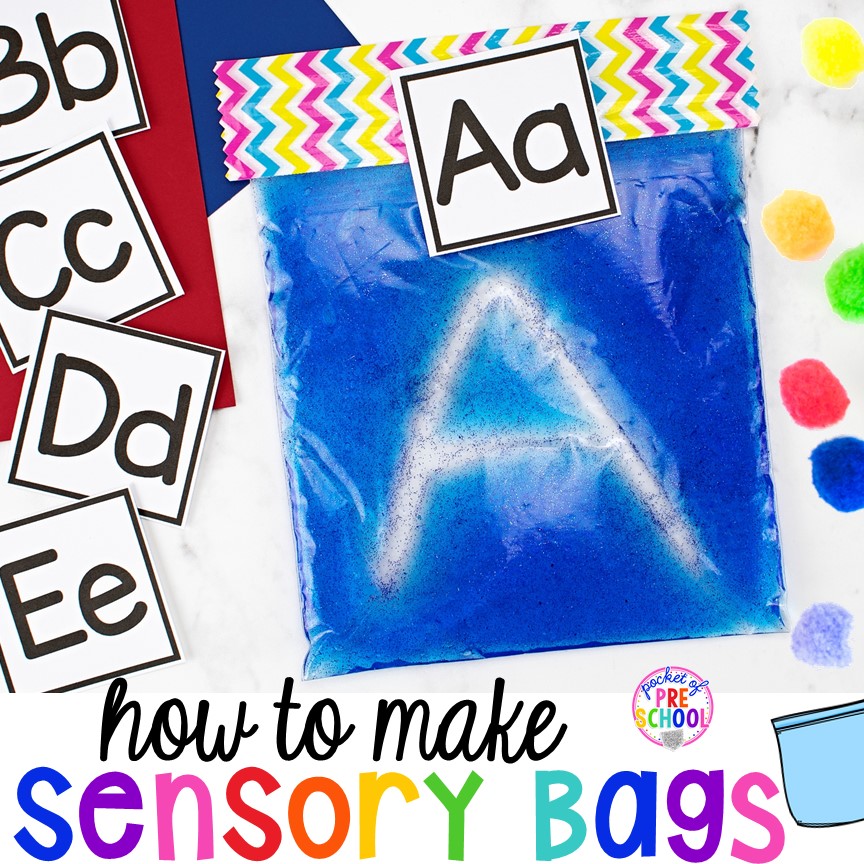
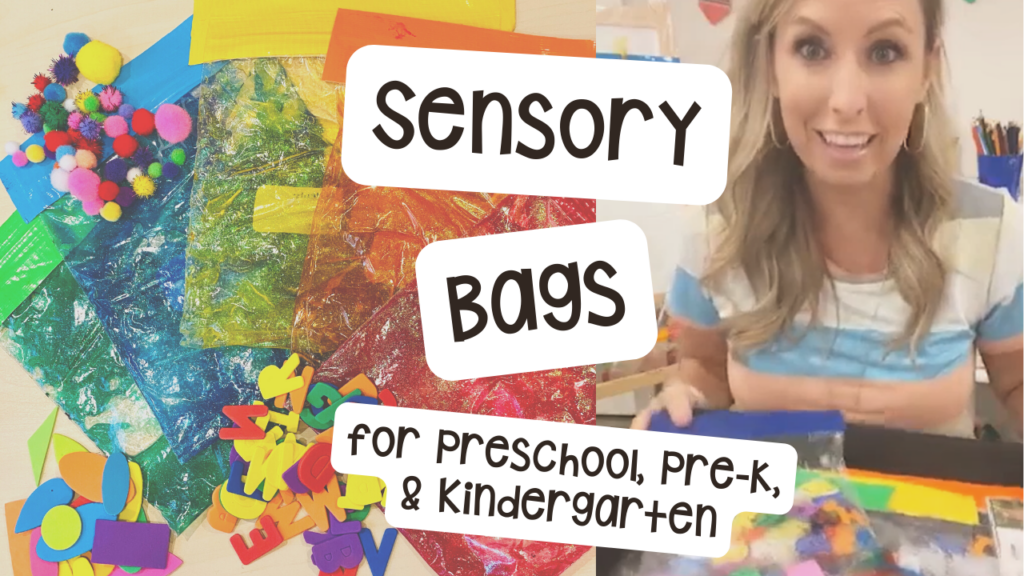
If you are not using sensory bags in your classroom for writing, what are you waiting for? Sensory bags are not just for toddlers! They are a multi-sensory approach to making writing letters, numbers, and sight words interactive in an early childhood classroom. Plus, they are not only easy for teachers to make, but the mess stays in the bag, and clean-up is simple! Not to mention, they are a great way to strengthen fine motor muscles! Make a set of sensory bags to use at table time, arrival time, small group, or your writing center.
In the classroom, we want students to have various writing tools and surfaces to practice writing letters and numbers. Students need repeated, engaging, and varied exposure and practice with letters. If we make writing fun and engaging, they will fall in love with writing and letters! If we make it boring with worksheets, they will hate writing and dread it. That’s why I use sensory bags in my preschool room.
Grab the FREEBIE by entering your email in the box at the bottom of this post. This post contains affiliate links which means I earn a tiny commission when you use my links at no cost to you.
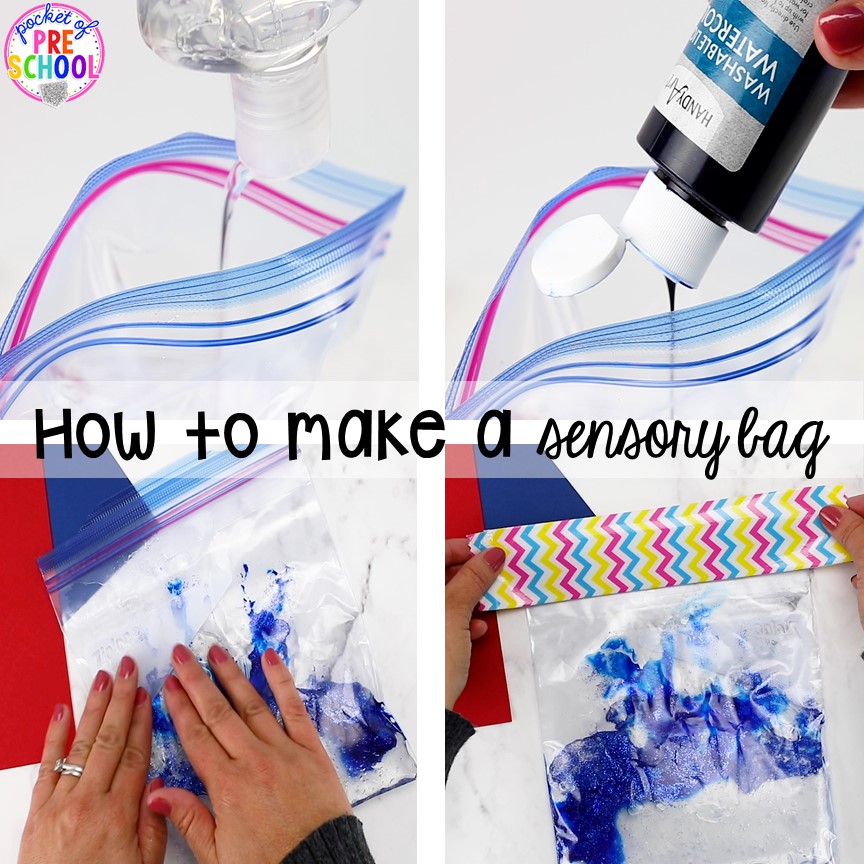
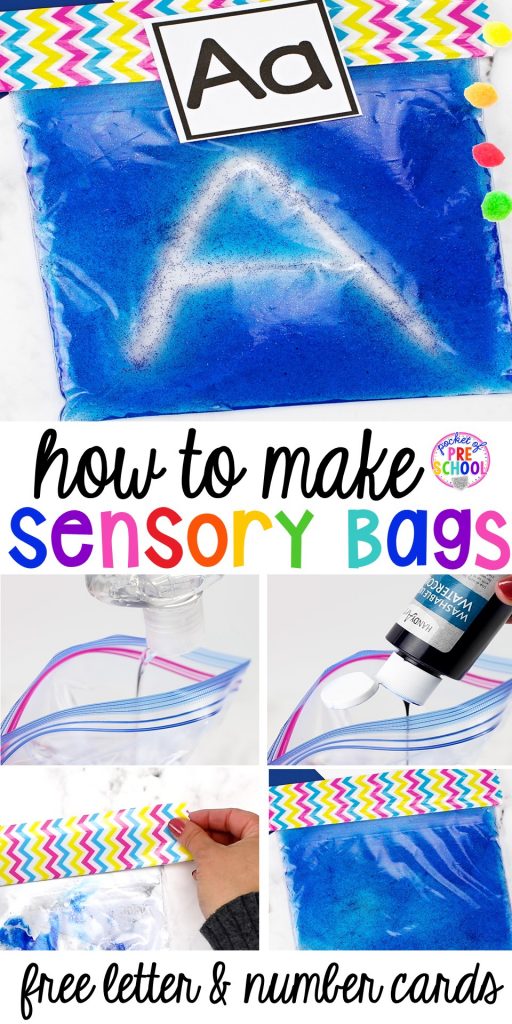
How to Make a Hair Gel Sensory Bag
- Put clear hair gel in a thick plastic baggie. Do not use the baggies from the Dollar Store because they are thin and will get a leak. The hair gel is from the Dollar Tree.
- Add in a few drops of food coloring or liquid watercolor.
- Close the baggie making sure all the air is out. Test the baggie! Test the baggie by writing a letter to see if you need to add more or take some out.
- Place duck tape on the top. Be sure to use thick, strong tape to ensure it won’t pop open. Put one piece on each side, sticking it together creating a very strong seal.
- Oh no! A leak! If during play it begins to leak, place a piece of clear duck tape over the leak and play again!
Some other fun sensory bag fillers are paint, shampoo, and conditioner. The fun begins when you add themed sequins or foam beads for an extra sensory experience. Just remember: be sure what you add isn’t pointy because pointy things will puncture the baggie.
Now that you know how to make the bags let me show you some fun ways to use them!
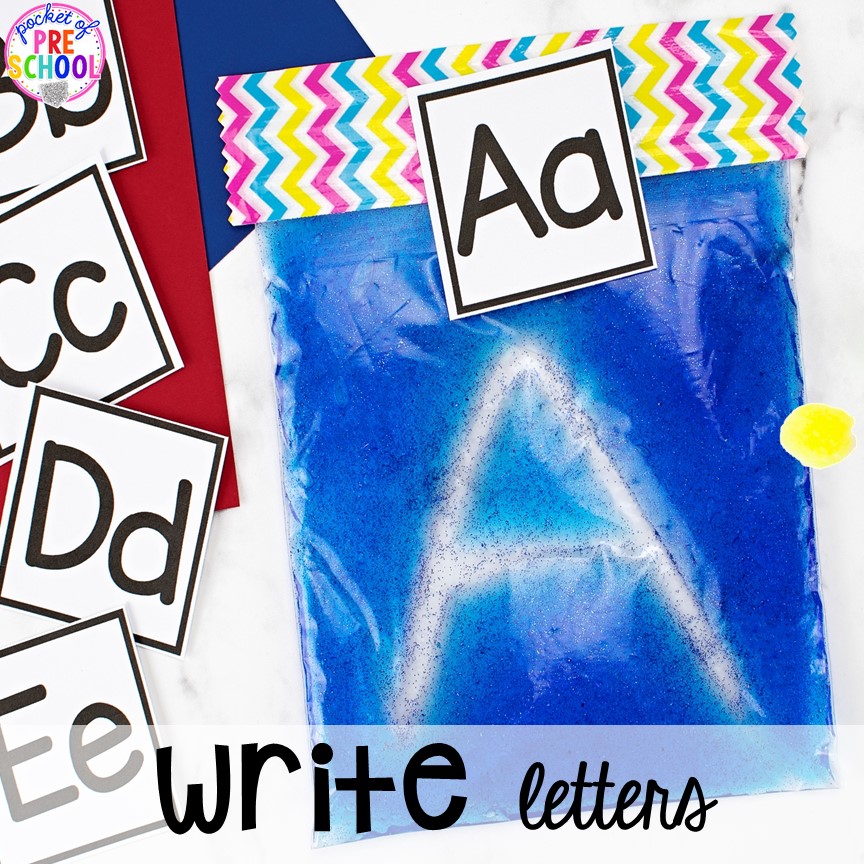
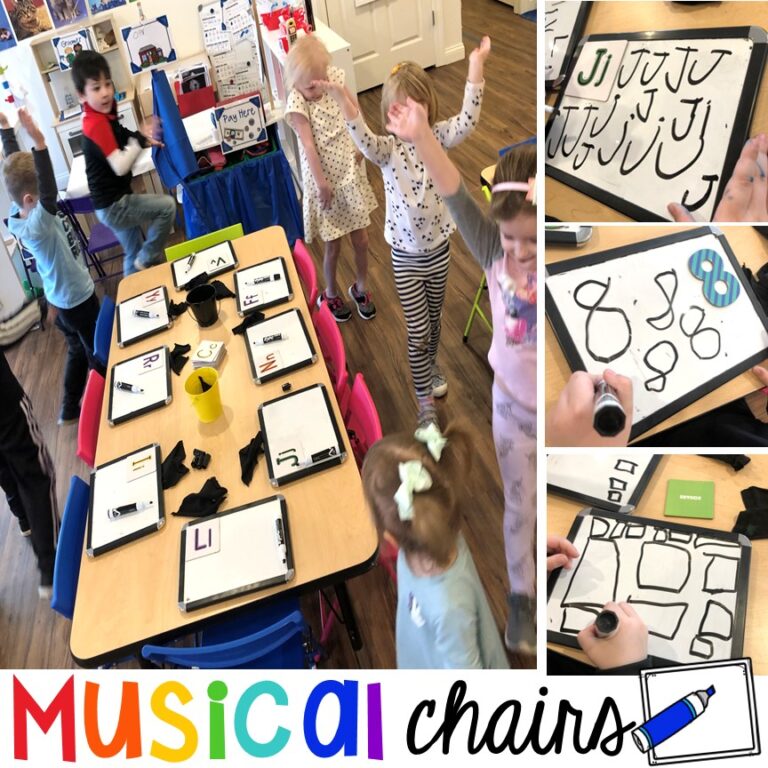
Writing Letters! Students can use a pom pom or their finger to write letters on the baggie. Students pick a letter card, identify the letter or sound and write the letter on the baggie. Squish the baggie to erase it to move to the next item.
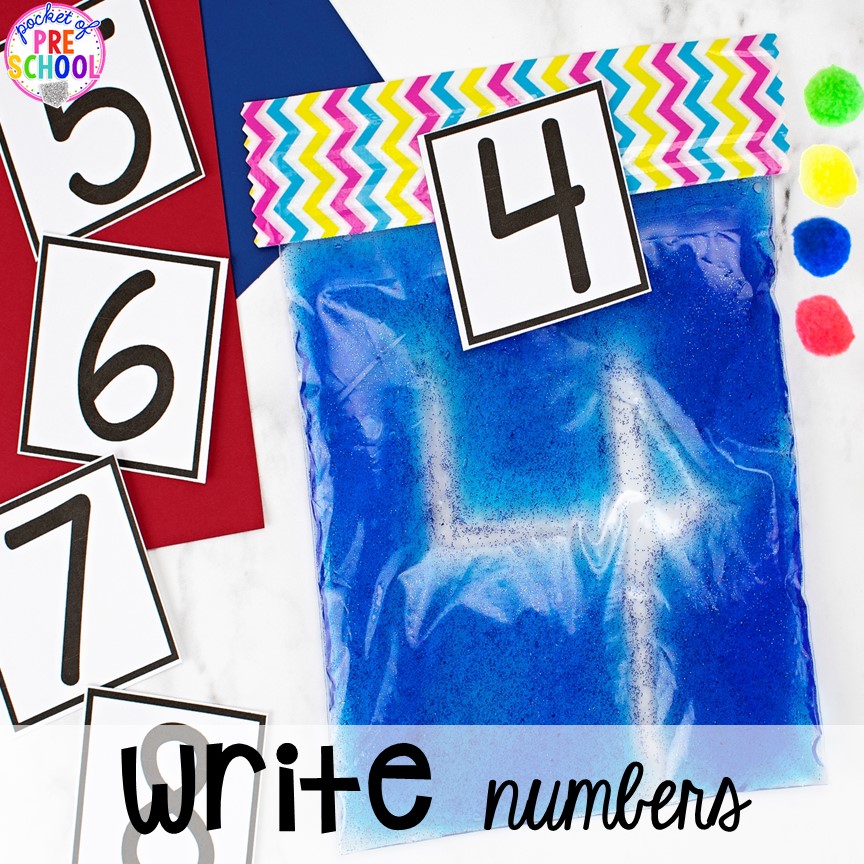
Writing Numbers! Students can use a pom pom or their finger to write numbers on the baggie. Students pick a number card, identify the number, and write the number on the baggie. Students then count out the matching number of manipulatives and place them next to the baggie. Lastly, squish to erase, which is always their favorite part!
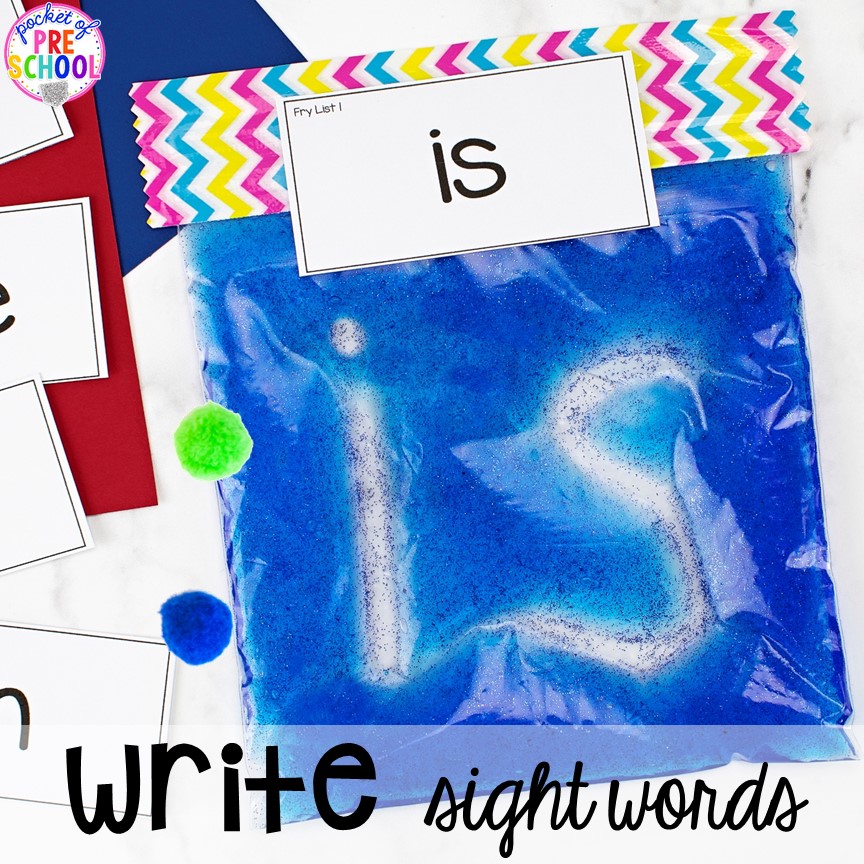
Writing Sight Words or Names! Students can use a pom pom or their finger to write sight words or names on the sensory bags. Students pick a letter card, identify the word, and write it on the baggie. Squish to erase it. These sight word cards are from my Assessment pack, but you can write sight words on index cards, too.
>>Grab the sensory bags FREEBIE by entering your email in the box at the bottom of this blog post!<<
Check out how to make and use sensory bags in action!
Love these sensory bags? Pin this image!
hey, i’m jackie!
I’m Jackie, your go-to girl for early childhood inspiration and research-based curriculum.
