Brrrr. It’s cold outside! Engage your students by bringing the winter theme to your classroom. Make your winter theme hands-on and FUN for your little learners. Scoop up my winter activities & centers for preschool, pre-k, & kindergarten students. They will love the snow theme & fun hands-on activities!
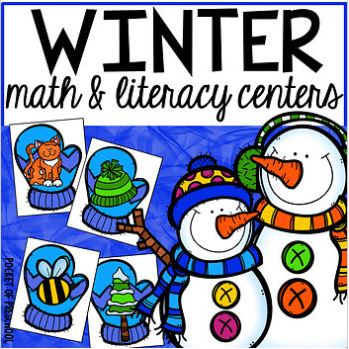
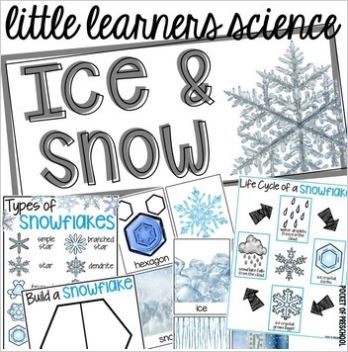
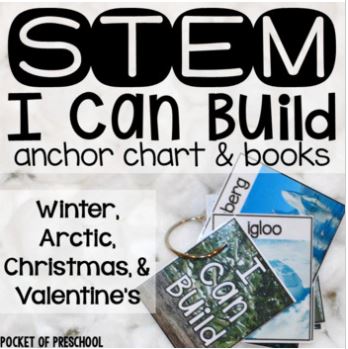
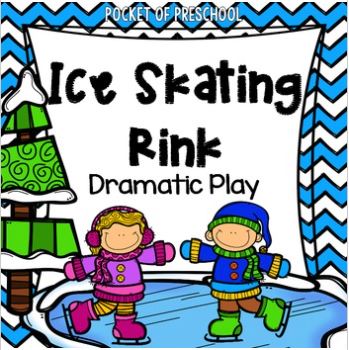
Here are some links to the winter printables pictured below: Winter Math and Literacy Centers, Winter STEM I Can Build, All About Snow and Ice Science Unit, Ice Rink Dramatic Play, and Snowman at Night FREEBIE.
Grab the FREEBIE by entering your email in the box at the bottom of this post. This post contains affiliate links which means I earn a tiny commission when you use my links at no cost to you.
Winter Activities for Fine Motor

Snowflake Lacing Light Table! Make snowflakes with pipe cleaners and give students pony beads to lace around the outside. I use sparkly pipe cleaners to make it more captivating. Some students worked on just lacing, others worked on color sorting, and others worked on patterns. To differentiate even more, give students dice to roll and count. Then, they only add that amount of beads to the snowflake. Make it even more challenging by practicing addition with 2 dice.
Winter Activities for Literacy
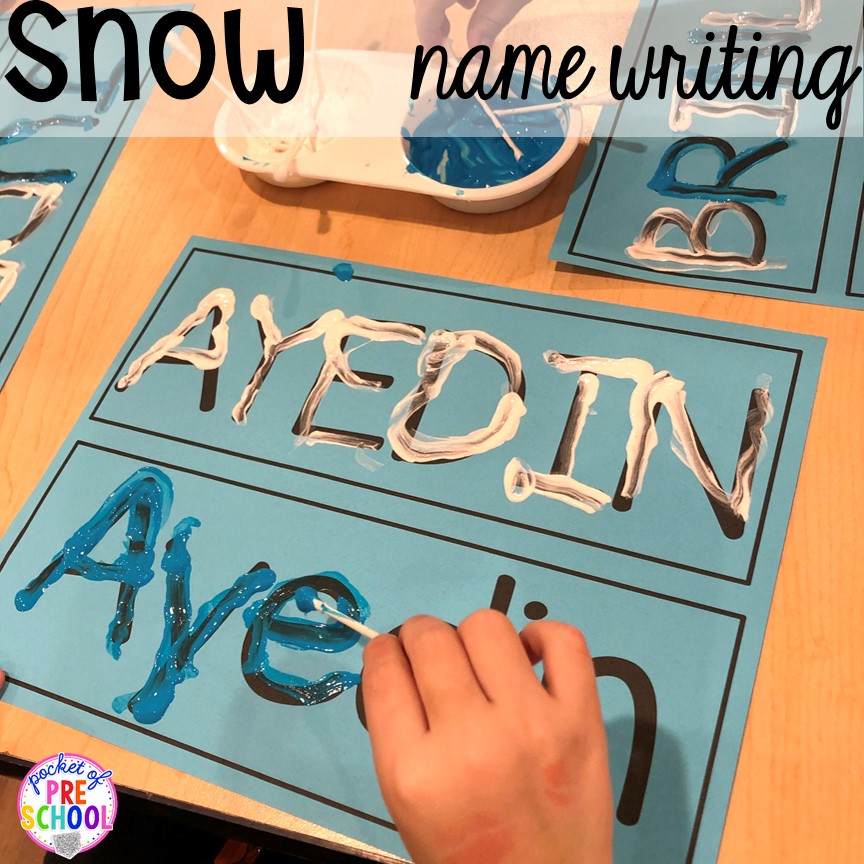
Snow Name Writing! Grab some q-tips, white paint, and blue paint! You are now all set to complete some name practice! Students use the q-tips to trace their names on the name mats with blue and white paint. They can practice patterns by painting every other letter or painting each name one color. The name mats print two names per page.
>>Grab my FREE EDITABLE NAME MATS for this snow name writing activity here!<<
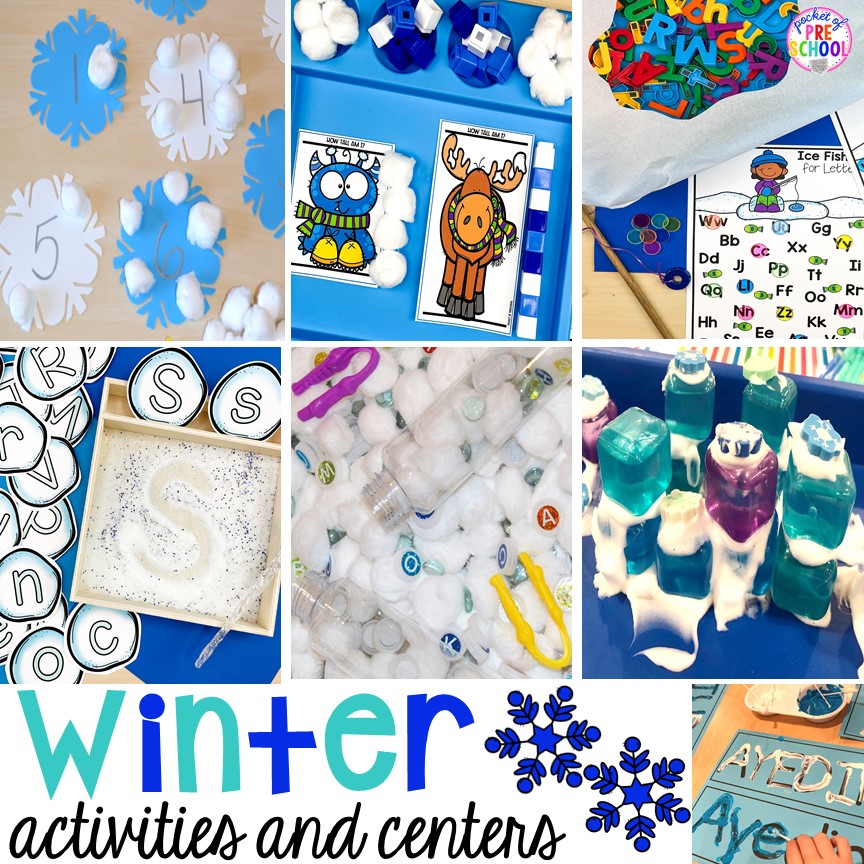
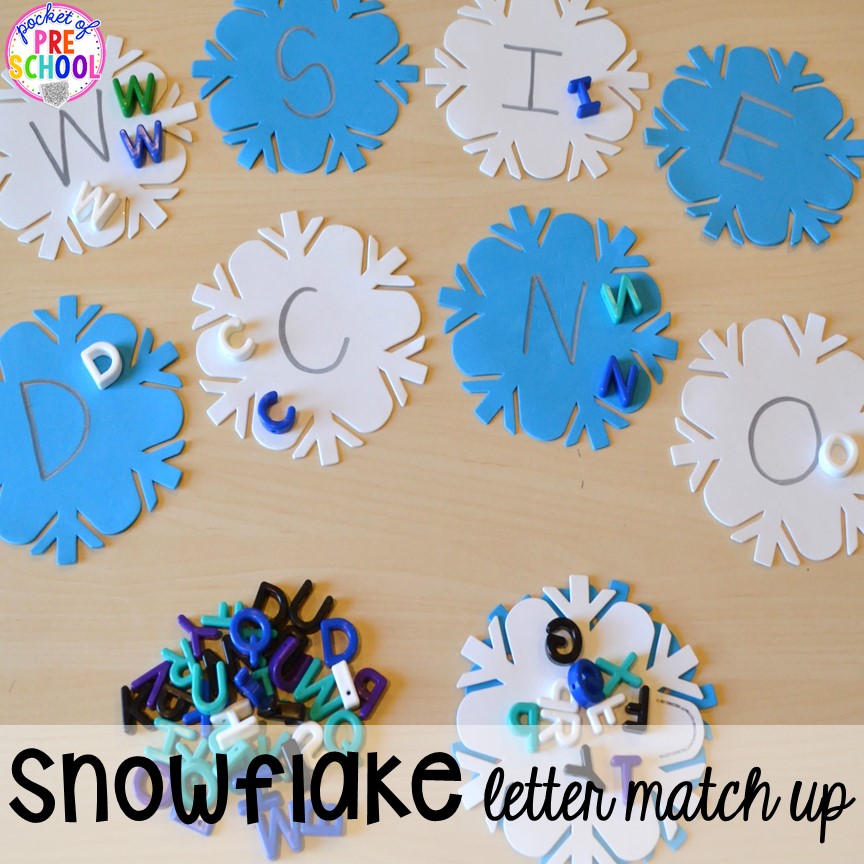
Snowflake Letter Match-Up! Have little learners practice letter recognition and sorting skills with this fun winter activity. You can pick up these foam snowflakes from Dollar Tree or Target and write the letters in marker. The students will sort letter manipulatives by placing them on the snowflake. I like these letter beads because they are smaller, and several can fit on the snowflakes. Plus, they require students to use their fine motor skills to pinch and grab the little letters.
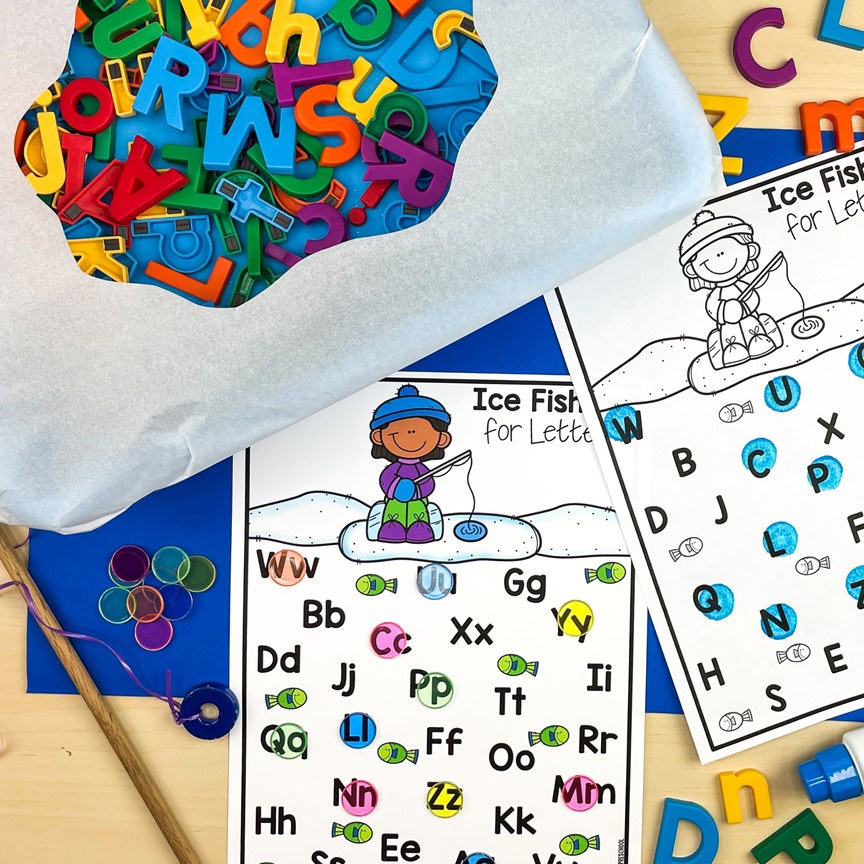
Ice Fishing For Letters! This winter activity is so fun and has multiple benefits for students! To make the “ice fishing hole,” cover a plastic bin or box with white paper or parchment paper. Cut a hole in the top for students to “fish” from—place magnet letters inside for the fish. Little learners use a magnet wand or magnet fishing pole to “fish” for the letters.
To play: students fish for a letter manipulative, identify the letter, and cover the letter on the board. Students could cover with a manipulative like plastic counters or plastic fish. They could also use a dot marker to dab the letter or place a sticker over it. Students can practice identifying uppercase and lowercase letters and pictures to practice beginning sounds.
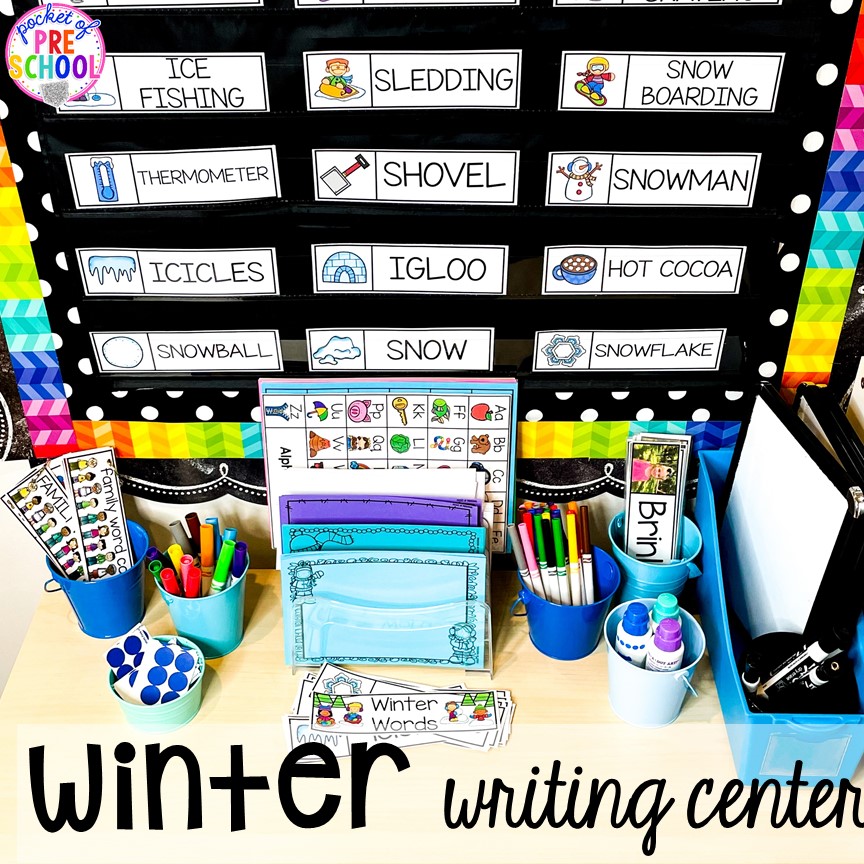
Winter Writing Center! Encourage writing and creativity with a winter-themed writing center! Put out winter writing paper and uppercase and lowercase word cards, and watch your preschool, pre-k, and kindergarten students write words and sentences! I like to put out fun writing utensils to encourage little learners to explore.
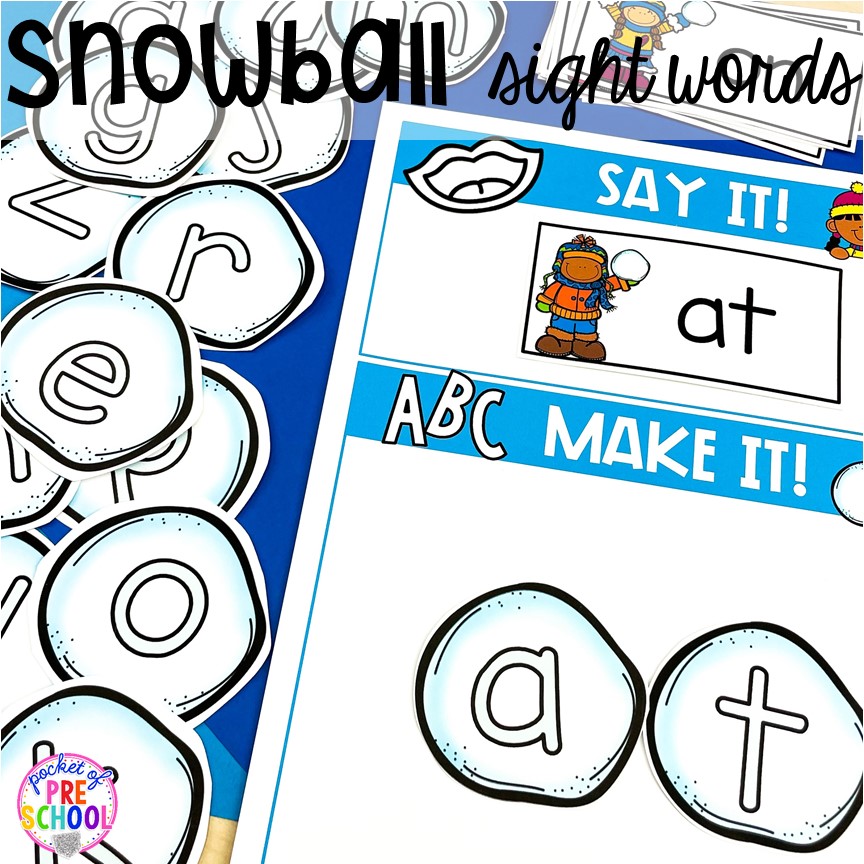
Snowball Sight Words! Use these winter “Say it, Make it” mats to practice sight words, letters, and sounds, or winter words!
For sight words or winter words: print the word cards, snowball letters, and say it, make it mats. Place all three resources out for students. They pick a sight word card and say it out loud. Then, they use the snowball letters to build the sight word on the mat.
For letters and sounds: students pick a snowball letter and say its name and sound aloud. Then they make it with pom-poms, cotton balls, or other small manipulatives in the “make it” area.
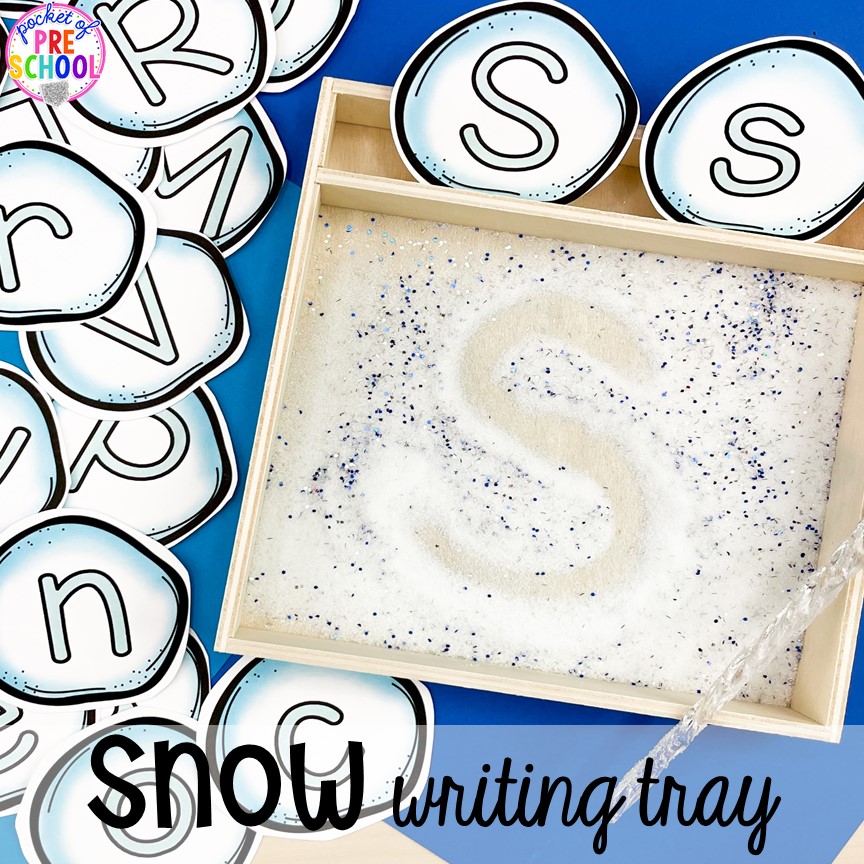
Snow Writing Tray! Make a snow writing tray using salt and glitter! Use the snowball letters from the Winter Math and Literacy Centers for students to practice writing in the salt tray. They pick a snowball and write it in the salt. They can use their finger or plastic icicles from Dollar Tree.
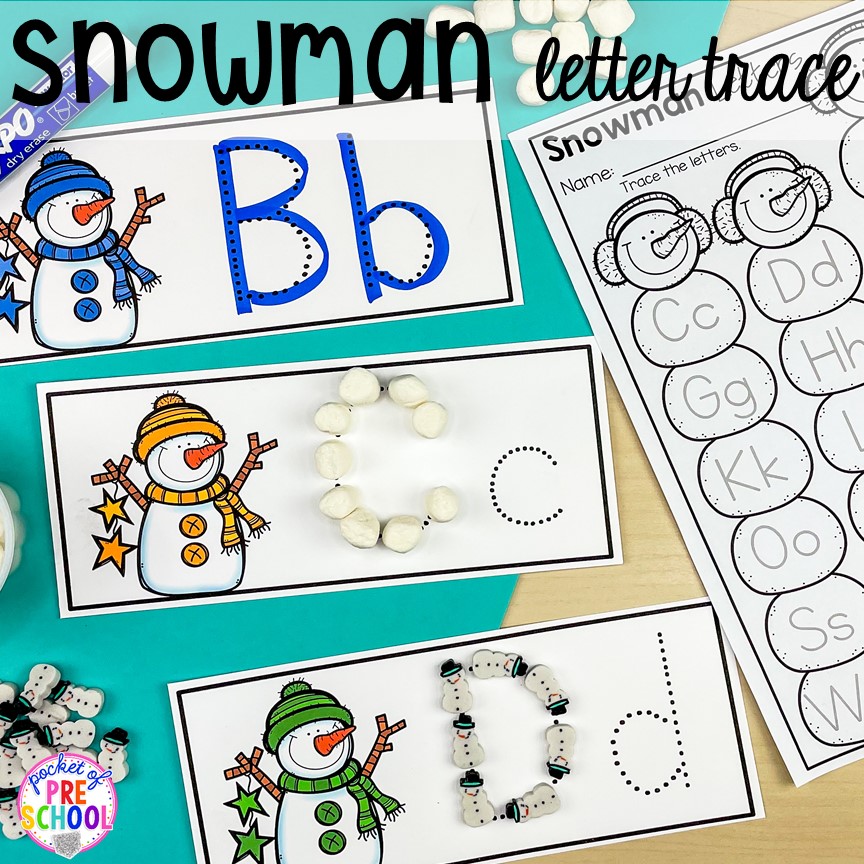
Snowman Letter Trace! Print the snowman letters on cardstock and laminate them for durability. Plus, once they are laminated, dry-erase markers wipe off the cards! Students can use mini marshmallows, cotton balls, pom poms, jewels, mini erasers, or any other white counters you have in your classroom to build the letters. After creating the letter, they can use dry-erase markers to trace the letters. Lastly, students trace the letters on the snowman worksheet.
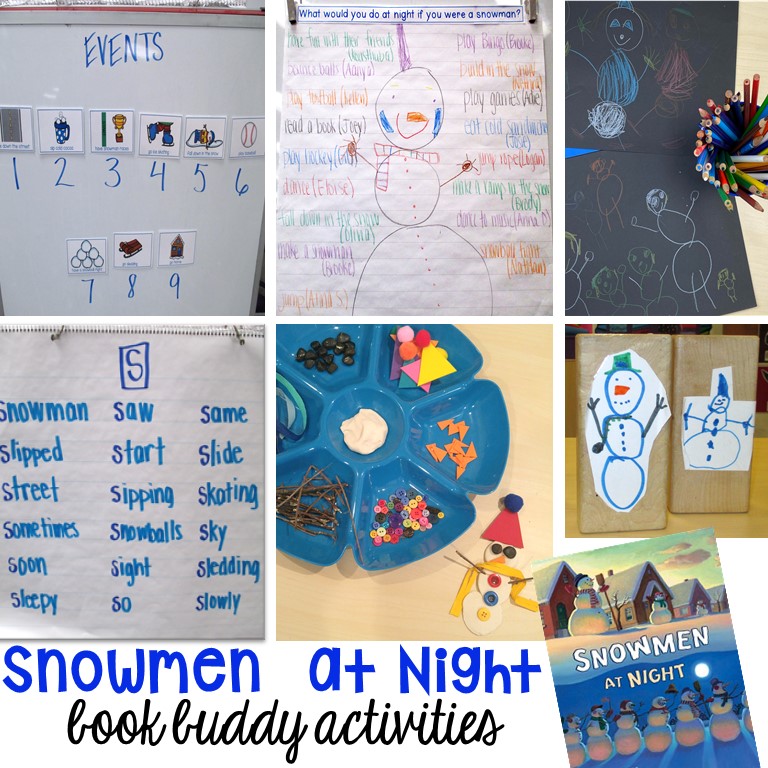
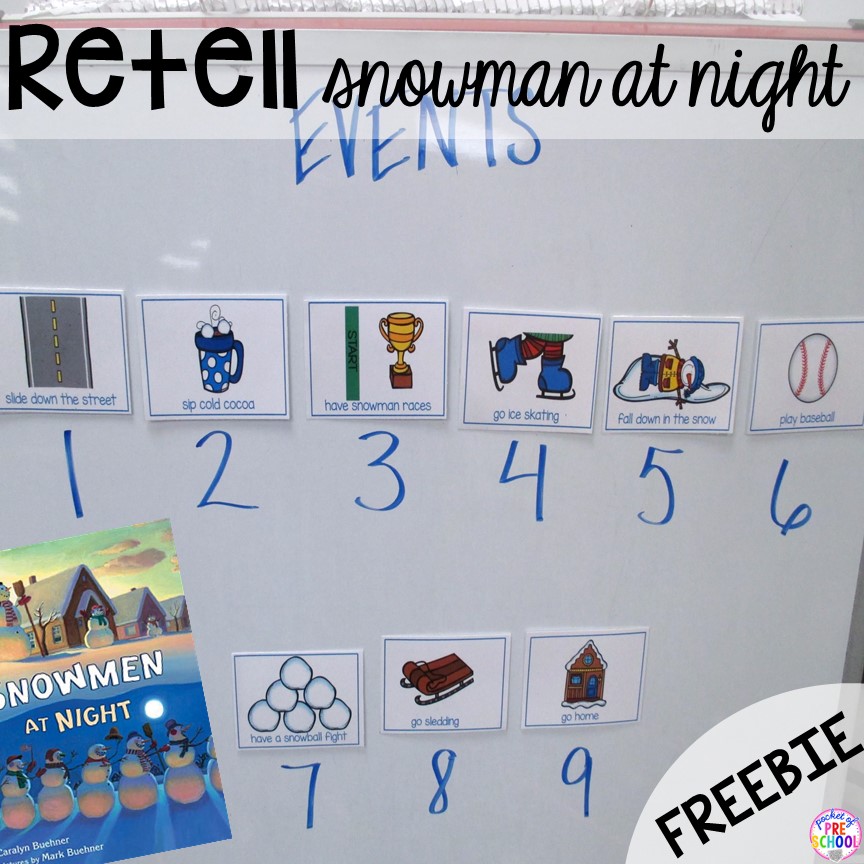
Snowman at Night Retelling FREEBIE! Use these retelling cards to review the book Snowman at Night. Students love this book about snowmen coming to life while we sleep! Read it aloud and then use the retelling cards to have students put the events in order. The freebie also comes with a question to use as a whole class graphing activity!
>>Grab the FREEBIE by entering your email in the box at the bottom of this blog post!<<
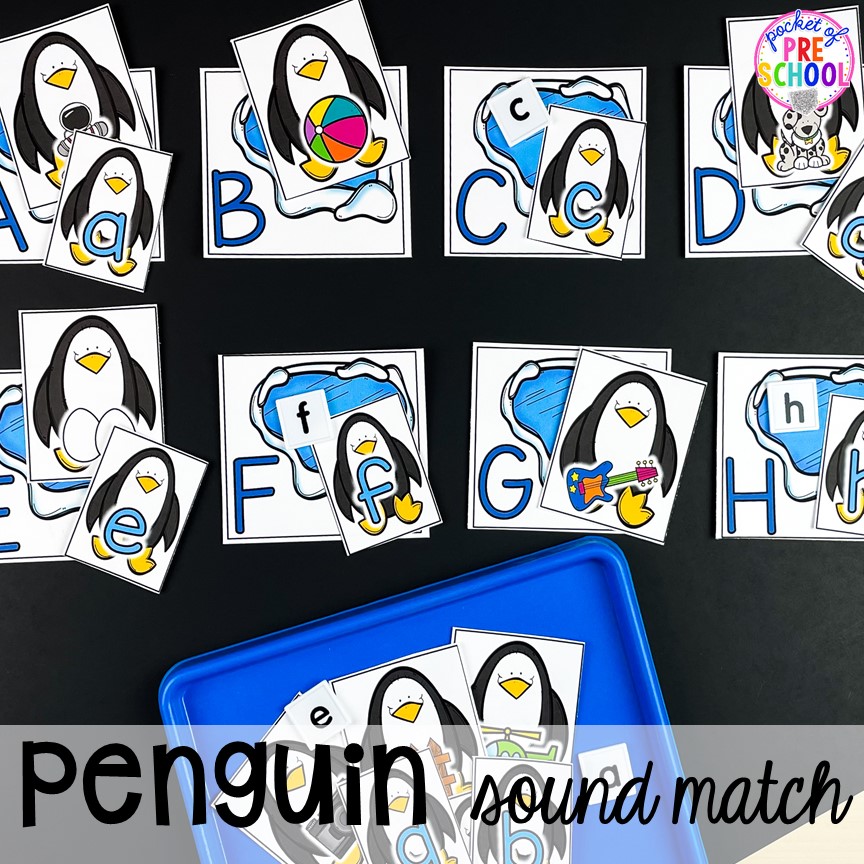
Penguin Sound Match! Preschool, pre-k, and kindergarten students need lots of practice identifying beginning sounds. The penguin sound match winter activity is great because it has students matching capital and lowercase letters and finding a beginning sounds picture to go with the letters. Print the letter cards on cardstock, laminate them, and use them again and again!
Winter Activities for Math
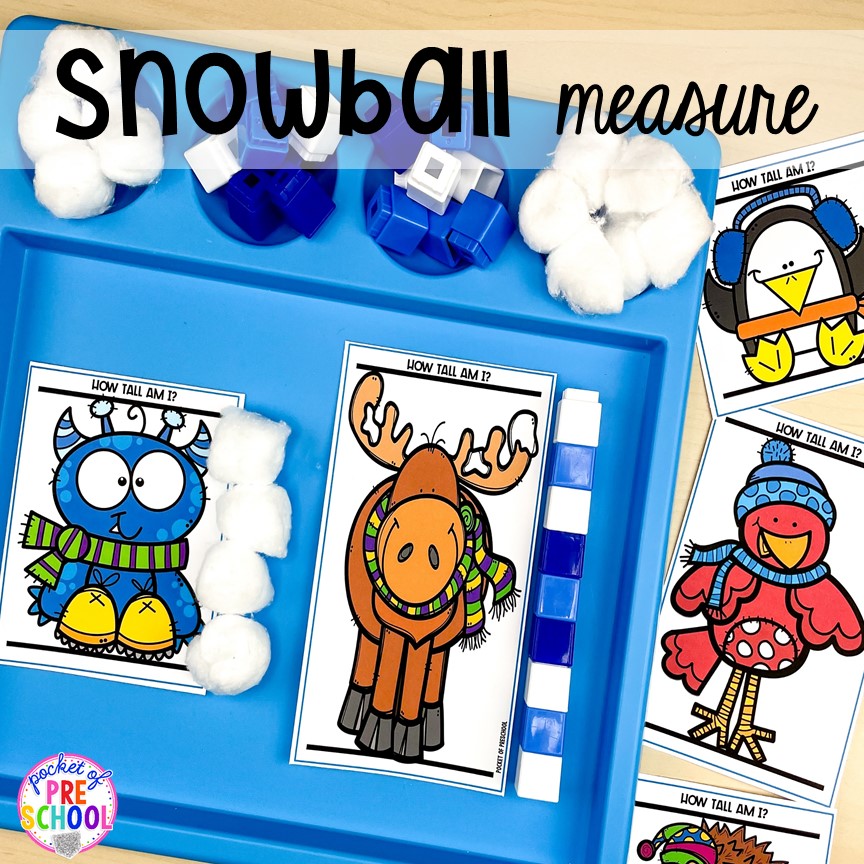
Snowball Measure! To prep: print, cut, and laminate the animal cards. Gather manipulatives for the measurement tool, like mini marshmallows, cotton balls, pom poms, linking cubes, jewels, or any other manipulatives you have in your classroom.
Students measure the winter friends by repeating the use of a single item. Then, record their answers on the recording sheet. For a fun twist, use the included snowball rulers to measure the winter animals.
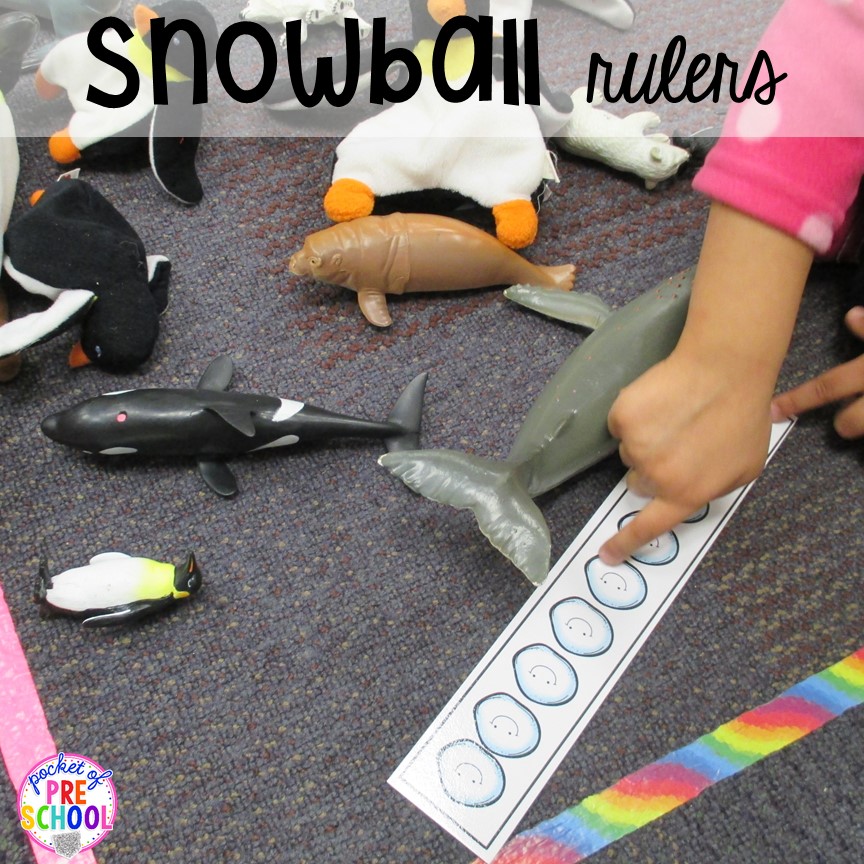
Snowball Rulers! Use these simple snowball rulers to have students measure items in the classroom or the winter friend cards above! Simply print, cut, and laminate! Little learners can measure plastic animals, stuffed animals, snowmen figurines, or anything you have in your classroom.
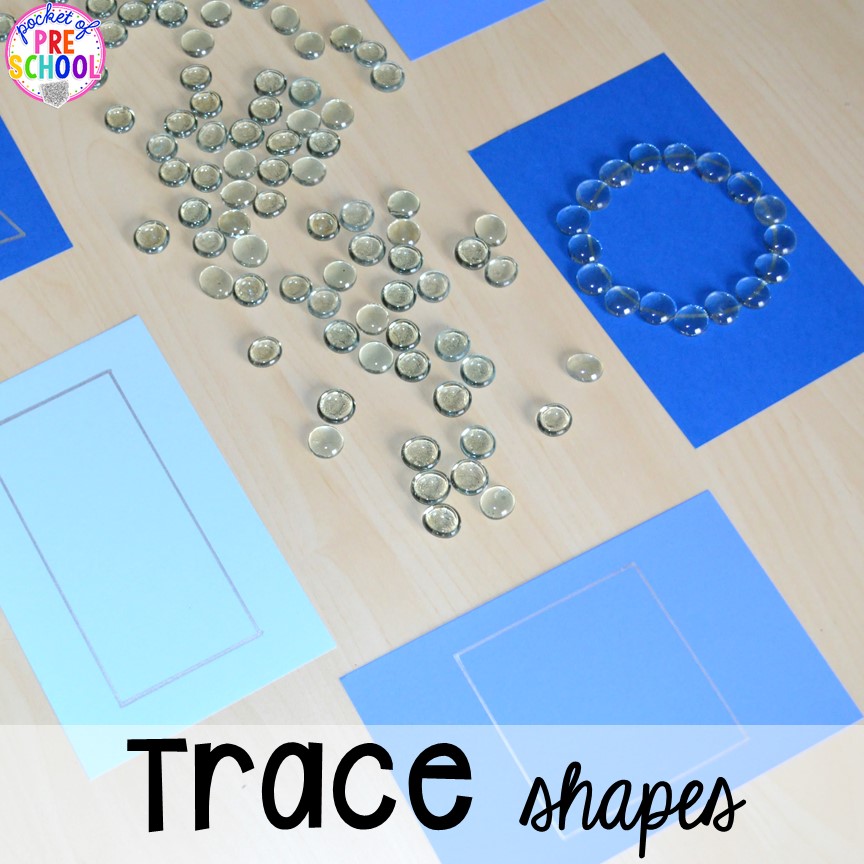
Trace Shapes! These math winter activities are so simple to make for your students. Draw some shapes on blue and white paper. Then, have students use manipulatives to build the shape. They could use jewels, pom poms, cotton balls, mini marshmallows, beads, or any small manipulative you have in your class. Keep reading for more winter activities.
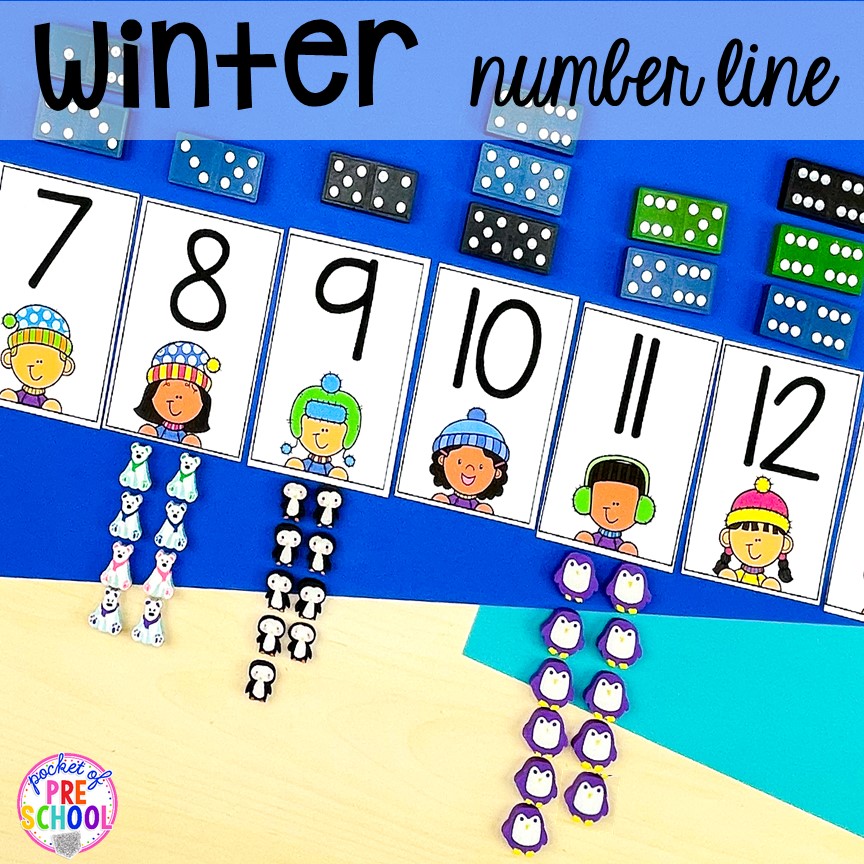
Winter Number Line! Use these winter number cards to play multiple games! They would work for memory, ordering numbers, Hi-Low (War), Go Fish, or Number Lines, and Counter Match Up (pictured below).
Students will first put the cards in order to play Number Lines and Counter Match Up. Then, they will count that many manipulatives to place under the number. I used mini erasers, but pom poms, buttons, cotton balls, or mini marshmallows are just a few ideas. Lastly, the students will count the dots on a domino and place them above the number card.
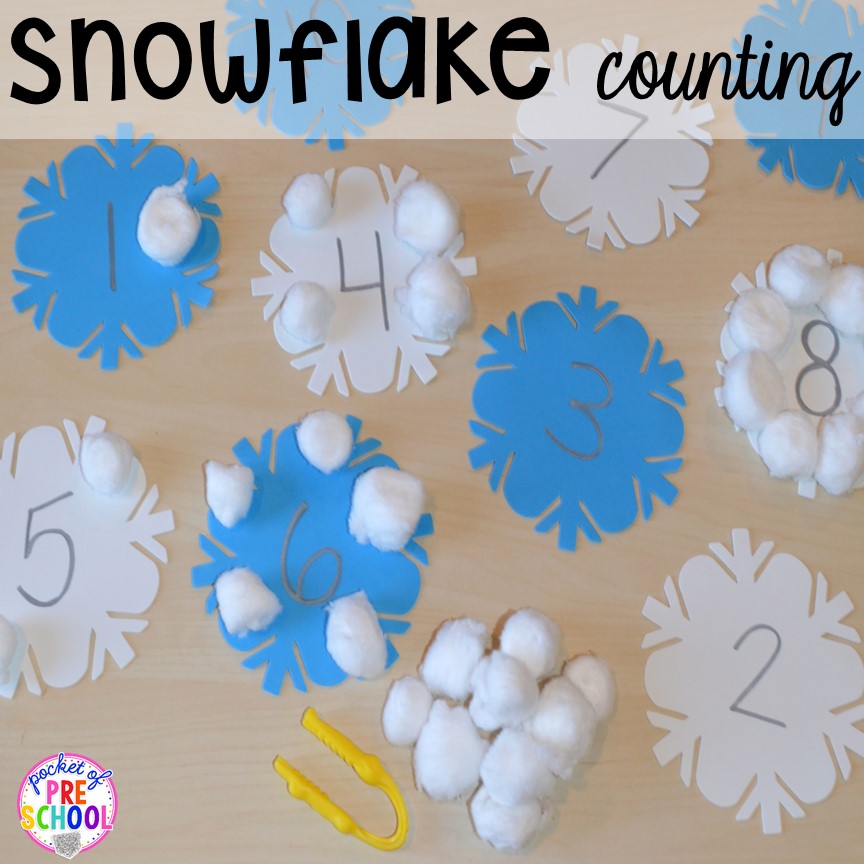
Snowflake Counting! Write numbers on foam snowflakes. You can find them at Dollar Tree or Target. Then, have students count cotton balls and place them on each number. Add in tweezers to get even more fine motor practice! You could also use pom poms, buttons, mini erasers, mini marshmallows, or any other counting manipulative you have on hand.
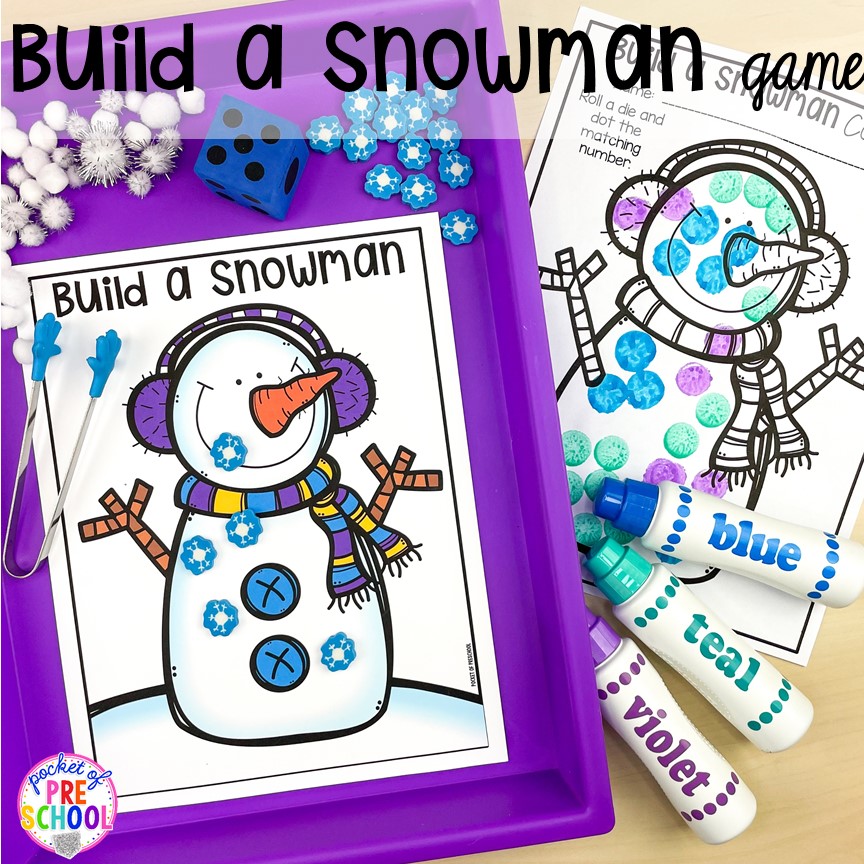
Build a Snowman Game! Print the snowmen on cardstock and laminate for durability. Gather some dice and small manipulatives like cotton balls, pom poms, or mini erasers. You could also print in black and white and have students use dot markers or draw snowflakes on the snowman. This game can be played individually or with partners.
How to play: Students roll one die and count the dots. Then, they place that many manipulatives on the snowman. The play continues until the snowman is covered. Another option for students is to play an addition game. Students roll two dice and add them together. Then, place that many manipulatives on the snowman. The play continues until the snowman is covered. There is also an optional recording sheet that students can use to record their addition problems.
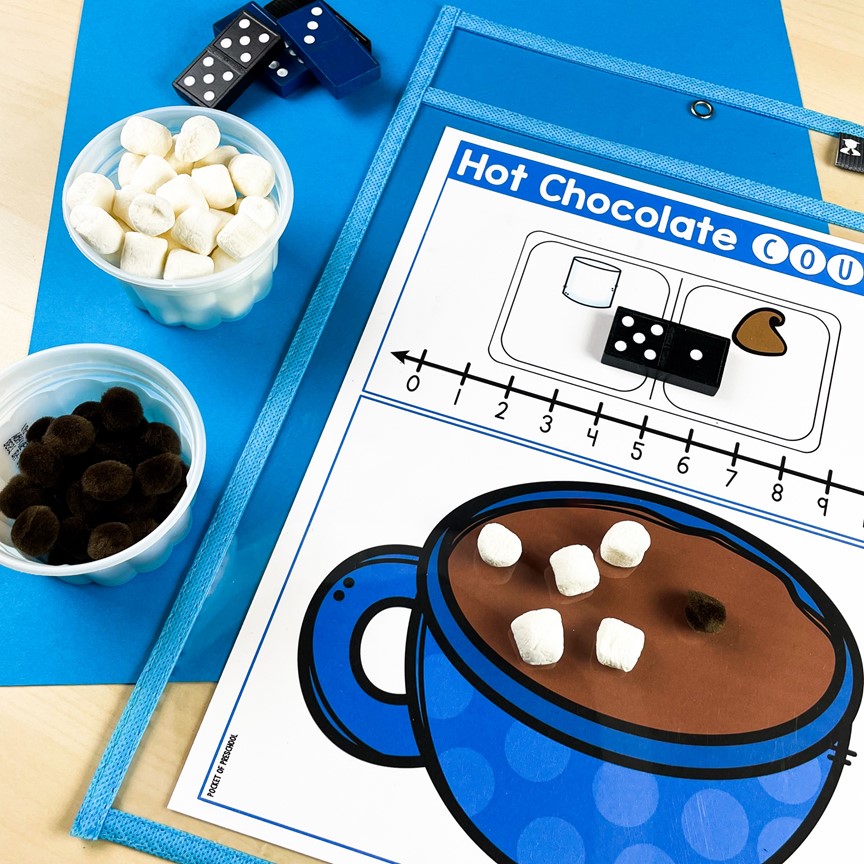
Hot Chocolate Counting! Print the mats on cardstock and laminate or slide them into a wipe and write pocket for durability. Students pick a domino and place it on the mat to use these hot chocolate mats for counting practice and one-to-one correspondence development. Then, they count the dots and find that number on the number line. Next, students count out the corresponding number of marshmallows and chocolate chips (brown pom poms) and place them on the mug. Clear the board and play again.
To use these mats as addition mats, students will pick a domino and place it on the mat. Then, use a dry-erase marker to write the addition sentence. Then, students count out the marshmallows and chocolate chips to match the addition sentence. Lastly, clear the mat and play again!

Mitten Measure! I love to complete this winter butcher paper activity after I read The Mitten by Jan Brett. Students can use polar animals to fill the mittens. They will be talking about more than, less than, and equal to! Kids of all ages love this book, and it is wonderful for snow days.
Winter Activities for Science, STEM, Art, and Sensory

Snow & Ice Science! Students will learn all about snow and ice at this fantastic science center! Learn about the types of snowflakes, snow, and ice vocabulary, the lifecycle of a snowflake, and so much more! You can make snow dough for a sensory exploration activity or bring snow inside to let students explore. Build snowflakes with pattern pieces and examine the shapes of snowflakes, too!

Snow & Ice Science Light Table! My preschool students loved building snowflakes on the light table! You can find all the science printables here. For manipulatives, I gave students lots of options to encourage creativity and exploration: glass gems, snowflake beads, icicle ornaments, and translucent pattern blocks. Little learners will be talking about different shapes, exploring symmetry, and learning about science.
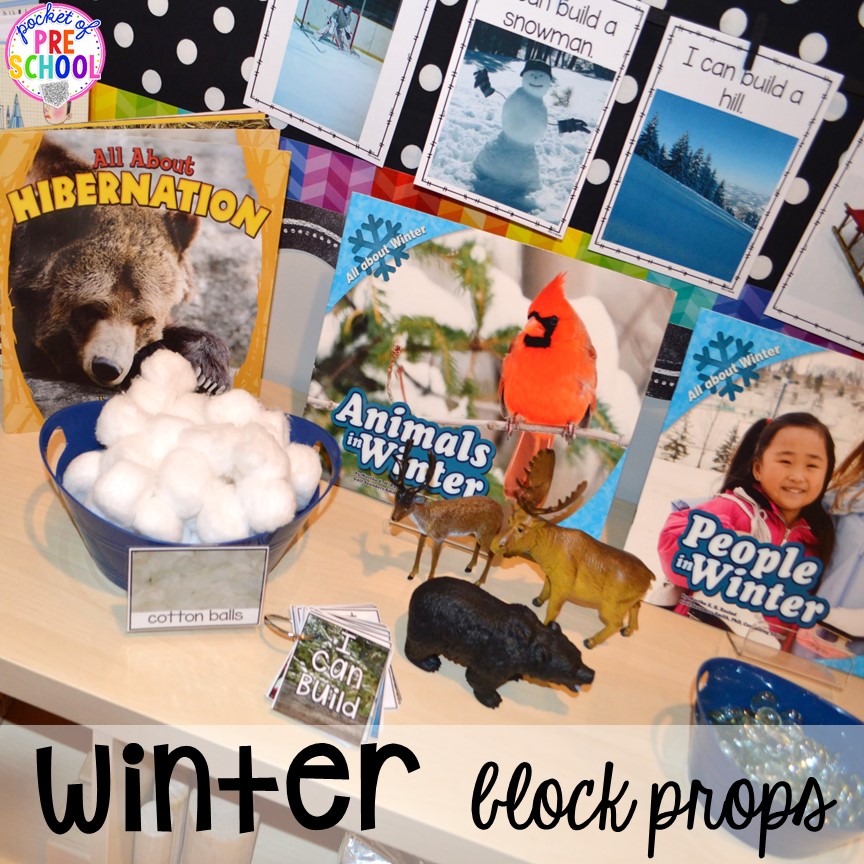
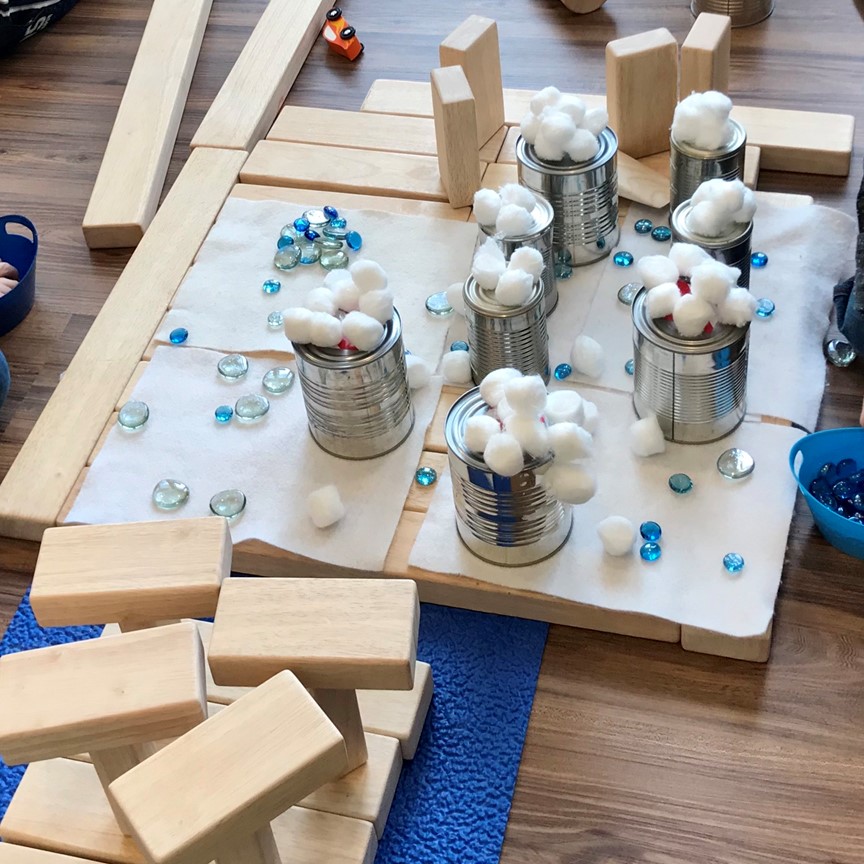
Winter Block Props! Add new props to your building center to encourage imagination and creativity. Students will love items like cotton balls, winter animals, jewels, snowflakes, or pieces of felt. Little learners may also enjoy blocks wrapped in foil to pretend they are chunks of ice or snow. I like to add nonfiction books to my block area so students can use them as a reference when they are building. Also, check out my STEM I Can Build Unit to add some STEM challenges to your winter unit!
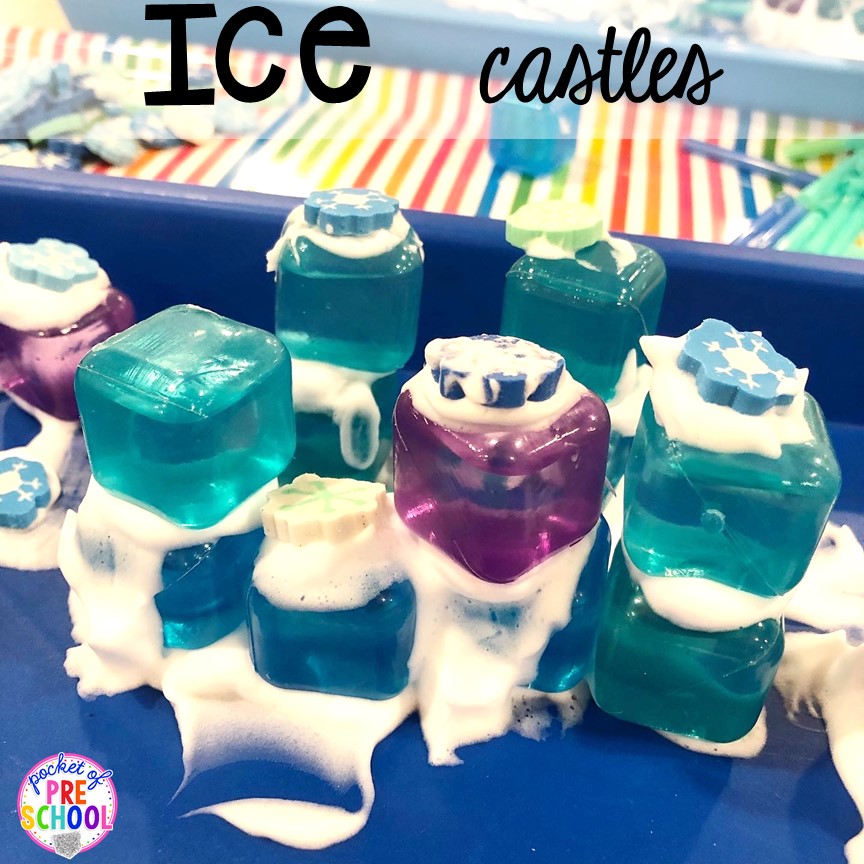
Ice Castles! Use mini erasers, shaving cream, and plastic ice cubes to make ice castles! Students will love this fine motor sensory activity with different textures and a building goal. They can use their imaginations to create ice castles or other buildings. Use the shaving cream like glue to help hold everything together. Add other small manipulatives like mini erasers, plastic animals, jewels, or other small washable objects that you have in your classroom to encourage more imagination and fine motor exercises.
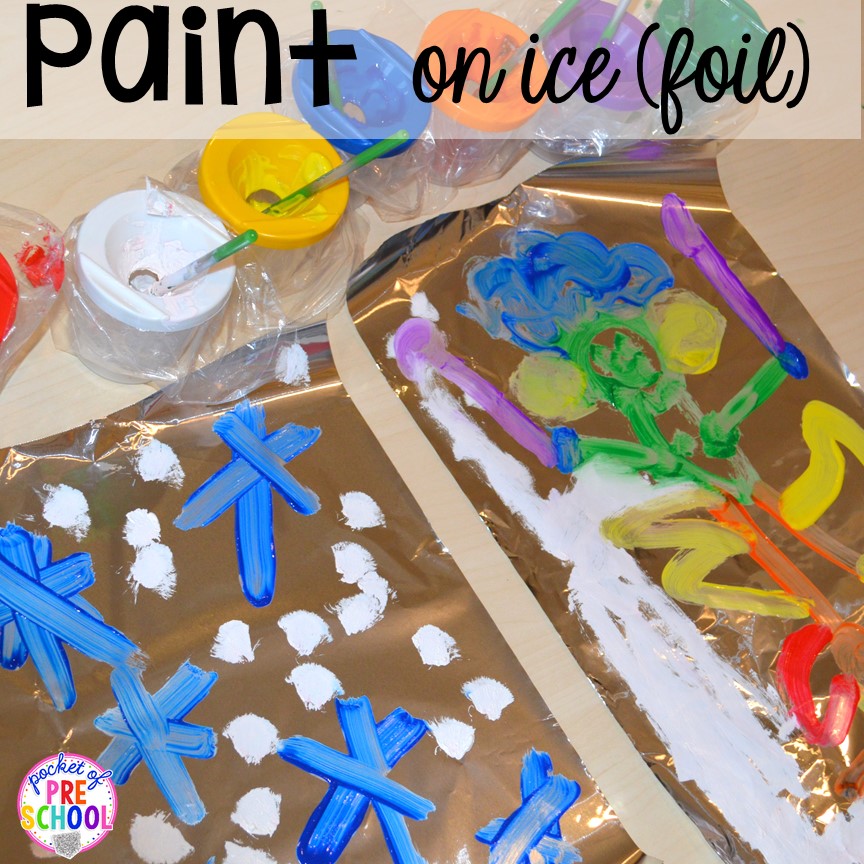
Paint on Ice! Your preschool, pre-k, or kindergarten students will love this winter art activity! Give each student a piece of ice (foil) and let them paint a wintery picture! I love using paint in the classroom because not many children get to use it at home. Students are so excited, and I love seeing their creativity flow with a new art medium! Give students a theme or allow them to free paint.
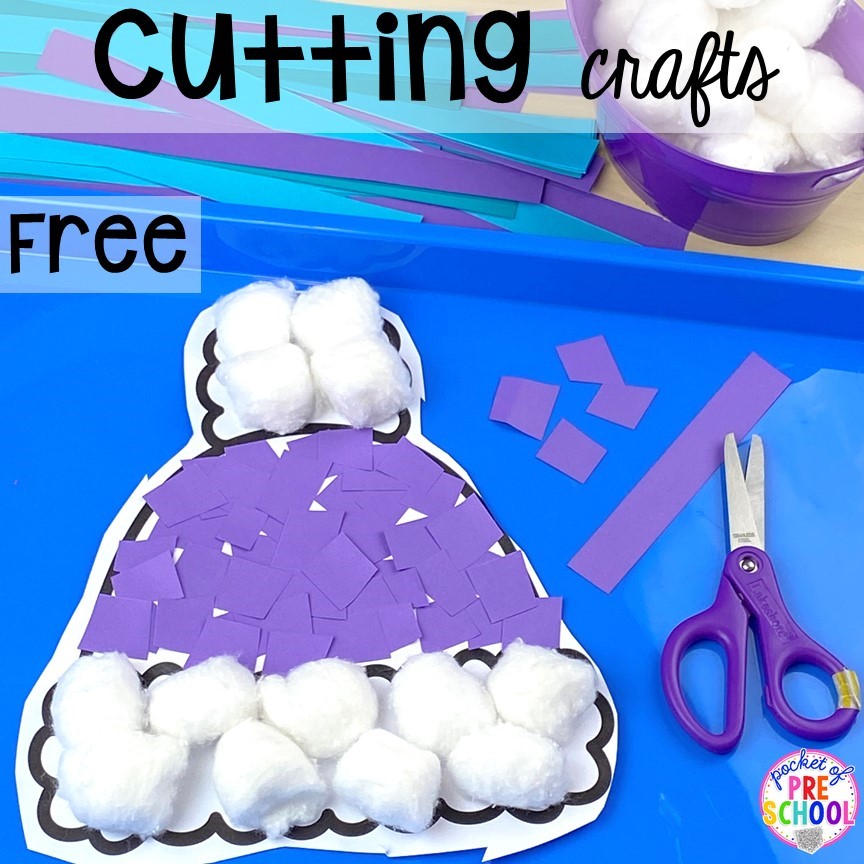
Winter Hats Cutting Craft! Grab this FREE winter hat cutting activity to make stocking hats while practicing cutting skills and building fine motor muscles! Students start by cutting the hat out. Next, give students strips of colored paper and let them cut them into squares. Then, students will glue the squares onto the hat to make it beautiful and colorful. Add some cotton balls for a 3D effect!
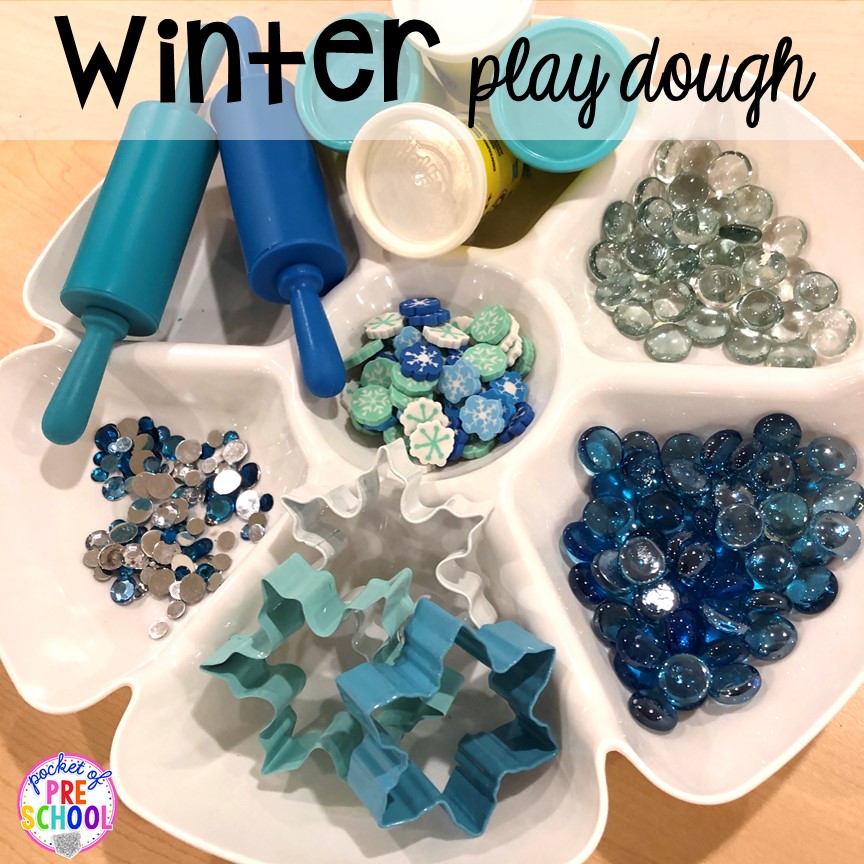
Winter Play Dough! Make a winter play dough tray and watch your students increase their fine motor strength and stretch their imagination! Add jewels, mini erasers, sequences, rolling pins, and cookie cutters. I love using these trays to separate all the items while still keeping everything visible for little learners.

Snowflake Prints! Create a fun winter snowflake print with cookie cutters and paint. Students dip the cookie cutters in paint and stamp them all around. This is a fun way to make a bulletin board backdrop or door decorating project. This is a fun project for kids of all ages! I love this winter wonderland art project for young children.
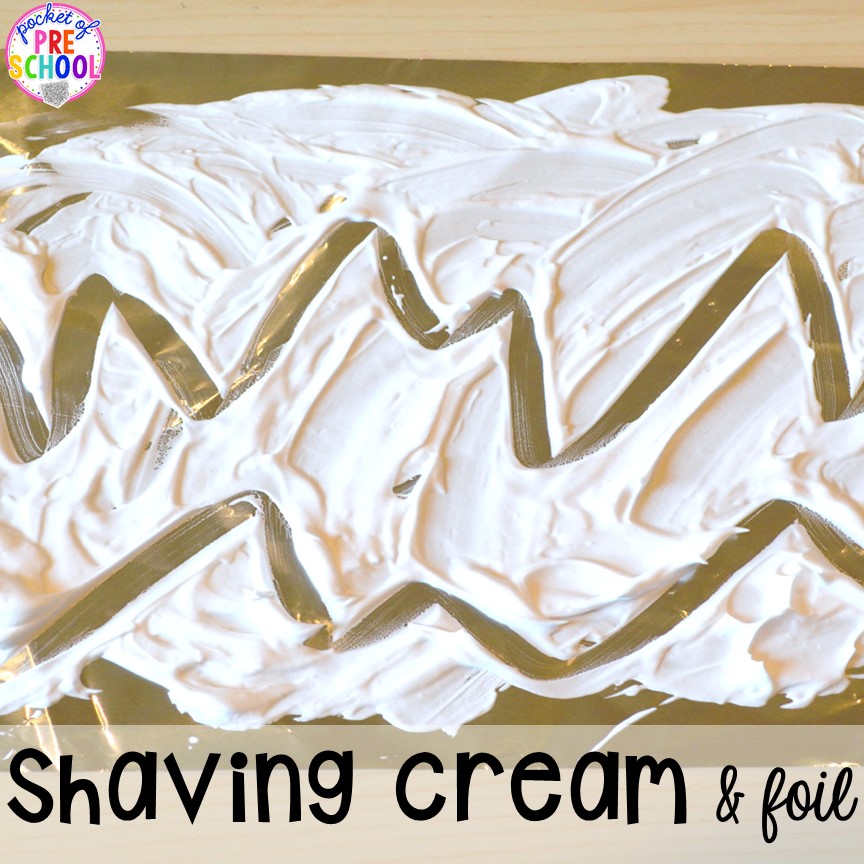
Writing in Snow and Ice! Lay down a piece of foil for the ice and add some shaving cream for the snow! Your students will LOVE this sensory activity! You can use this as a directed activity where you give directions on what the student should be writing or drawing or use it as a free drawing/writing activity.
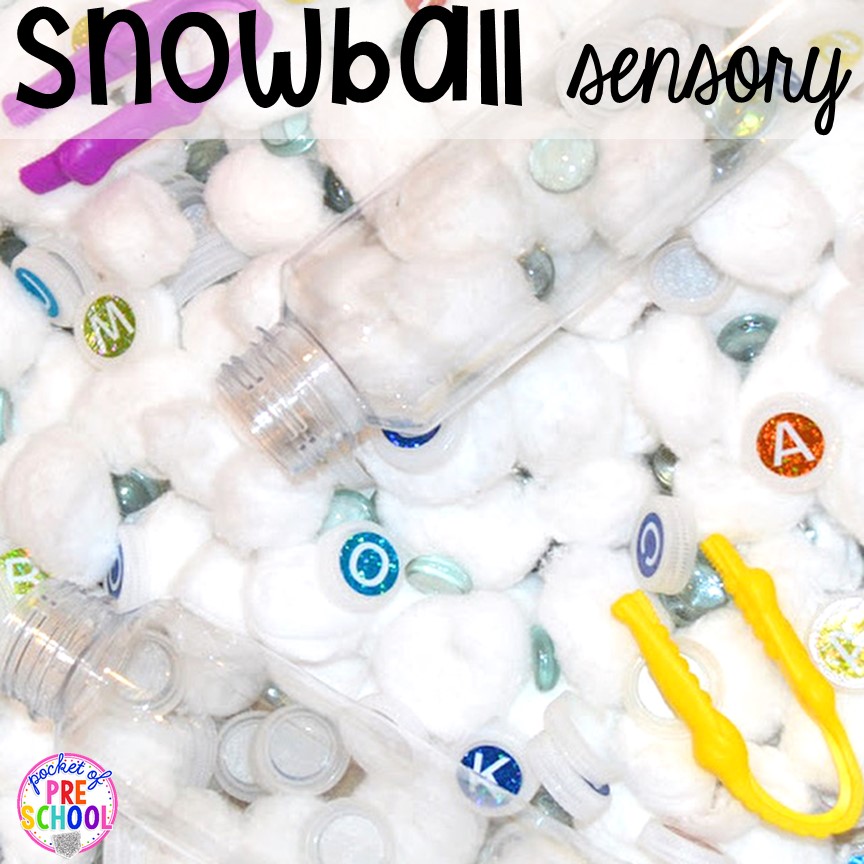
Snowball Sensory! Make a wintery sensory activity with cotton balls, jewels, tweezers or tongs, transparent bottles, and letter stickers. I placed letter stickers on water bottle lids and threw in some cotton balls and jewels. Students use the tweezers to pick up cotton balls and put them in the bottles. They can also pick up jewels or letters to add to their bottle. Students get a double dose of fine motor exercises by putting the cotton balls in the bottles and then taking them out of the bottles! Keep reading for more winter activities.
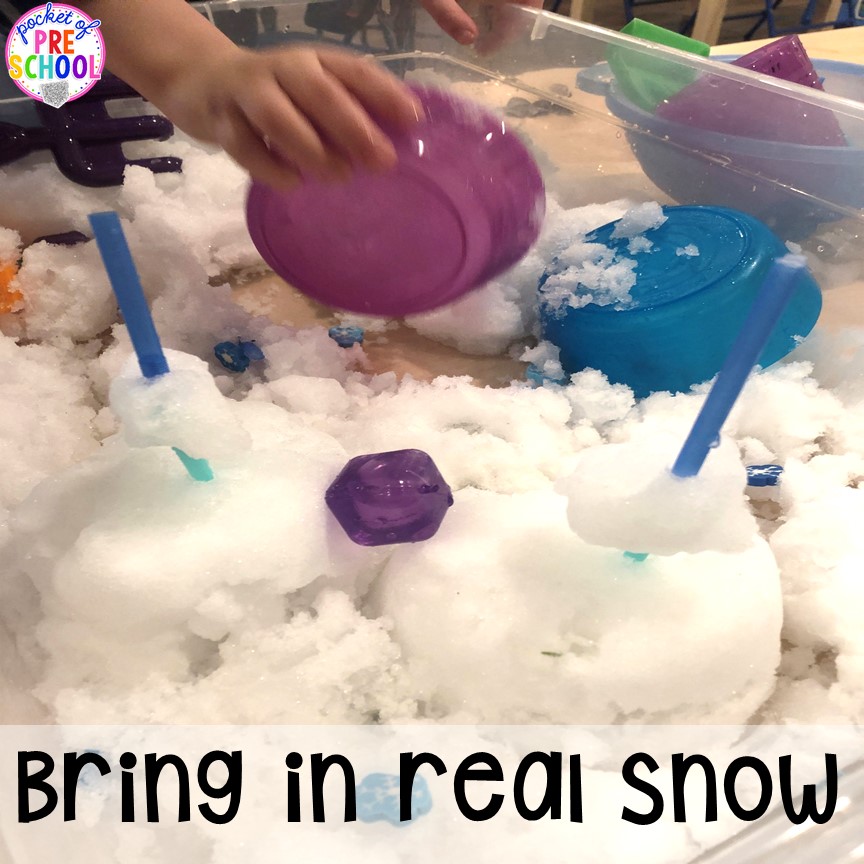
Real Snow! When it is too chilly to play outside, bring the snow inside! Use a large tub to hold the snow and give students manipulatives like bowls, spoons, shovels, rakes, straws, and other plastic toys. Sand toys work great in the snow bin. I like to place a towel under the tub to catch any snow that escapes. Sneak in some science by observing and talking about how the snow changes as it stays in the warm classroom!
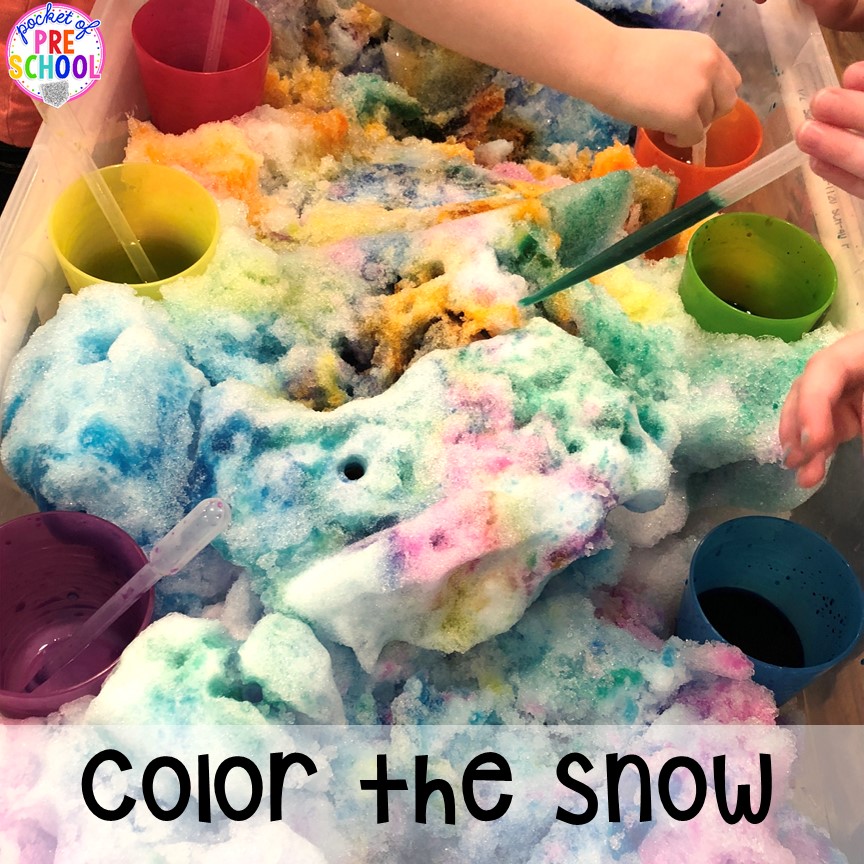
Color the Snow! Use a large tub filled with snow, cups of water, and liquid watercolor, with some droppers to color the snow! I use cups of water with liquid watercolor to make vibrant colors. Food coloring would work, too, but the liquid watercolors make more vibrant colors, I think. Then, students use droppers to add color to the snow. Talk about mixing colors or warm and cool colors while making the snow colorful!
Winter Activities for Dramatic Play and Gross Motor
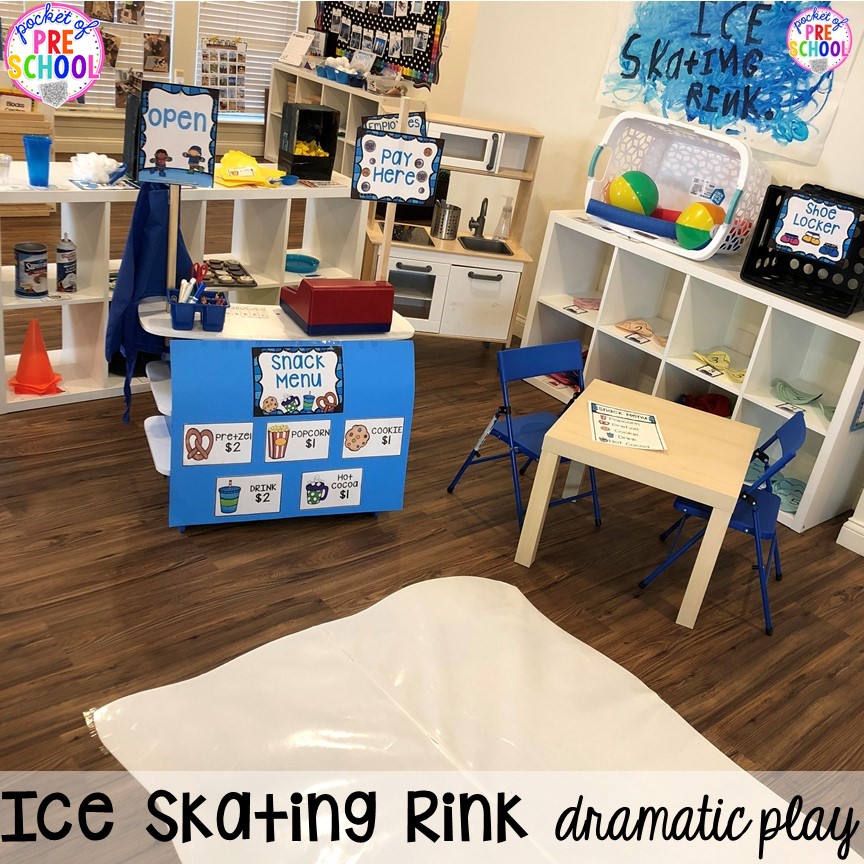
Ice Skating Rink Dramatic Play! Turn your dramatic play area into an ice skating rink, and students can be customers, cashiers, managers, and so much more! Dramatic play areas promote imagination use and social skills. Use my ice skating rink printables to give you the framework for the rink, then add toys and other items that you have on hand. For my rink, I used a laminated piece of white paper. Students pretend to ice skate in their socks.
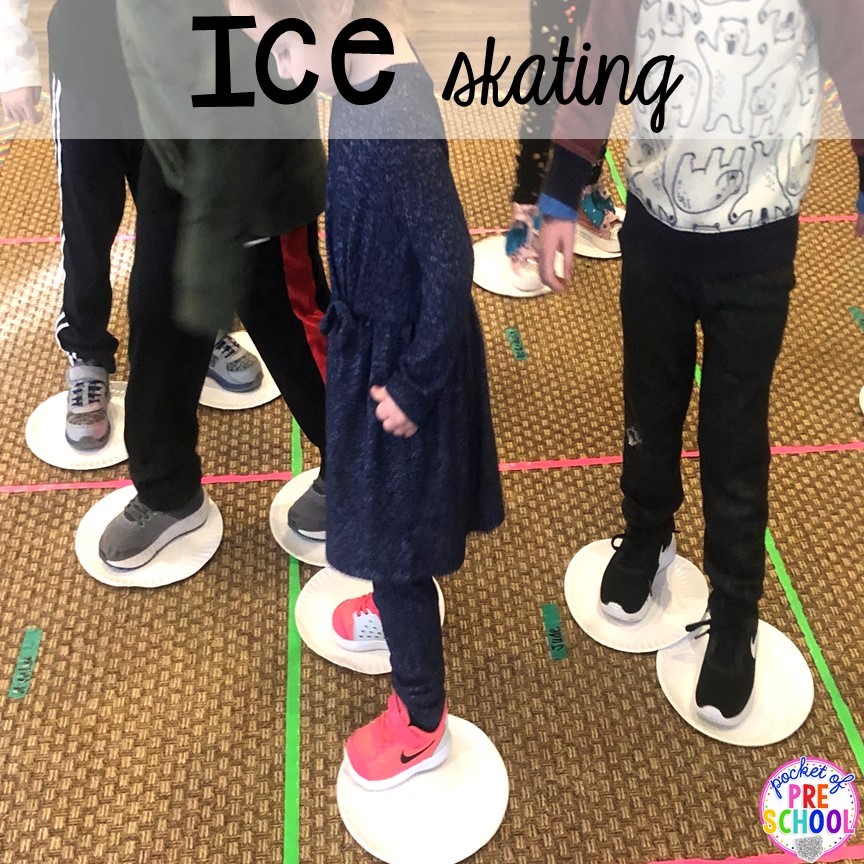
Ice Skating! Give students paper plates for their ice skates and let them ice skate on the carpet. I like this activity to strengthen large motor muscles and get little learners moving in between sitting times. Play music, and when it turns off, they must freeze or try Simon Says on ice skates!
Grab your lesson plan book and select the winter activities you are going to do this year! I hope you enjoy using these resources and you are able to see the benefits for your students! Don’t forget to grab the Snowman at Night Retelling FREEBIE and the Stocking Hat Cutting Template FREEBIE! If you need all the winter activities grab the Winter Math and Literacy Centers HERE, the Ice and Snow Science Center HERE, Winter STEM I Can Build Unit HERE, and the Ice Skating Dramatic Play HERE!
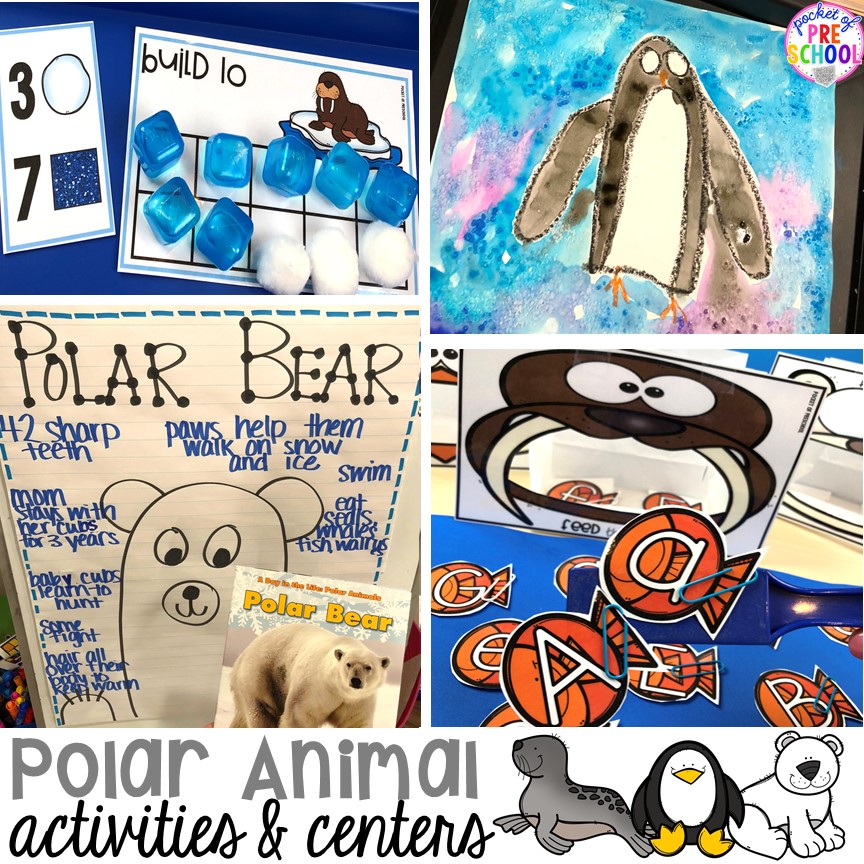
Need more ideas for winter activities? Check out my blog post with ideas, resources, and freebies about Polar Animals HERE!
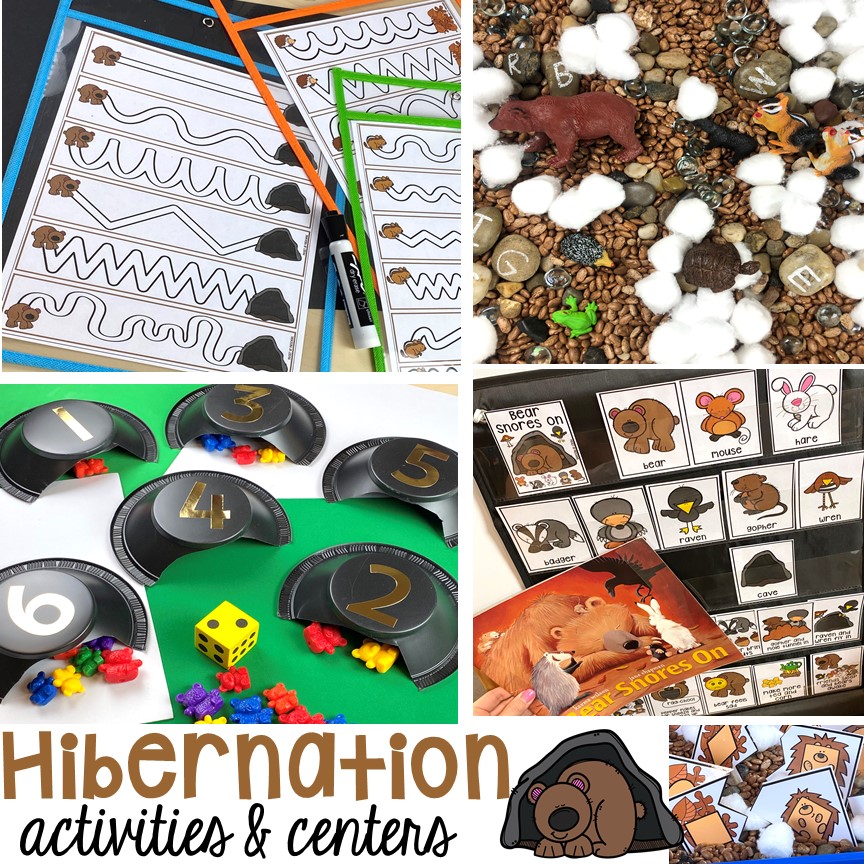
Want to teach about hibernation this winter? Check out my post about hibernation activities and centers HERE!
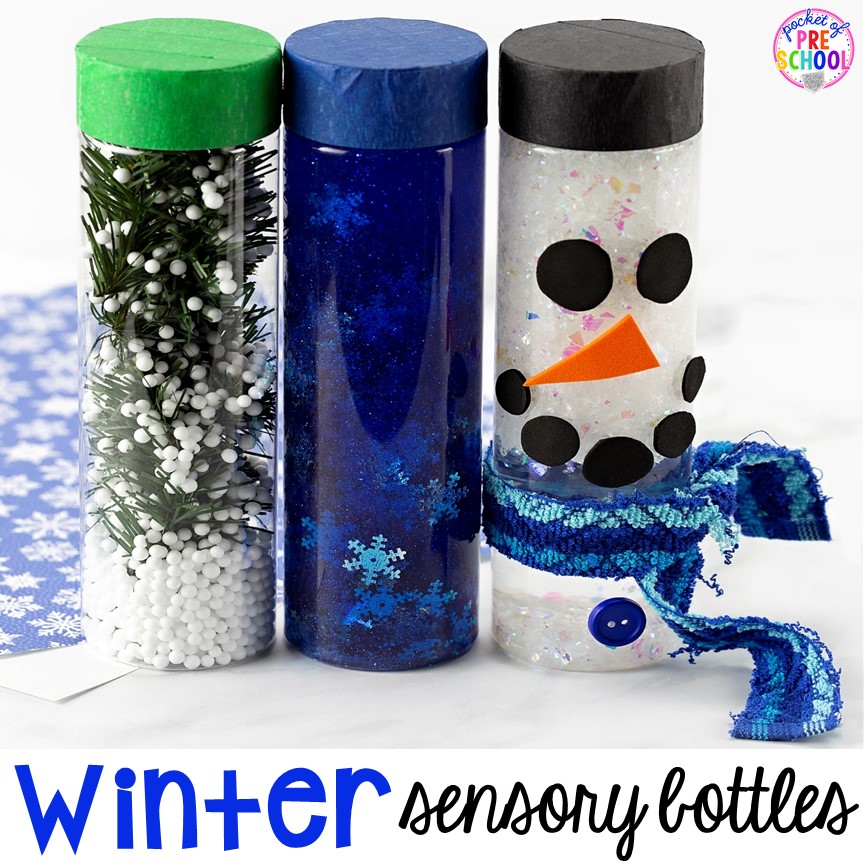
Want to make some winter-themed sensory bottles? Your students will love these snowy sensory bottles!
Need a recipe for a winter slime? Check out my post about how to make Winter Oobleck!
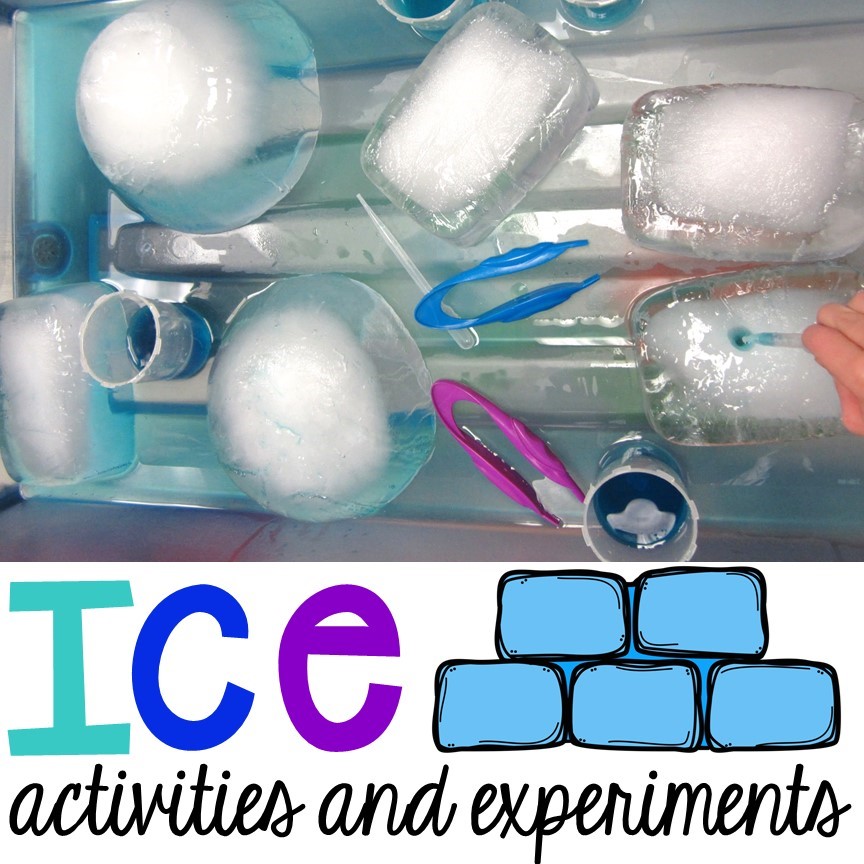
Teach little learners about ice with my fun ice activities! Check out the post HERE to see all the fun ways I use ice in my classroom!
Want to see these winter activities in action? Check out the video.
Love these winter activities? Pin this image!
hey, i’m jackie!
I’m Jackie, your go-to girl for early childhood inspiration and research-based curriculum.
