Problem Solving with Little Learners (preschool, pre-k, and kindergarten)
Share This Post:
Problem solving is challenging for young students (and many adults too)! To support my little friends, I teach them problem solving strategies that they can use when they encounter a problem. We want our students to become independent thinkers who can solve problems, control their emotions, express empathy, and help others.
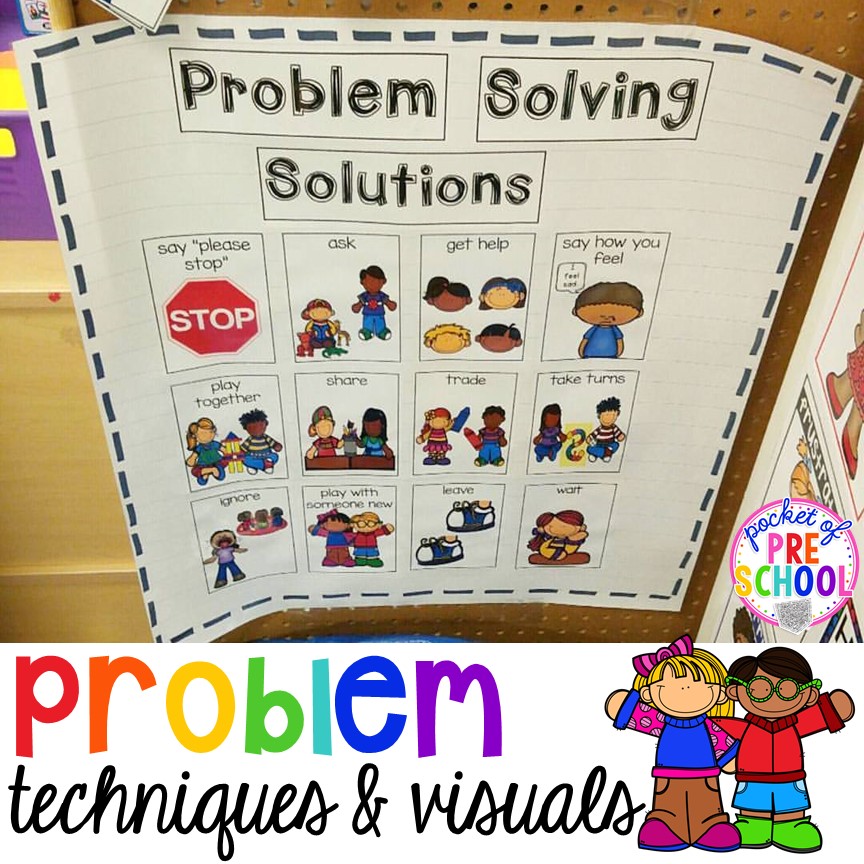
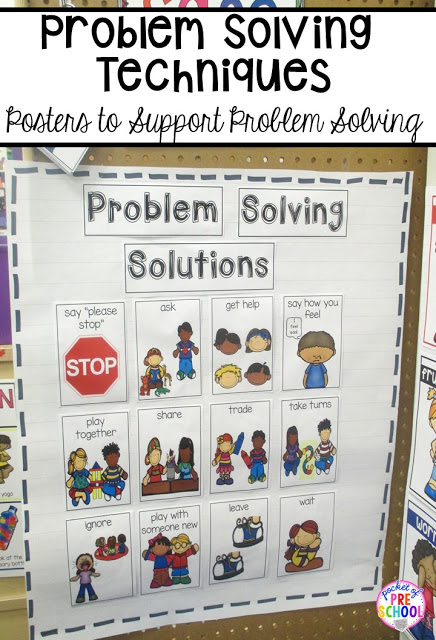
I introduce the problem solving techniques a few at a time during a class meeting. Each week, I introduce three new problem solving techniques. We then end up with nine to twelve techniques total based on what my students need that year. I explain the technique to the students in concrete terms so they will understand what the technique is and what it can look/sound like.
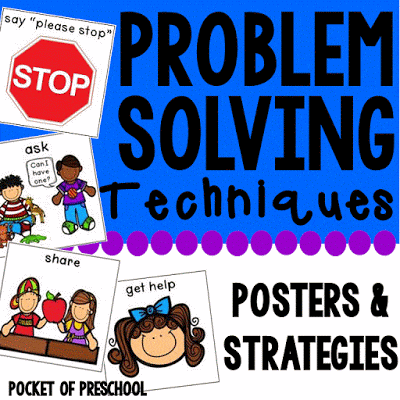
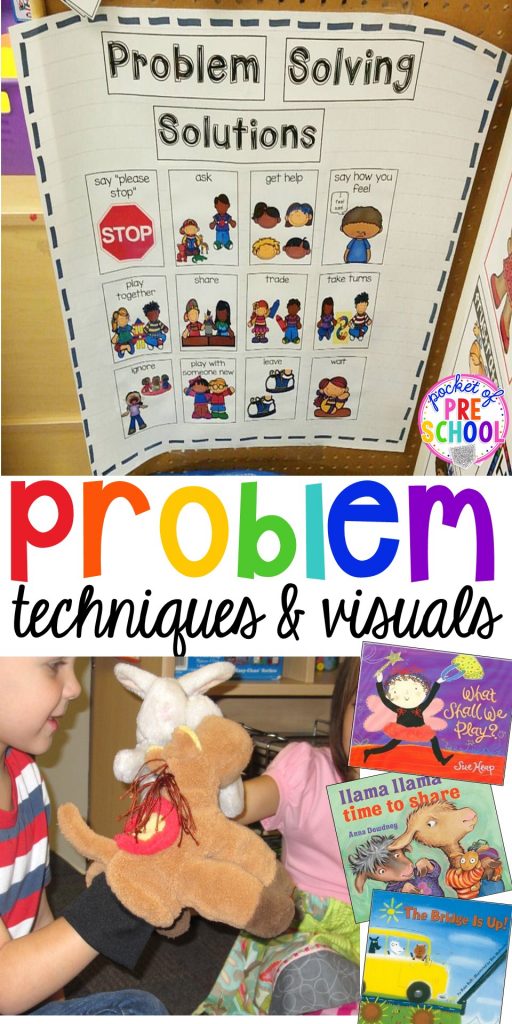
We usually start with these four skills: “please stop”, ask, get help, and say how you feel. Many problems can be solved with those solutions, which is why I always start with those. Then, the following week, I introduce take turns, play together, trade, and share. Then, the last four solutions the next week.
Problem Solving Techniques
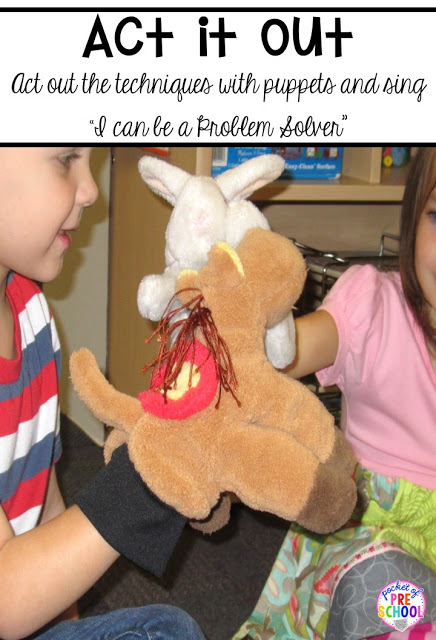
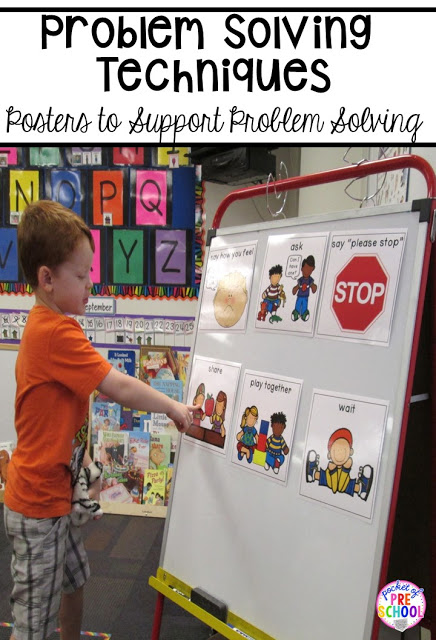
Singing with puppets is a fun and active way to practice the problem-solving techniques. Preschoolers LOVE puppets! This technique also allows students to role play. Some students will be more verbal if they can pretend to be someone else. At the end of each verse, students act out the problem-solving technique with a buddy using the puppets!As a transition activity to lunch, students took turns sharing a way they have solved a problem. You can also play, “What would you do if….”. State a real problem that could happen and have students pick a problem-solving solution to solve the problem. Some examples would be, “What would you do if your friend took your book?”, “What would you do if you got sticky glue on your hands?”, or “What would you do if you needed the red marker and your friend was coloring with it?” Once they have learned the strategies, stand back and let students try solving their own problems independently. Just a warning: this can take some time with lots of practice and support. As long as the student isn’t frustrated, let them try before you jump in to help. You will be amazed at the problems your child can solve given the opportunity to.
At first, you will be giving students lots of support and giving them the words to use to solve a problem.
- Always approach students at their level, in a calm supporting way.
- Ask, “what’s the problem?” If they don’t respond, comment on what you see such as “I see you have glue all over your hands and it looks sticky.”
- Restate the problem. “So the problem is ….”
- Brainstorm solutions and choose one together. This is the perfect time to use problem solving card visuals! “How can we solve this problem?” Flip through the solution cards and ask “Could we ….?”
- Praise and observe! Cheer on the students for solving the problem and stay close just in case they need more support.
Throughout the day, try to make EVERYTHING a problem to solve. Then model, talk through your thinking out loud, and use visuals to support students as they try to solve a problem. For example, I may put out a big ball of playdough in the center of the table as a small group activity. Students have to problem solve so each student has play dough to play with. It only takes few extra minutes to sneak in problem-solving situations throughout the day. Each time students help solve a problem or observe a friend solve a problem, they learn to self-regulate, express emotions appropriately, develop empathy, and develop problem-solving skills.
State problems for students who look stuck. If a student is just standing there, they need support, but don’t solve the problem for them! It’s so easy to do. Simply state their problem or what you see and ask a probing question. For example, if a student is standing with an empty bowl in their hand, you could say “Your snack spilled on the floor. How can you solve the problem?”
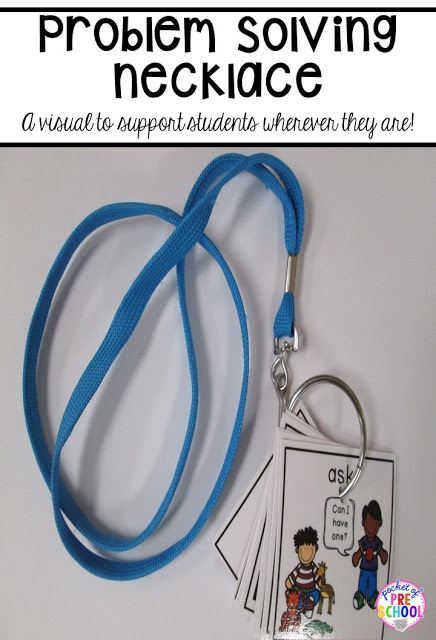
Problem-Solving Necklace or Mini Book!
I hole punched the small cards, put them on a book ring and keep them on a lanyard I wear every day. This way I can support students’ solving problems without having to go to the safe place where they are posted. I can just show the picture cards as a visual on my necklace. The mini book in the safe place works the same way.
Safe Place!
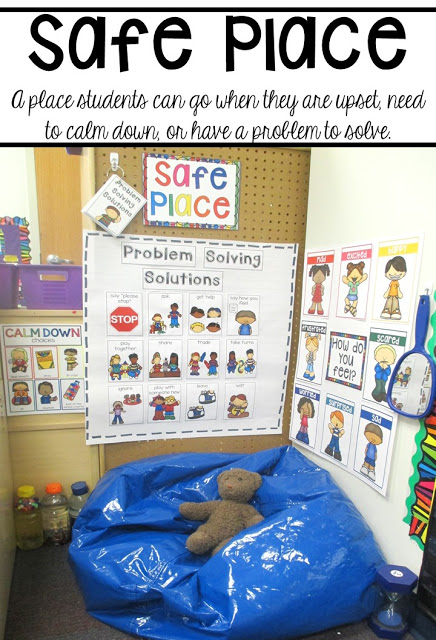
I keep my techniques posted in my circle area at the beginning of the year AND in my safe place. My safe place is a small spot in my classroom where students can go when they are upset, need to calm down, want to be alone, or have a problem.
Once I see students using the problem-solving techniques independently, I remove them from my circle area. They are posted in my safe place ALL YEAR LONG for students to use when they are struggling to solve a problem. In my safe place, you will find a mirror, feeling chart, bean bag, sensory bottles, calm down choices, a stuffed animal, problem solving mini book and problem-solving techniques chart. You can read all about how to set up a safe place in your classroom HERE.Children’s Books!
These are some of my FAVORITE children’s books to teach all about problem-solving. As we read the book, we talk about how the character is or isn’t solving the problem, how it makes the character and others feel, any natural consequences that could occur, and which one of our problem-solving strategies the character could use to solve the problem.
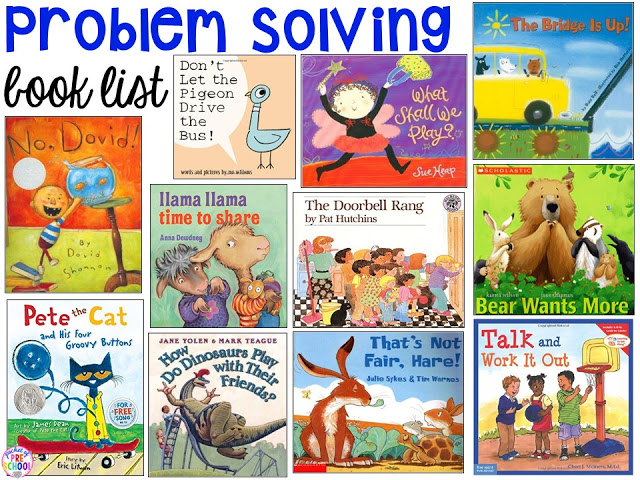
Do you want to use them in your classroom? You can! I did the work for you. Grab them from my TPT store HERE.
LOVE it? Pin this image!
hey, i’m jackie!
I’m Jackie, your go-to girl for early childhood inspiration and research-based curriculum.
